Making Pain de Mie
White sandwich bread, also called a “Pullman loaf” or pain de mie, is about as simple and easy as homemade bread gets, especially if you have a Pullman pan, since it eliminates the need to slash and/or top your loaf. The Pullman pan delivers exactly what it’s designed to deliver: a loaf that is crustless, tight-crumbed, semi-bland and perfectly square. In other words a specialty bread that’s superior for sandwiches, toast, canapés, bread pudding, French toast, the list goes on.
The recipe is here. For a truly fluffy, super-soft white bread, use more more bread flour in place of the semolina (durum) flour. Or for more of a “wheat bread” subtract four ounces or so of the bread flour and substitute whole wheat flour. Any way you, er, slice it, you can whip this recipe out start to finish in a little over three hours. Combine all your ingredients in the bowl of a mixer fitted with the paddle.
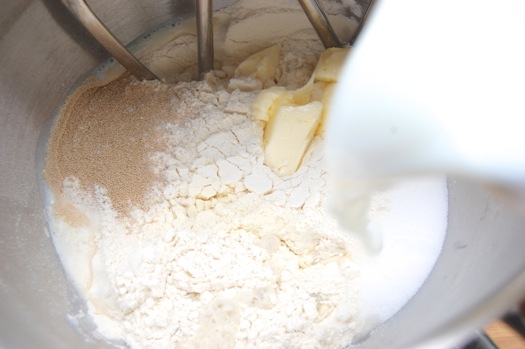
Stir about a minute until everything is moistened, then let the dough sit and soak in the moisture for about five minutes.
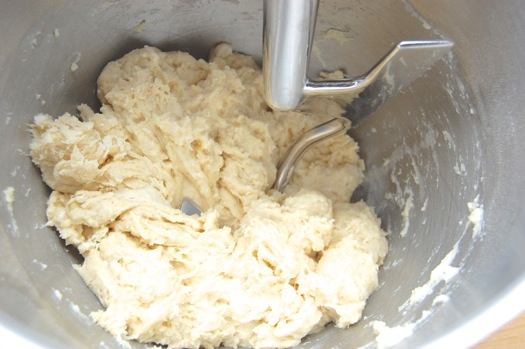
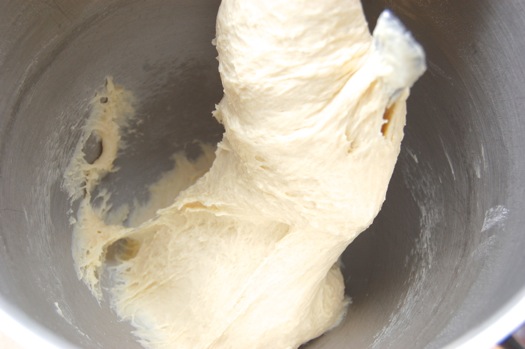
Switch to the dough hook and knead for 5-7 minutes. The dough will be slightly sticky and mostly smooth.
Place the dough in a lightly oiled bowl. Cover it with a cloth and let it sit for an hour or so until it’s more or less doubled.
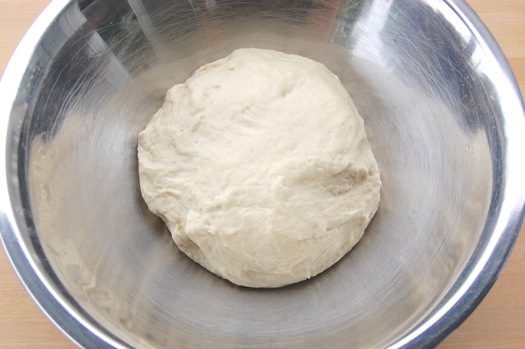
About like so.

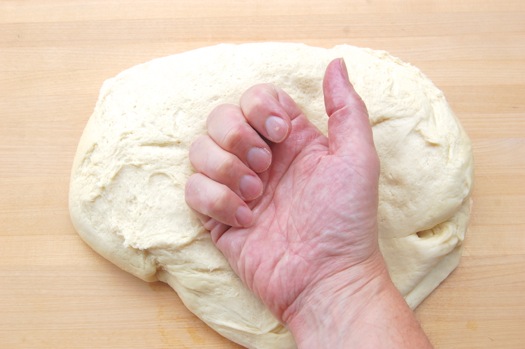
Then, let the wacking begin. Beat the dough up so that any large gas bubbles hidden inside break. This is an important step with any sandwich loaf, since gas bubbles can rise and collect in the unbaked dough causing a large gap just under the crust. We called these “mouse houses” in the bakery, and they’re a critical defect we’ve all seen before. I like using the back of my knuckles.
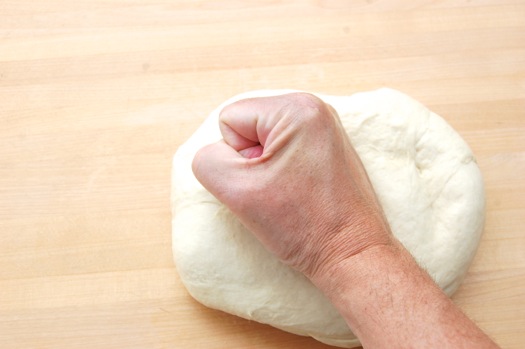
But you can pick up the dough and slam it on the counter…
…or just pound on it with a closed fist. All these methods work well.
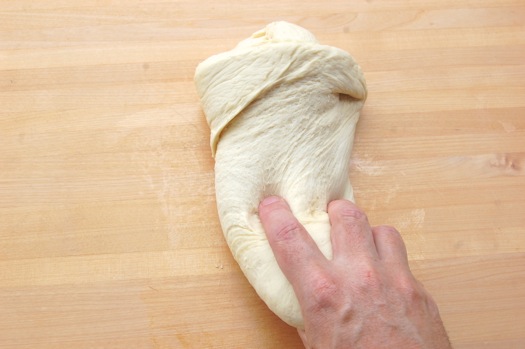
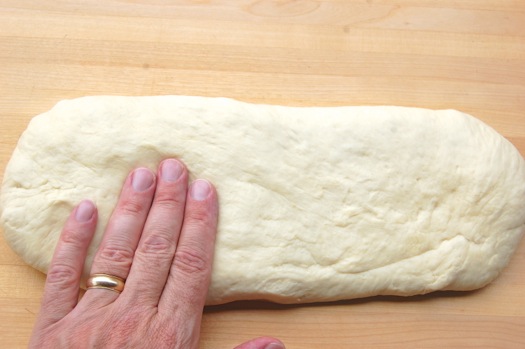
After several minutes of naked aggression, it’s time to shape. Pat the dough into an oblong rectangle.
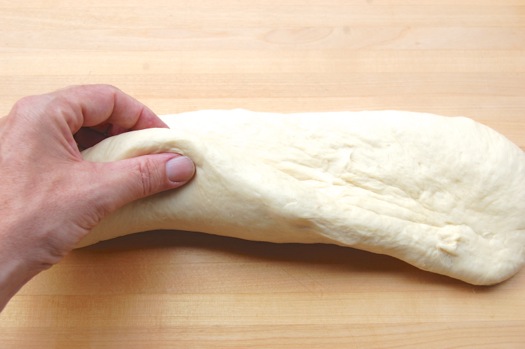
Fold the bottom up making sure you don’t enclose any large pockets of air…
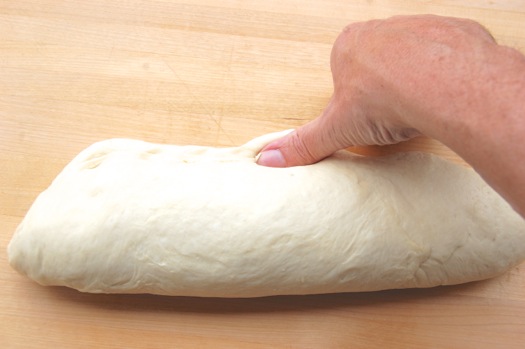
…and pinch the seam closed with your thumb.
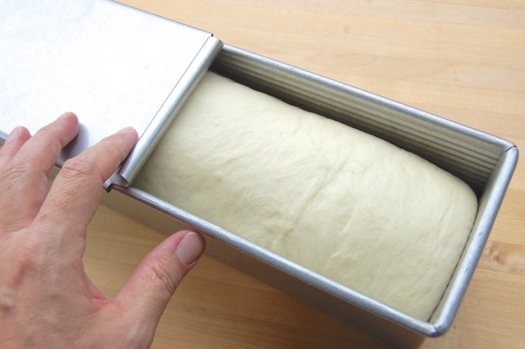
Put the shaped loaf seam-side down in a 14″ pullman pan. The pan does not need to be lubricated. Close the lid and let it proof for about half an hour. Meanwhile preheat your oven to 350 degrees Fahrenheit.
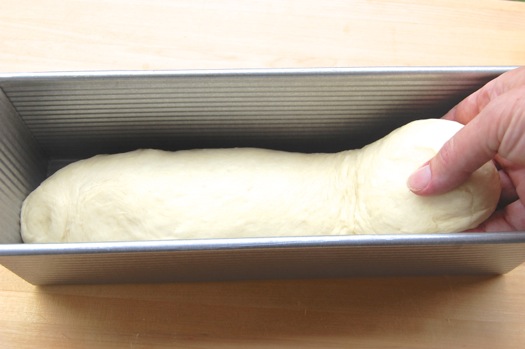
It will look about like so.
Bake it for about 40 minutes until it’s golden brown.
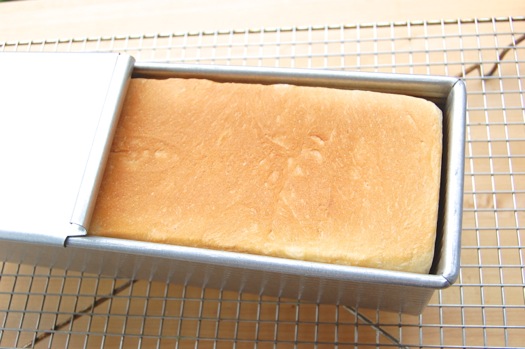
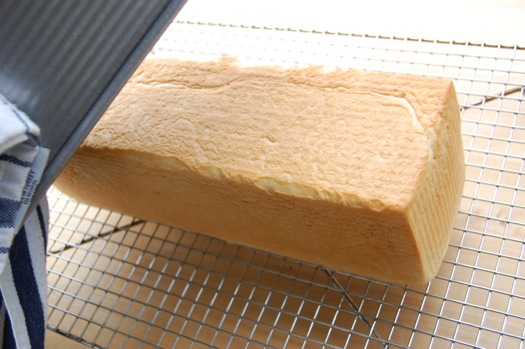
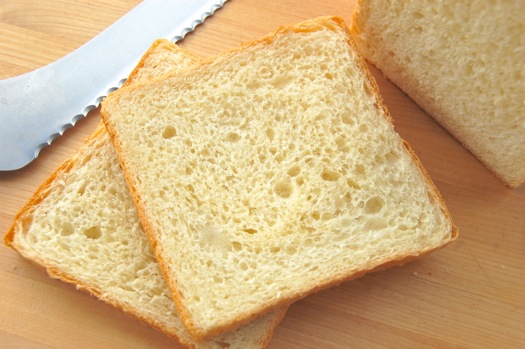
Immediately turn the loaf out onto a rack to cool. Once it has cooled completely — ideally for about an hour and a half to allow the crumb to set — it’s ready to slice.
Oh yeah, that’s the stuff. Where’s the ham?
Would kneading the dough after the first rise (instead of just whacking it on the table or with your fists) be appropriate? Or would that create more gluten development and maybe too much rise in the pan?
Hey Sandra!
Pounding is better than kneading in this case since all the folding can introduce bubbles to the dough. You just want to pop any bubbles that might be in there. Lots of hard slapping works great too!
-Joe
Hi Joe,
First of all I’d like to thank you for your very interesting blog.
I only found you some four weeks ago and have been “eating” it ever since!
I got very interested in your post about the Pullman bread since, when I worked as a teenager at my uncle’s bakery, we made this bread too. The top of the pan looked different, but it all boils down to the same kind of bread. It was, and still is a very popular bread here in Holland.
What got me interested is, that we used the same pan for a very heavy rye bread of which I don’t know the recipe (the bread is called here “roggebrood”). All I know is that it had a pâté fermentee from all kinds of doughs that we used during the week.
We only made this bread once a week and what I remember is that we had to shape it manually into wooden malts in which the dough had to be pressed with quite some force. We used a lot of oil.
After a rising period we put them into the Pullman pans and let it rise some more.
Once it came out of the oven I could not resist to eat a bit from it!
I don’t have the bread at home right now, but will send you at picture of it.
Thanks again for you very interesting blog!
Peter
Hi Peter! I think the bread you’re looking for is “rugbrød”. It is a very traditional type of danish bread and most danes eat it almost every day.
You can find the recipe here: http://denmark.dk/en/lifestyle/food-drink/recipes-baking-that-dark-sour-bread/
(lots of variations exist)
Rugbrød is not baked in that type of pan, though. We use an open pan like this: http://www.isenkrammeren.dk/shop/eva-solo-professionel-rugbroedsform-1095.html
Happy baking!
Wonderful, Katrine! Thanks for the help and the links!
– Joe
Hi Joe
I came across your website recently and have been intrigued by all the bread possibilities. Yeast and I have never gotten along, for various reasons whenever I’ve tried it I have been met with …very flat results. I want to try making my own starter but one stage for production concerns me — I don’t have a stand mixer with a paddle beater. I just have a basic hand mixer. Will I still be able to get good results? Or should I start saving up now??! Hah.
Thanks for all your wonderful posts!
Hey Kirsten!
Oh sure you can make a starter with nothing more than a fork. Not problem. But if you’re having trouble with yeast, my suggestion is to try a few recipes using instant yeast which is just about foolproof and will give you a sense for the textures and volumes you’re looking for. Just a thought. Whatever you do, fear not the dough. It can smell anxiety. Cheerio,
– Joe
Thanks for the feedback! I’ll give it a go with some instant yeast and just start a layaway for the standup mixer. At least it will be a good arm workout in the meanwhile. 🙂
Cheers,
k.
Best of luck, Kirsten. Get back to me with the results!
– Joe
hi joe, I was trying to follow your instruction. I have a question though… do I need to mix the dough until the final, clear, window test achieved? how much gluten do you recommend needs to developed until I can stop mixing. thank you
Hey Nikolas!
You do not need to knead to that point. That’s more for open-crumb (big-holed) hearth-style breads rather than sandwich breads that tend to have tight crumbs. Stick to the times in the recipes and all will be well!
Cheers,
– Joe