Making Napoleons (Mille-Feuille)
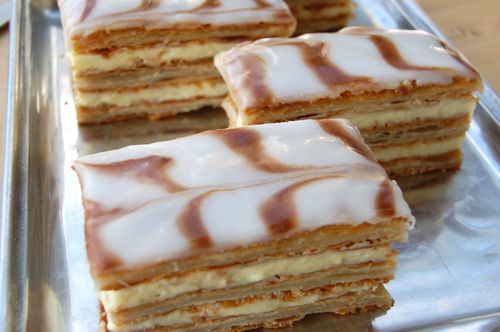
Napoleons seem tough, but it’s only the topping that can be tricky. If the marbled fondant is what’s stopping you from attempting these, console yourself that a simple dusting of powdered sugar is more than acceptable. In fact it’s it the standard in many quarters. The zebra-striped crown is something we Americans have come to expect on top of our mille feuilles. The truth is that homemade Napoleons are terrific either way.
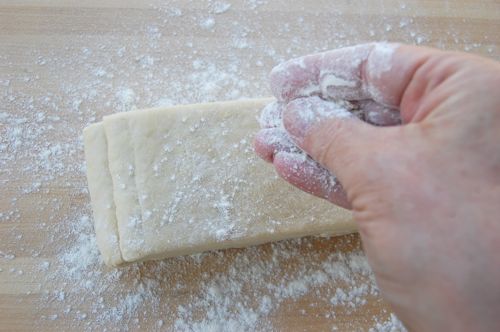
Start yours with the pastry. Preheat your oven to 400 degrees Fahrenheit. Here I have about a 20-ounce lump of homemade puff pastry just out of the fridge. You can use store-bought if you wish. You’ll need more than one package, and will have to do the baking on separate sheets, but that’s really no big deal. Place the dough on a lightly-floured work surface…
…and apply the pin.
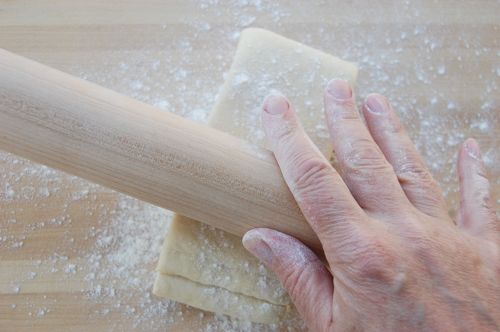
Roll it, rotating the dough and/or flipping it over to keep the sheet as even as you can.

Keep it going, not taking too terribly long with it, since you don’t want the butter to get too soft.
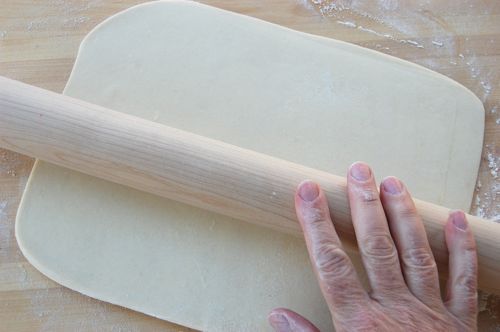
You want to roll the dough out quit thin. How thin? At least this thin or even thinner:
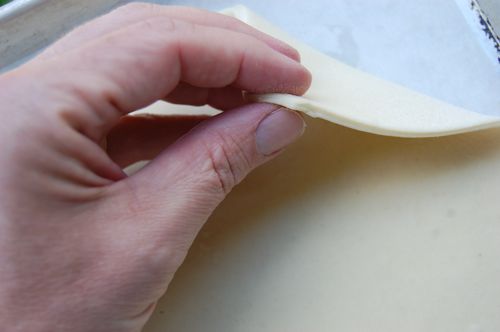
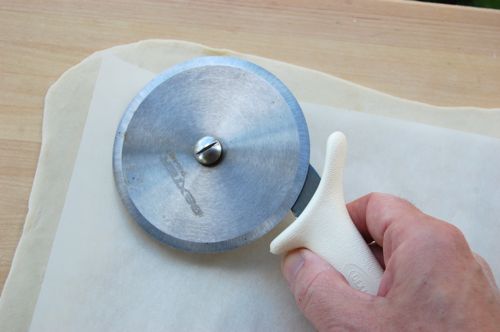
Once the dough roughly the size of your sheet pan or cookie sheet, lay a piece of parchment over it and trim the edges. Why am I not actually trimming in this photo? Because yesterday was the windiest day I’ve ever had to face on my porch. YOU try snapping pictures and trimming pastry dough, all while trying to keep a sheet of parchment paper from blowing away in 30 mile-an-hour winds. It’s not easy!
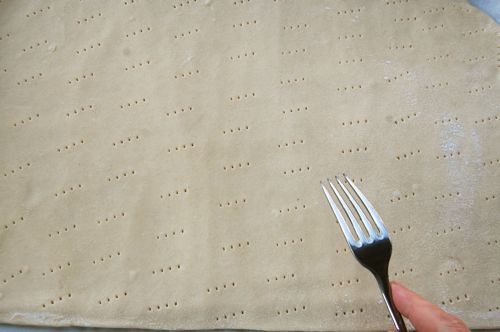
Transfer the dough to your parchment-lined sheet pan and dock it all over with a fork. Why do this? Because while you want some puff, you don’t want too much lest you end up with six-inch-tall Napoleons.
Place another sheet pan directly on top of the pastry sheet and insert the stacked pans into the oven on an upper rack.

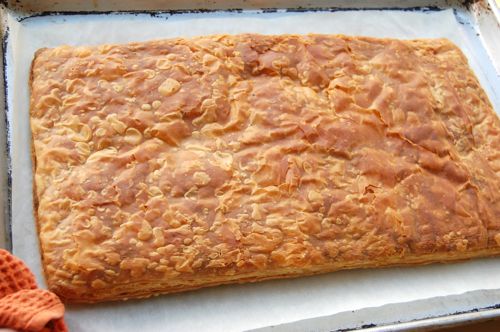
You’ll be amazed at how the pastry will lift up even the heaviest sheet pan as it bakes. That’s steam pressure for you. No wonder they powered locomotives with it. Bake the dough about 20 minutes until it looks about like this. Yes, it will have shrunk. Don’t sweat it.
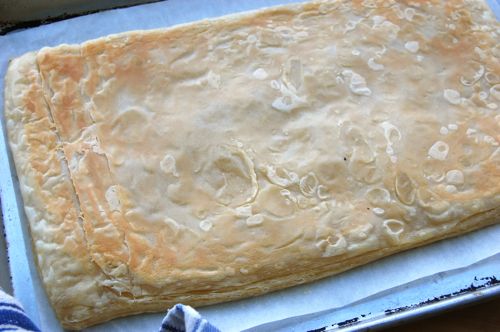
Now bake it another 20 minutes or so (check after 10 to make sure it isn’t getting overdone) without the top sheet. Make sure you give the dough a nice, dark toasting. If it puffs up on one side, or rises to a height of more than about 3/4 inch, apply the top pan again and press down firmly to deflate it some. You want to do this while the pastry is still warm, before it gets brittle.
Once it’s cool, trim up the sides. First along the short side…

…then the long side. What to do with the scraps? They’re the literal fringe benefits of being the pastry chef of the house. Hide them for later consumption with leftover pastry cream “dip.”

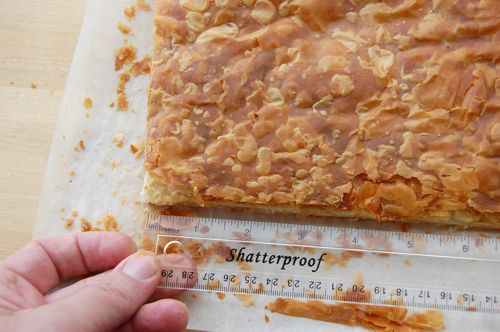
Now measure your pastry piece along its length. Have I mentioned yet that dimensions aren’t very important? They aren’t. The only reason you want to measure is so you know where to cut to get three equal pieces. It doesn’t really matter what dimension those pieces are, just as long as they’re uniform.
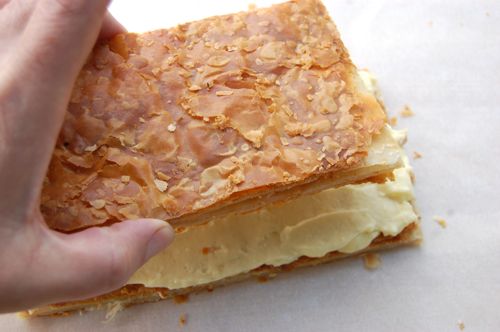
All they need to do is stack well, about like this:
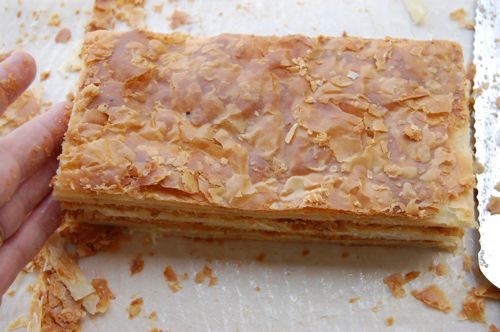
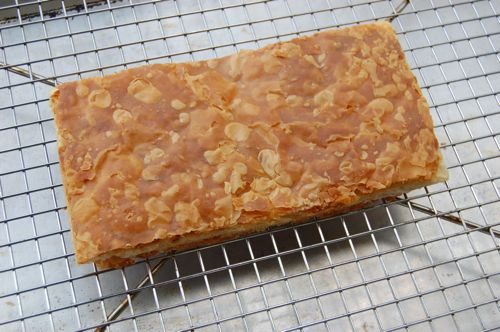
Trim them up a bit more if they’re uneven. Select one as your “top” and set it aside on a rack set on a sheet pan.
Set another layer on a piece of parchment, and apply some pastry cream. The pros pipe it on to ensure an even covering. Me, I prefer to eyeball it so I know I’m filling in any dips in the pastry sheet. Apply the pastry cream in steady, outward strokes. Too much messing around and you’ll start lifting off flakes of pastry (this is another reason many professionals use a pastry bag). Don’t forget those corners.
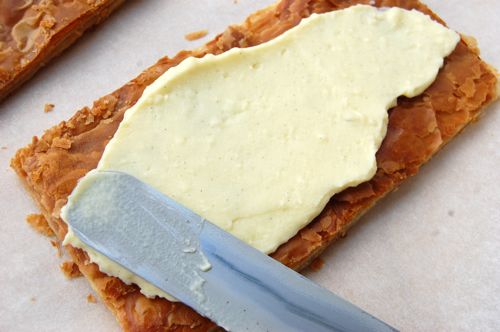
You don’t want to apply too much pastry cream. Maybe a quarter inch. Yes, I know that some Napoleons you’ve eaten have had MUCH more cream. However I like to think of it as simply the glue that holds the pastry layers together. A Napoleon, at least to me, is a showcase for flaky pastry, not filling. I’m open to other opinions, obviously.
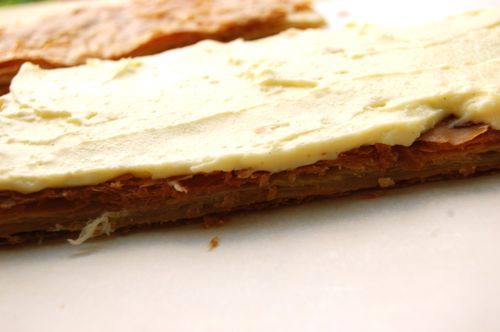
When the filling is even, apply the next layer.
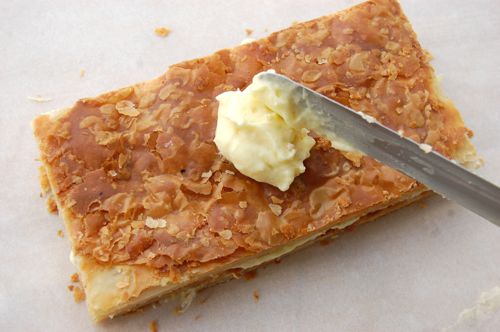
Start applying pastry cream to the center and repeat the process. When you’ve got it nice and even, place the pastry in the refrigerator while you work on the top.
The top can be a little tricky since you need your fondants at just the right temperature/consistency. Too thick and they won’t spread/squeeze well, too thin and they’ll run together, then right off the pastry. Start by putting the white fondant in a small saucepan or double boiler and set it on the stove over medium heat to melt.
Once it’s melted you’ll need to dilute it with a little water to make it pourable once it cools down. Remove it from the heat and add very little. 3 1/2 teaspoons of water for a full 20-ounce batch of fondant is just about perfect in my world. You want to take it off the heat at that point and stir it while it cools down to room temperature, about 10 minutes.
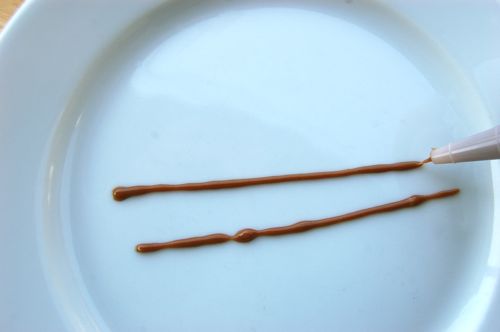
Now get your squeeze bottle of chocolate fondant ready (you can also use melted chocolate or ganache if you prefer). If it’s cold it’s probably quite thick, so immerse the bottle in some hot (not boiling) water to loosen it up. Stir in a little (as in a few drops) of water if you’re having trouble squeezing it out. Once you can get consistent lines like this (the top one, not the bottom one), set the bottle on its side near your work surface. Have a bench scraper or a butter knife handy as well.
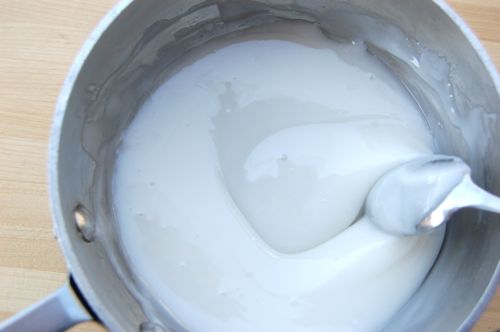
Stir the white fondant until it’s fairly loose, about like so.
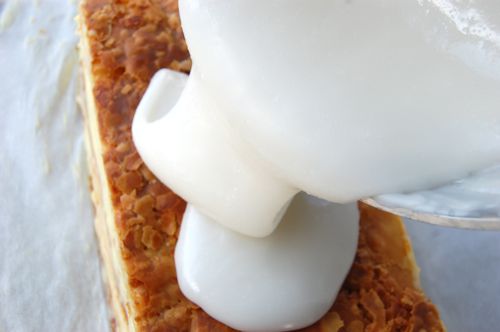
The pour it over your pastry top. Hey! I thought the top was on a rack over a sheet pan! Yes, well, it was so windy yesterday I couldn’t do this outside on my well-lit porch. The next two are pictures from my first attempt. Just pretend this is a single sheet of pastry on a rack, not a whole layered pastry on a piece of parchment.
What do you mean you can’t? Help me out here, folks, I’m doing the best I can with what I have to work with. Pour on your fondant…
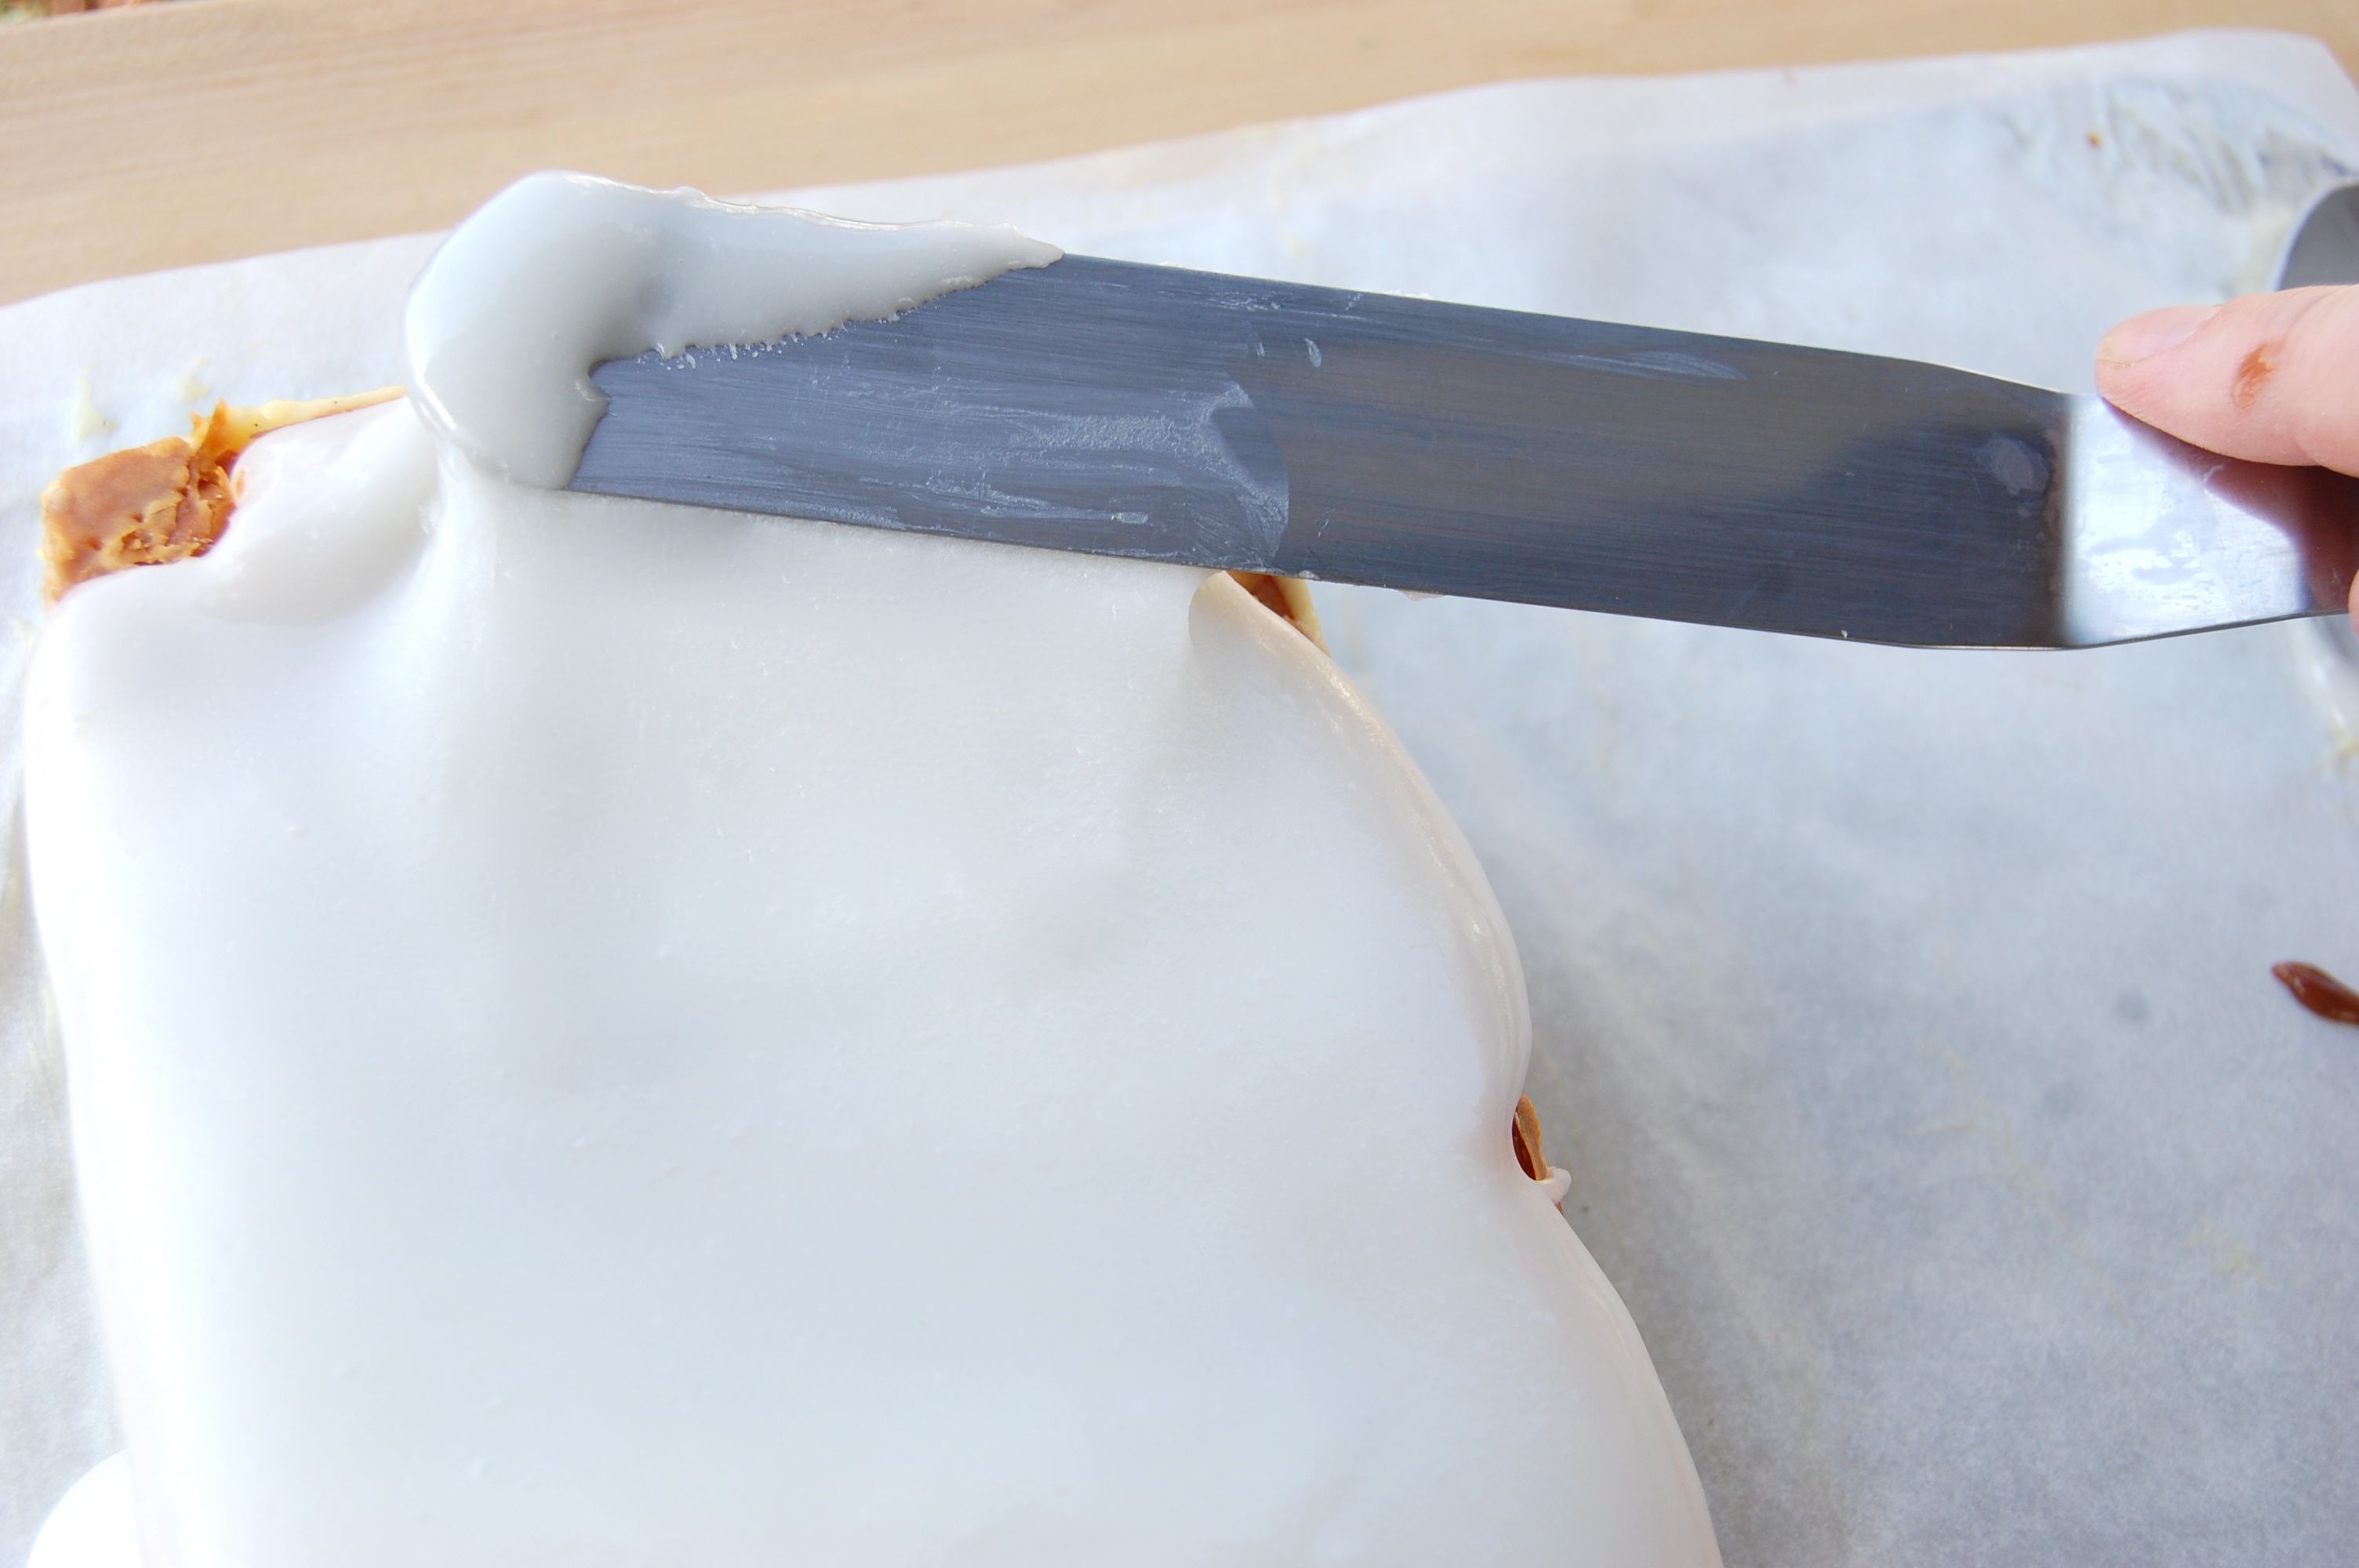
Then quickly spread it to the edges with an icing spatula.
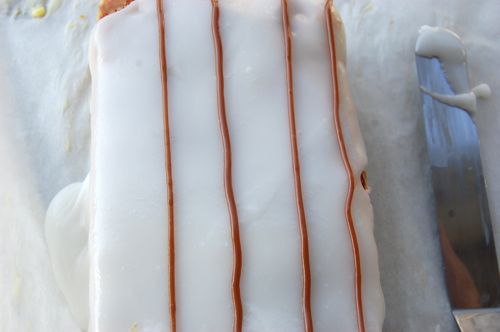
Before the fondant sets up too much, apply the chocolate fondant in lines running lengthwise.
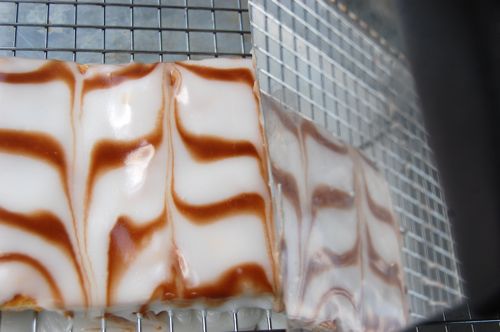
Now promptly produce your bench scraper or butter knife and pull it across the top of the pastry crosswise, first in one direction, then the other. See here that both my fondants were looser in my second attempt. The white and chocolate are running together a bit. No worries, wavy marbling is still well within the boundaries of a successful top.
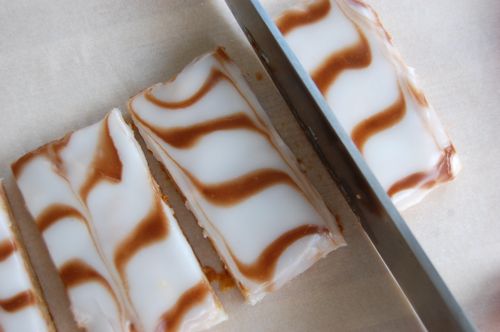
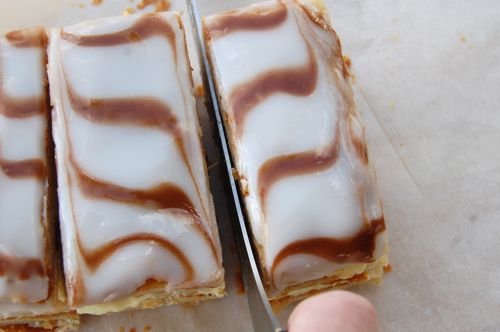
Once that’s done, allow the top to set up for about five minutes. Transfer it to a work surface and gently cut it into equal pieces. These are about two inches wide. I like a chef’s knife for this job…for the most even pieces, wipe the edge with a damp cloth or paper towel between cuts.
Replace the pieces on top of the pastry and put the whole thing in the freezer for an hour. Why pre-cut the top and then freeze it? To make the whole thing easier to cut, is why. Thank you to all the readers out there — much more talented pastry makers that I — who wrote in with these and other tips. They helped tremendously.
Normally you don’t want to freeze custards, but that’s another of the advantages of a firm, starchy pastry cream. The corn starch acts as a buffer, keeping any ice crystals that form from breaking the custard.
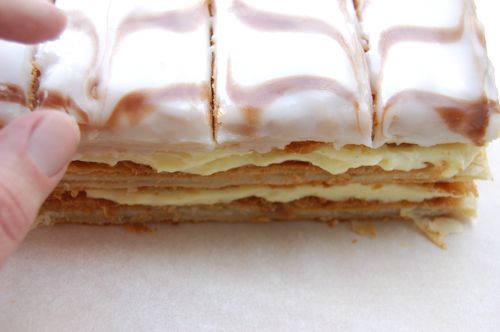
To cut, I prefer a sharp, flexible serrated knife. This final step can be a bit tense, but the pre-cut top helps the knife slip down into the pastry, and the freezing keeps the layers from slipping around. Once you’ve cut down to the middle pastry layer, very gently saw your way through, then press straight down through the lower level of cream and the bottom pastry layer. Done!
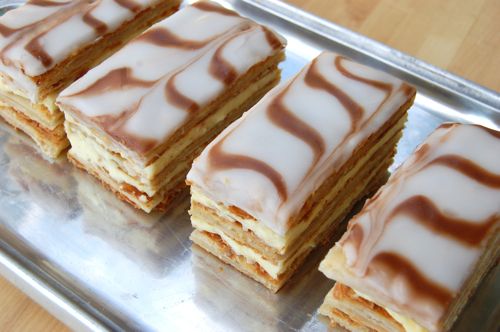
Arrange the Napoleons on a serving tray and insert the tray into the refrigerator until it’s time to serve.
Lastly, go pour yourself a shot of your favorite Kentucky bourbon over a short glass of ice. Toast to a job well done.
OMG – these are BEAUTIFUL! I am so impressed. I’m going to drink some bourbon on your behalf.
Thanks K! It was touch-and-go for a little while there…
Joe.. I see these in my horizon (SOON) I love.. and i mean LOVE napoleons… now a quick question.. do you have the recipe for pourable fondant?
You’ll find everything you need to the left in the Components menu. Click “Napoleons” under the Pastry menu and there’s a recipe with quantities for everything. Let me know how they turn out!
Joe.. after I posted my comment I looked a bit deeper and found it… I knew you were not going to let us high and dry! Thanks, will let you know.
oh i felt like grabbing them….they look so yummy.
beautiful!! 🙂
Thanks Melinda!
Gorgeous, I can only imagine the wind and your valiant efforts. I will try them, they are what i most often order in a diner
Thanks, Linda! Let me know how they turn out!
Joe, beautiful Napoleon. I made a recipe of puff pastry last month (Rose Levy Beranbaum’s recipe) but have not used it (still in the freezer). I will follow your instruction for composition!
Let me know how they turn out! – Joe
Hello Joe,
I love your recipes. In my country we have on cable tv a show named Glamour Puddings with Eric Lanlard, last week the episode was about Marie Antoinette and Antoin Careme, Lanlard reproduces a pastry very similar of yours and call them Allumetes, do you know it? In Mexico we know them as Napoleons too.
Congratulations for your blog, and my blessings to share your recipes.
Hi Sandra!
Thank you for the lovely note. Allumettes, I believe, translate as “matches” or “match sticks” in English. I’m not aware of a specific pastry by that name, but the words “match sticks” are used to describe everything from sliced vegetables to cheese sticks to candies. There is probably a pastry out there with that name, but as far as I know it’s not a standard one.
Thanks for the comment!
Joe
I’m currently enrolled at a French pastry school and we recently learned that Allumettes, are basically a square of puff pastry baked with a layer of icing fondant which turns an off white/brownish color in the oven and then filled with some sort of filling (could be pastry cream). On the savory side, it is a similar construction but with bachamel/other savory filling and not always topped with something. Kinda cool, right?
That is indeed very cool. Thank you, Chris!
Hi, i love your technique and the recipes and the pictures that go with it.
I would like to ask if what will happen if i use store bought puff pastry, and then pre cut them in rectangles prior to baking?(or at least score, just like the phyllo dough in baklava)I’m just wondering since for sure i will crumble the baked pastry when i cut them.
More power to your site!
Of you freeze them prior to cutting you won’t have that problem. But you can cut the in rectangles and bake them that way if you prefer. Assembly of each individual Napoleon will definitely take some time, however. Let me know how they go!
‘Yes’ you are right- refrigerate or freeze these in the large pan in which you are making these. Refrigerate for 8 – 24 hours, then cut with a very sharp knife while these are in the trough container.
When serving, powdered confectionary sugar or coco powder can be used, along with some berries for display and presentation. Serve with coffee. Wait 1 hour and talk a long walk.
More good advice, Edmund. Thank you kindly!
– Joe
Joe, I’ve made Napoleons at my job….had trouble cutting them….pastry cream would ooze out the sides….this tip of cutting the top first, placing back on the stack, and then freezing for an hour is very intriguing! I made some today and used a ganache on top with white chocolate drizzle, just because I like ganache better than fondant….they look great but I didn’t cut the top….I’ll try freezing for an hour anyway before I cut them tomorrow….thanks for the tip!
That should at least help, Lori. Cutting Napoleons at room temperature is all but impossible. Let me know how it goes!
– Joe
ALL:
Look great, however, the thickness of the creme should be uniformly about 1/2 inch thick- be generous! Also a butterscotch icing is a great topping!
Thanks, Edward! I appreciate the tips! Butterscotch indeed…I love the stuff!
Cheers,
– Joe
Your tip about pre-cutting the top and then freezing the thing resulted in the first non-destroyed looking millefeuille that I’ve ever made. My mom requested it for Rosh Hashanah (it’s her favorite dessert), and it came out wonderful. Thank you!
Woohoo! Great news, Ariel! I’m so glad you wrote in, since I love success stories!
Cheers and have a great weekend,
– Joe
Joe,
I love your website and have used many of your recipes and techniques. I am preparing for a rehearsal dinner for my son’s wedding and would like to make this for dessert. My question is can I make, score, and freeze these for a couple of weeks? How will the pastry cream and puff pastry hold up?
Hey Juli!
Sorry for the late reply! The answer is that you can freeze the pastry, either in dough form or after it’s been baked in sheets, though it will be very, very delicate so you’ll need to be careful. The finished pastries can’t be frozen because pastry cream is a custard and custards weep after they’ve been frozen.
Cheers and best of luck!
– Joe
What tempature should you bake the pastry puff at? the recipe didn’t say….
What tempature should you bake the pastry puff at? the recipe didn’t say..