Making Chocolate Génoise
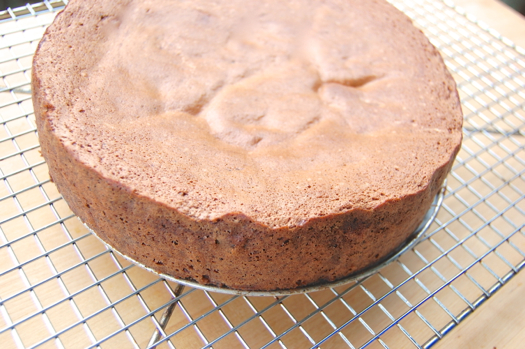
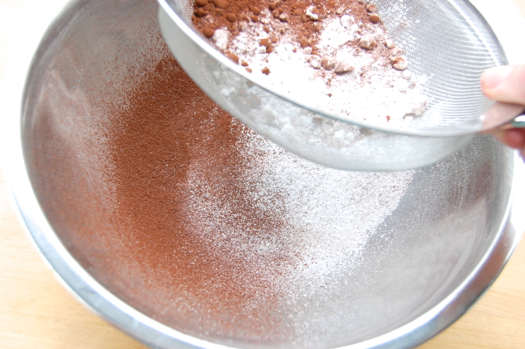
This is a classic génoise save for the fact that 25% of its flour volume has been replaced by cocoa powder. Otherwise it’s pretty much the same. Start by preheating your oven to 375 degrees Fahrenheit and sifting together your dry ingredients: the cake flour, cocoa and salt.
That done, turn to the wet stuff. Combine the sugar (here a “wet” ingredient), egg and vanilla in the bowl of your stand mixer.
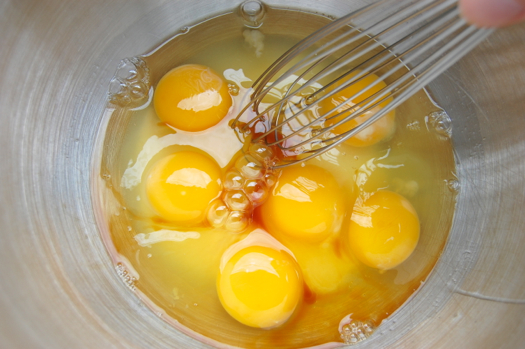
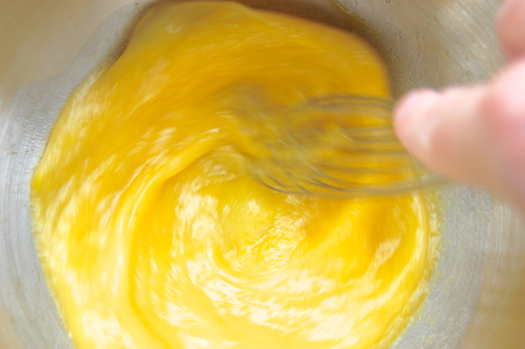
Whisk them all together a bit…
…then place the bowl over a large saucepan that’s got about an inch of boiling water in it. But, you know, that’s actually on the stove.
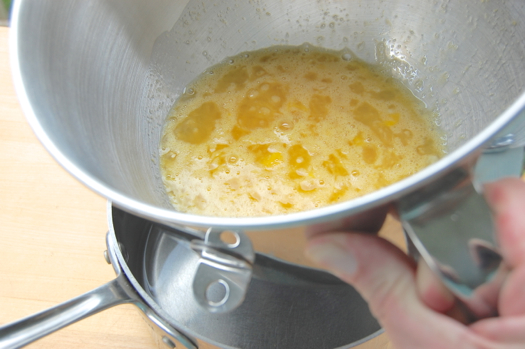
And whisk. The idea here is to warm the egg-and-sugar mixture just to the point that it feels like a warm bath. This will help the eggs to whip up high and with small, even bubbles.
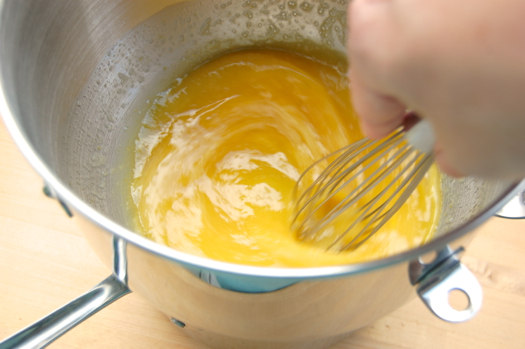
You don’t want this hot. If you don’t have a thermometer, dip in your finger and test it. It should feel like a nice warm bath. Ahhh. At least 110 but no more than 120 degrees Fahrenheit, in other words.
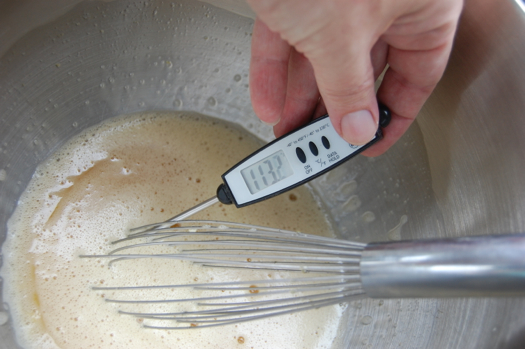
Now whip. On medium-high for about eight minutes. At that point start checking your foam. You want it so a medium ribbon falls and the blobs the ribbon leaves most remain on top.
Plop…and it should pretty much stay there.
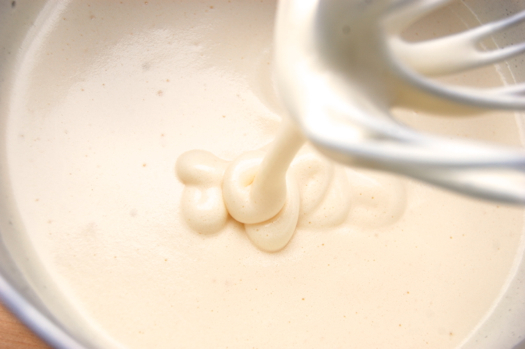
Alright then. Pour off about 1 cup of the foam into a small bowl or ramekin that has your cooled, melted butter in it. You can’t see it but it’s there, trust me.
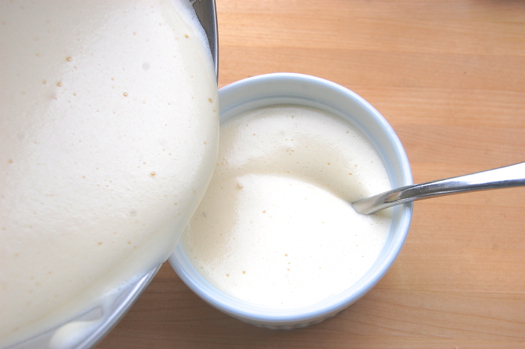
Stir that all together with no particular delicacy, scooping up from under to make sure the butter is all incorporated. This will lighten the butter and help it incorporate into the batter.

Pour it in.
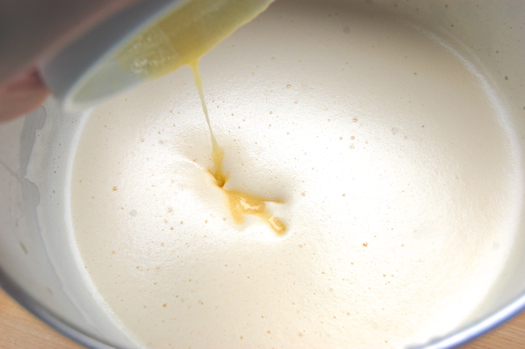
Now gently sprinkle on your flour mixture…
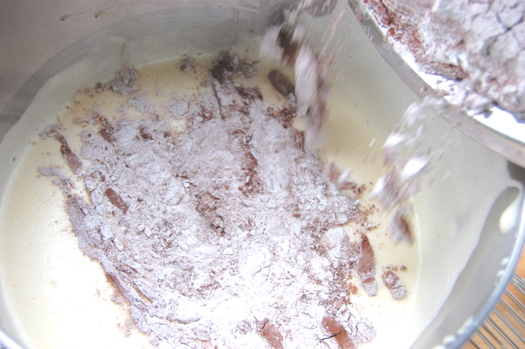
…and either fold or gently whisk it in. Here I’m doing the whisking method, you want to gently rotate the whisk around the outside of the bowl. Don’t beat it with any strength or you’ll overly deflate the batter. As it is you’ll lose a little of your volume, but that’s expected.
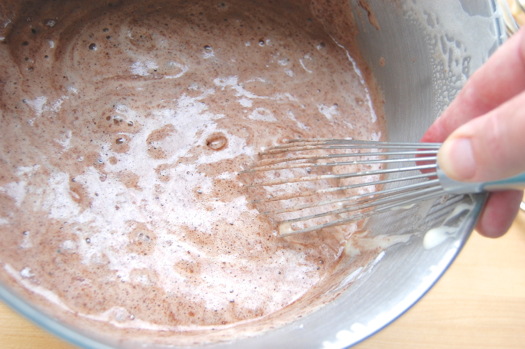
Scrape it into your prepared pan or onto a parchment-lined baking sheet if you want to bake it in that form.
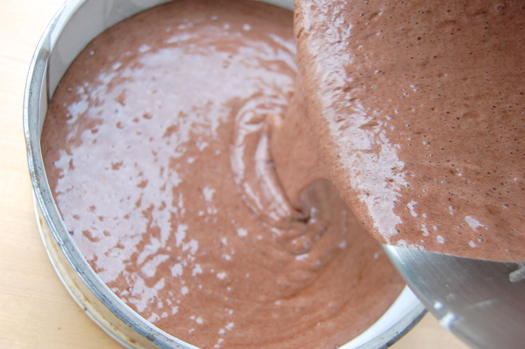
Bake it 30-40 minutes until it’s firm in the center. Remove it to a rack to cool for 5-10 minutes, then gently remove the springform sides and peel off the parchment.
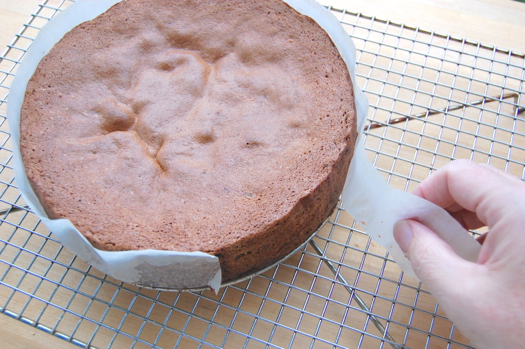
As it cools it may fall a little in the center in the first few minutes out of the oven. This is normal for spongecakes, don’t worry. If it goes a little concave you can always trim the outer edges off to even it out. The thing you don’t want of course is a total collapse. Anyway, place a piece of parchment in the top.
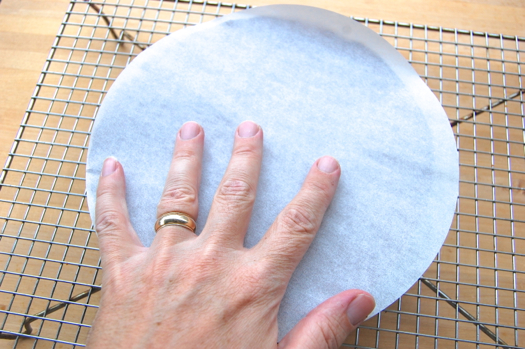
Flip the cake over and remove the pan bottom and parchment.
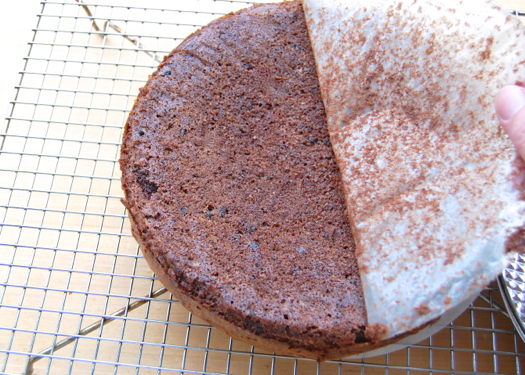
Then flip it back. Allow it to cool completely. This will store a day at room temperature or freeze for up to two months.

Hey, Joe – what kind of thermometer is that in your photo, and how do you feel it stacks up against a fancypants Thermapen? I’ve been wanting one of those for ages, but I just can’t pull the trigger on it, due to the price tag.
That’s a cheapie Taylor digital thermometer, $14.99 at most supermarkets. I once had a Thermapen but lost it and frankly don’t miss it. There are so few things you need to measure with that sort of speed. Rarely do I wish I had it back. Mostly I wish I had the $200 back!
Cheers and definitely spend the money elsewhere,
– Joe
Hi Joe,
That is one beautiful genoise. I am eagerly looking forward to the rest of the recipe. Re: thermapens. I don’t know about the US but in England, AmazonUK sells the unpopular colors (think Lime Green) for 36 stg. That’s about US$60. Definitely worth it at that price.
Hey Bina!
Thank you. It’s not a champion, I’m going to do another today and aim a little higher (literally). Regarding the Thermapen, for $60 I’d be tempted to buy another as well, though I still can’t think of too many instances when it would be essential. Sadly I paid the full Monty when they first debuted ten years ago. I still regret it! 😉
Cheers,
– Joe
Um, without wishing to quote you back to yourself (‘On the Proper Way to Fold’, posted some time ago) surely if you folded the flour mix in nicely with a sharper-edged implement you’d avoid mashing all those lovely egg bubbles and get more lift in the cake?
Jo, you’re completely right about that. I tried a different technique here with the whisk and honestly lost more volume this way. Perhaps my whisk wasn’t big enough, but honestly I prefer a big fat spatula!
Thanks for keeping me honest!
– Joe
i use a very large balloon whisk. and the wrist motion should be the same as if you were using a spatula. gently cut down to the bottom of the bowl and pull up and over. then rotate the bowl and repeat. just pretend the whisk is a spatula.
I could see that working. I’ll try it again next time I make a sponge cake. I like it in principle though so far it’s not quite working for me in practice.
– Joe
Joe –
The mention of thermometers reminds me of something I’ve been meaning to ask? Can a thermometer be used to determine whether baked goods are, erm, baked? Would it be any more accurate than, say, inserting a toothpick into a cake, or thumping the bottom of a loaf to see if it sounds hollow?
Hey PST!
I’ve never used a thermometer for cake layers, but I have for breads, most of which are done when they very center reaches about 215 degrees Fahrenheit. I expect cakes would be about the same, though I’ve never seen a temperature chart for cake or quick bread doneness. Sounds like an interesting project. Are you game? 😉
Cheers,
– Joe
They sell a cheaper 30 version now called the “ThermoPop Super-Fast Thermometer”. You can get it on amazon in a bunch of colors.
Nice to know, Twyla! Thanks!
– Joe
I wish I’d seen this when I was making Bûche de Noël recently. It’s the butter that gets me every time.
Hey Teresa!
Thanks for visiting. When you get around to trying this let me know!
Cheers,
– Joe