The Nun

“The nun” is a choux pastry classic that’s said to date back to 1725, the year Nicolas Stohrer opened his eponymous pastry shop on Rue Montorgueil near the famous Les Halles market in Paris. The shop is still there, and the crew is still making the nun (“la religieuse”) albeit in different colors and styles now. The traditional nun is choux with a coffee pastry cream filling, decorated with chocolate fondant and buttercream piping, no doubt meant to resemble the brown cotton-and-muslin habit and coif of a nun. Since I went to Catholic school and was taught by nuns, I’ll do it the traditional way so as not to get into any trouble.
Though you can use standard choux to make the nun, they’re easier to assemble if you use choux with the craquelin top. The reason, because the shapes bake up flatter and with a more evenly domed top. That makes an easier job of attaching the heads and doing the piping. When you’re dealing with very round or highly domed choux, assembly is like trying to balance a ball on top of another ball, which ain’t easy, plus it leaves a large gap between the shapes that you must to try to pipe buttercream across. Just doesn’t work well.
Begin by preparing a recipe of choux batter, a sheet of craquelin, a recipe of coffee pastry cream, a recipe of chocolate poured fondant and some buttercream or frosting for decorating.
Next, select the size of the head and body. I picked a 2 7/8″ body which turned out to be a little too big, and a 3/4″ head. Round cutters from a set will help you decide what you want your finished choux shapes pieces to look like.
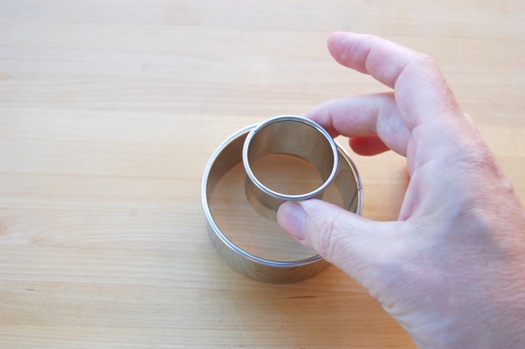
For the bottoms, I traced the insides with pencil on a piece of parchment…
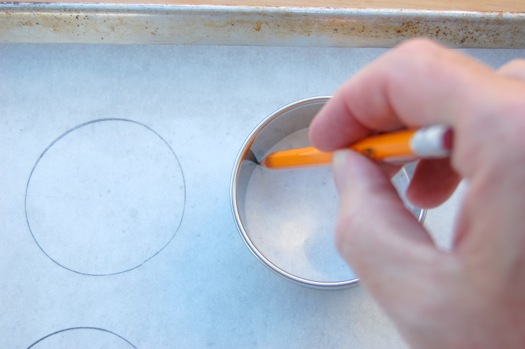
…then flipped the sheet over so I wouldn’t get graphite on my nuns. I could still see the circles clearly.
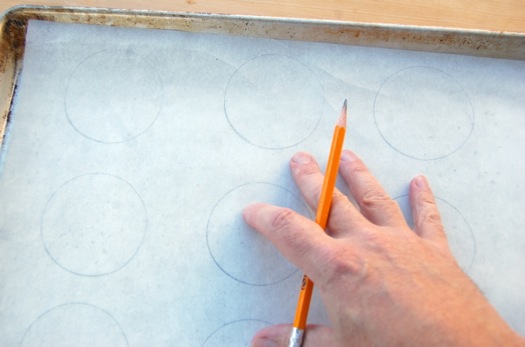
Piping at an angle with the tip on the parchment to make a flatter shape, I attempted to fill the circles. Two things went wrong. I made the mistake of leaving a collar on, which created ripples. I should have just snipped the end of the bag and made a nice big hole to pipe through. Next I realized that the circles would produce gigantic bodies if I piped disks that big. So, I just piped them smaller. I made eight of them and stored the rest of the choux batter in the pastry bag on the counter so it wouldn’t dry out.
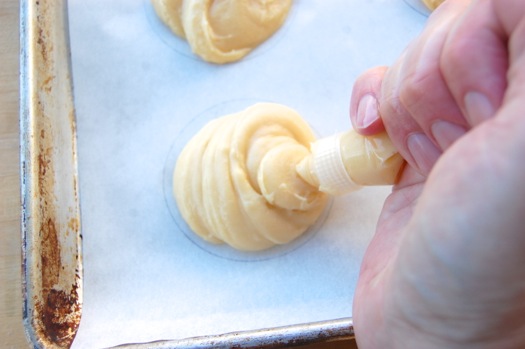
As for the ripples, they don’t matter very much. And choux is forgiving. A finger dipped in water can put misshapen blobs to rights. See?
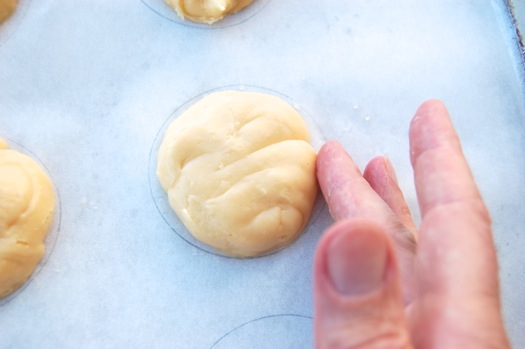
So then, I cut and added the craquelin tops and popped them in the oven, storing the rest of the craqulin sheet in the refrigerator for when I make the heads. (Later).
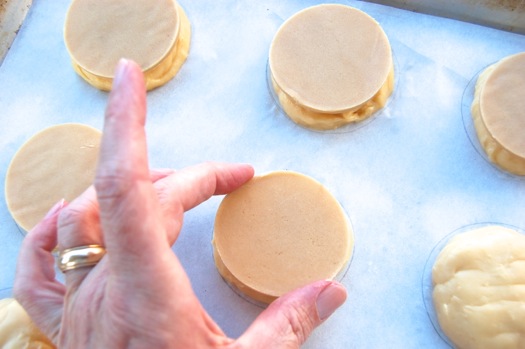
I baked them for 10 minutes at 375 Fahrenheit, then 25 more at 375, then — without removing them from the oven — then turned down the oven and baked them for another hour at 250 propping them open slightly by inserting the handle of a wooden spoon in the door.
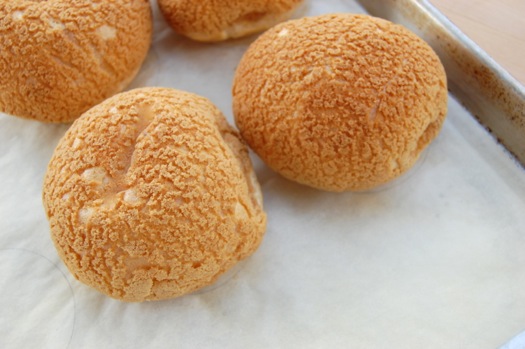
Why so much baking? Because shapes this large can easily deflate if you take them out of the oven before they’re rigid (especially with the added weight of the craquelin on top). Err on the side of caution and dry the heck out of the things. If you take them out and immediately notice some shrinkage, just pop them back in again and keep baking. Better still, before you take them out give them a light, quick squeeze with your fingertips (250 isn’t terribly hot). They should feel hard, like egg shells. Anyway, at that point I took them out and vented them with a knife, then returned them to the oven upside-down for a further half an hour at 250.
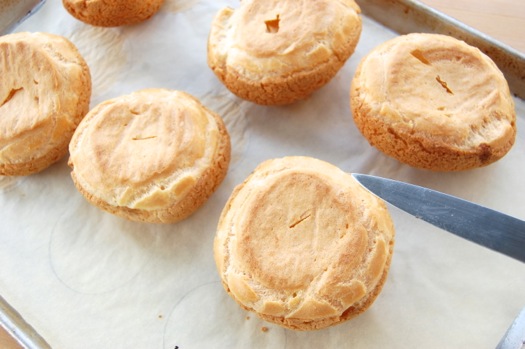
Once the bodies are baked, turn your attention to the heads. Pipe out at least eight (you’ll probably have a little extra). Pipe sideways once again (poke down any little points with a wet finger).
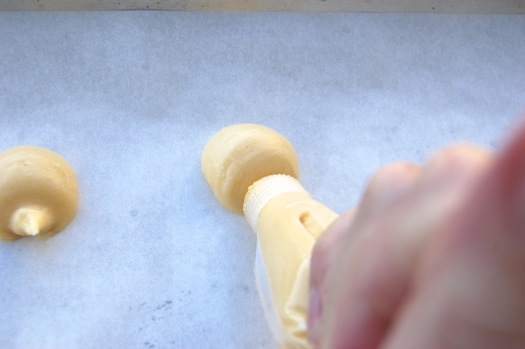
Punch out the craquelin tops and apply them. Bake these at 425 for 10 minutes, then 20-25 at 375, by which time they should be quite dry and ready to use.
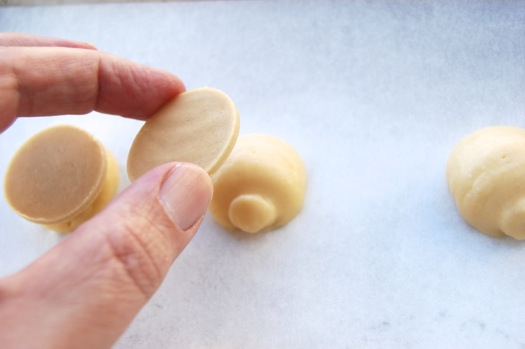
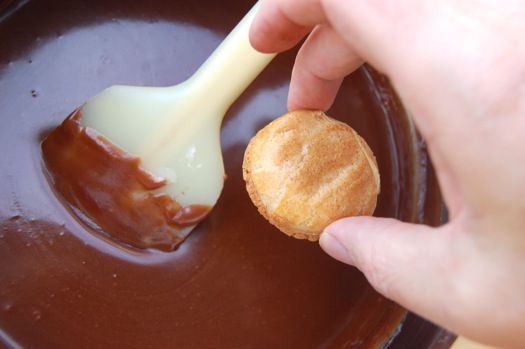
Dip them in chocolate poured fondant warmed in the top of a double boiler. I spiked this with about a teaspoon of almond extract to add interest. Goes great with the coffee buttercream.
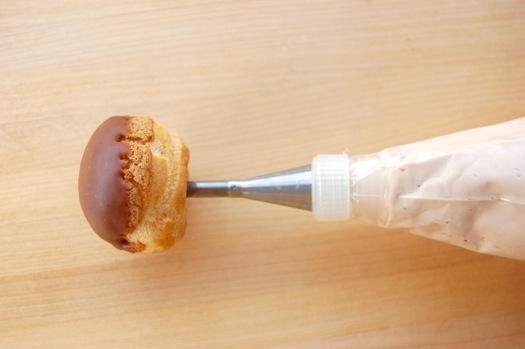
When all the heads have been dipped, pick up the first one you dipped (which should be set by now) and pipe in a little coffee pastry cream with a bismarck tip. Set the finished heads aside while you work on the bodies.
The first order of business is to prepare the tops to receive the heads. Make depression in the body by gently tap-tapping the peak of the dome until it breaks. Another way to go is to simply make a large hole here and pipe in a whole bunch of pastry cream. I don’t do that because that makes the bodies heavy and harder hold onto when I dip. Also pastry cream drips into my fondant through the hole, which ticks me off.
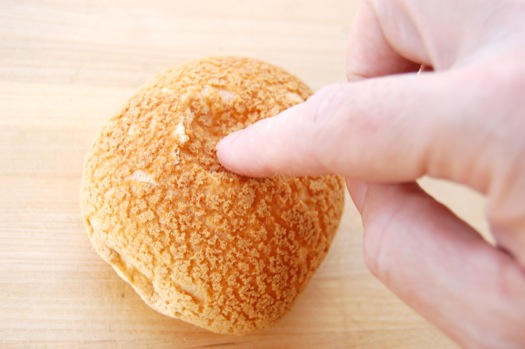
Anyway, once your depression or hole is made, dip the body in the fondant which you’ve been keeping warm on the stove top and stirring occasionally. Let any excess drip off.
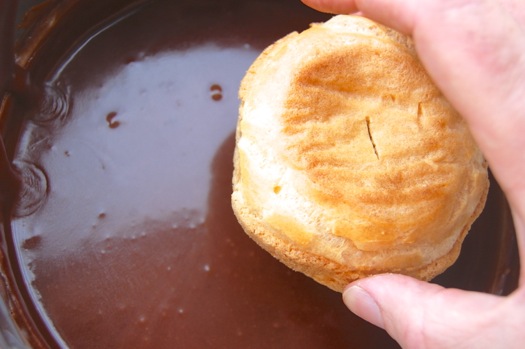
Affix a finished head to each body after you dip it, then pipe in coffee pastry cream through a bismarck tip if you haven’t filled the body already. Put in at least a couple ounces since these things are supposed to be sorta weighty. Not that nuns are fat, Sister Jackie, if you’re reading. I’d never say a thing like that and don’t want detention. It’s just that these are rich pastries…meant to be shared, know what I mean?
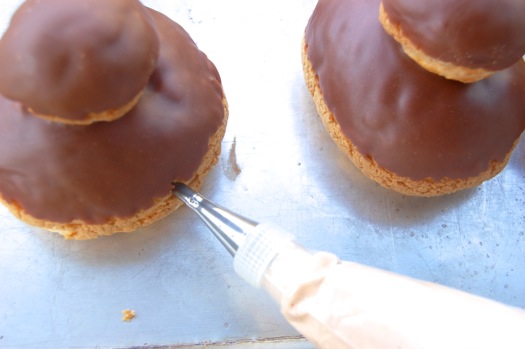
Whew. Anyway, lastly, using a medium star tip to pipe on the coif. Here I’m using a medium (Wilton #21) tip with some leftover buttercream I had in the freezer. I added a little melted chocolate to it to give it a muslin tint. Squeeze firmly at first and relax your grip through the stroke to get a tapered effect. These could have been more tapered, but as I’ve said many times before, piping isn’t really my thing.
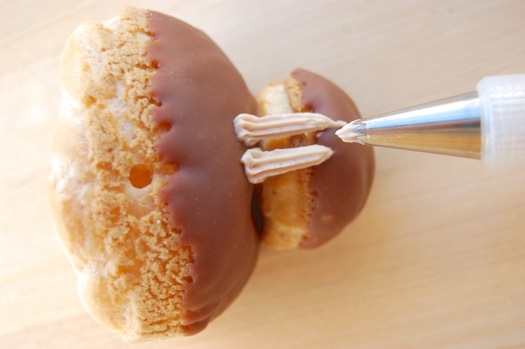
Still these turned out quite well I think. Maybe could have used a little something on the very top, and little gold dragée or something. Ah well.

Nowadays people make the nun in all sorts of crazy colors, put football uniforms on them, clown outfits, Jackie Onassis hats. I’d never do a thing like that. I’d have to go to confession and say about a zillion Our Fathers. No thank you.
et cum spiritu tuo.
And with yours, Brother Shaw.
– Joe
“When all the heads have been dipped, pick up the first one you dipped (which should be set by now) and pipe in a little coffee pastry cream with a bismarck tip.”
Is it possible to first fill and then dip them? I’d prefer not have fingerprints on the cover, but then again, your heads look like that’s not an issue in the first place.
You certainly can if you prefer. In general I like to do several and decide which ones I like best before I fill them…totally up to you!
– Joe
Your nuns are far superior to the product on this year’s Great British Bake-off. The tutorial is great. The UK has nothing on Kentucky.
Ha! Thanks Mary Lou! Most people are surprised to find out we have more going on here than guns, whiskey and blood feuds. I appreciate that! Cheers,
– Joe
Come on, Joe – everyone knows you also have horses and a certain trademarked pie!
Don’t even THINK about that pie! You want to get sued???
Nothing to see here. La la la la….wasn’t doing anything. Nope not a thing about a pie from Kentucky.
Hm..hm. What? Who?
– Bill Savory
I love these and all the choux talk lately! I’m a little behind, though. I got my first pullman pan delivered by Amazon yesterday and I’m head over heels for it. I felt so very accomplished tipping out my perfectly rectangular loaf. My son was finally not embarrassed to take homemade bread to school for lunch, and my bread finally fits my toaster. I’ve already ordered a second since 1/2 my standard bread dough recipe fit perfectly into one pan.
Next up: bismarck tip!
Woohoo! Great news, Amanda! Always glad to hear baking success stories. And you’ll love that tip!
Cheers,
– Joe