Making Wheat Sandwich Bread
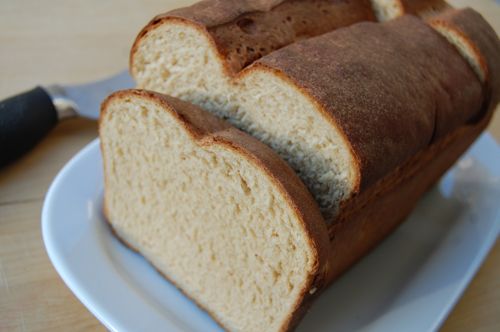
This bread works every bit as well as a free-form rustic loaf as it does in a loaf pan. If that’s the sort of thing you’re after, you can shape it as you wish, then follow the instructions under the How to Make Your Oven More Brick-Oven Like post under the techniques menu to the right.
Whole wheat sandwich bread has a few more steps than standard white, but not too many more, and the results will amaze you. Especially if you use a good white whole wheat grind (King Arthur makes a great one), the loaf will be nearly as light in taste and texture as white bread. This is a two-day bread, requiring a preferment (starter) and a soaker. Make your soaker by combining your flour and salt in a bowl:
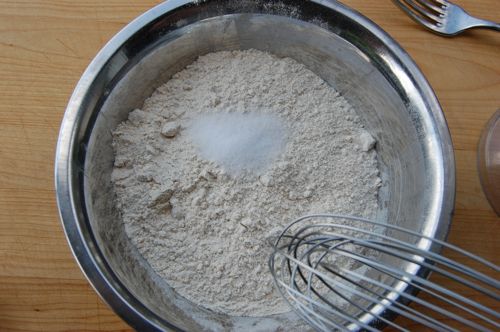
Whisk it together…
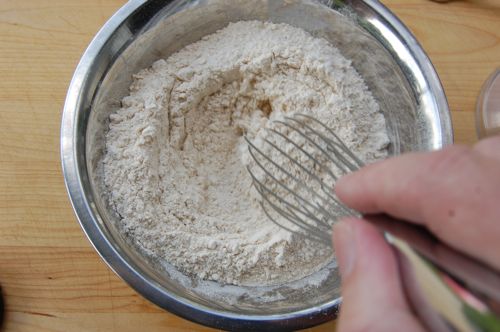
…and add the milk. You can use water if you want, yogurt and buttermilk are good alternatives too.
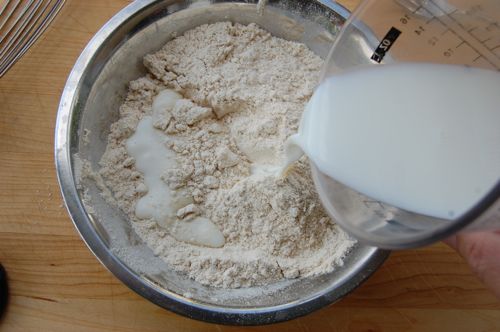
Stir with a fork until everything’s wet.
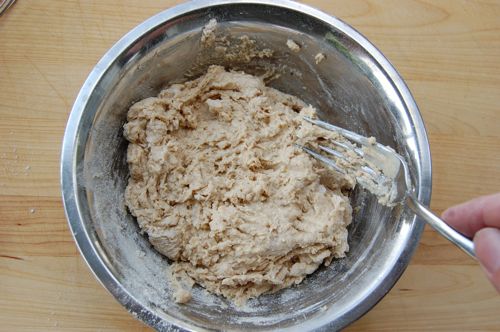
Cover that mess with plastic wrap and let it sit out overnight. For the starter, combine the flour, yeast and water in the bowl of a mixer fitted with a paddle…
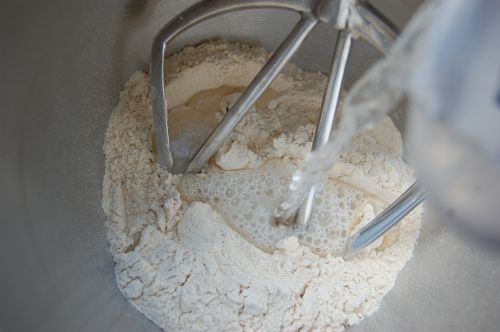
…and stir until a dough forms.
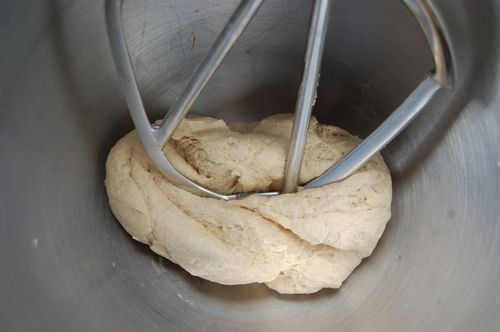
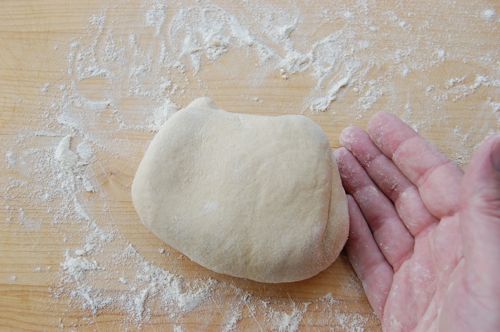
It helps to work the dough a little by hand once that’s done, to stretch it and help the gluten develop. Knead it on a floured board for about a minute. Put the starter in an oiled bowl, cover with plastic and put it into the fridge.
The next day, assemble your final dough. Combine the flour, salt, yeast, honey and soft butter in the bowl of a mixer fitted with a paddle. Add in the soaker, then tear up the starter and put the pieces in.
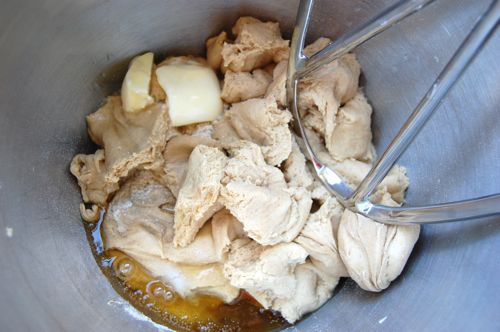
Stir for about a minute until everything is combined, then switch to the dough hook. Knead on medium speed for 2-3 minutes until a dough forms.
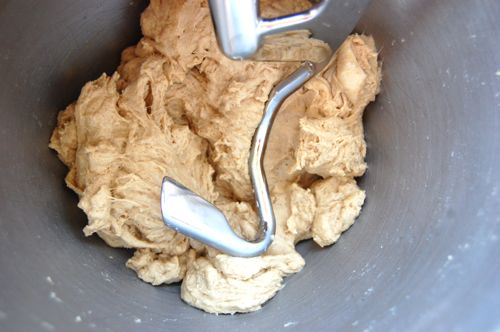
It will be a little sticky.
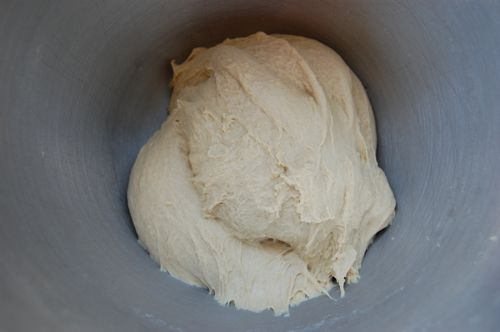
Turn the dough out onto a floured board and knead by hand for 3-4 minutes. Let it rest for five minutes to give the flour time to fully absorb moisture, then knead for another minute or so until it’s soft, spongy and only slightly sticky.
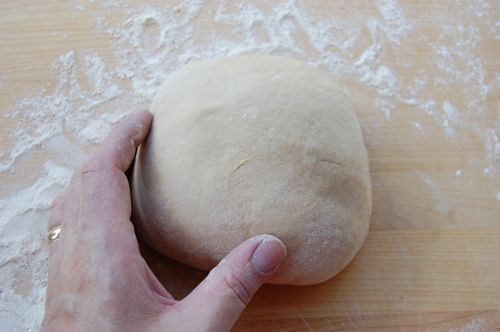
Cover it with plastic wrap and let it sit 30-60 minutes…
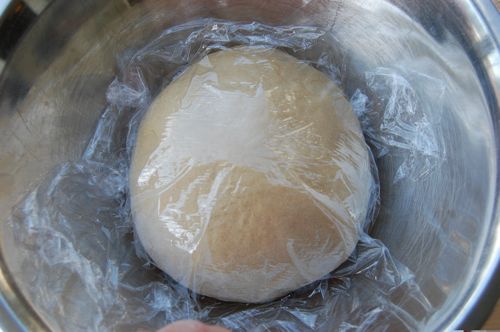
… until it has increase in size by about 50%.
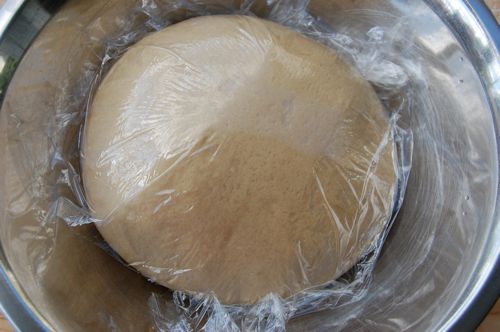
No we get to the “punch down” stage, though to be fair, this isn’t so much a punching down as it is a merciless can-kicking. With a heavy hand, push the dough out into an oblong shape.
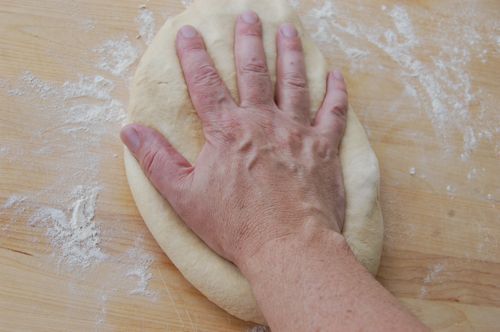
Grab it by one of the ends and bring it down hard on the table top — wham! Feel good? Then do it some more.
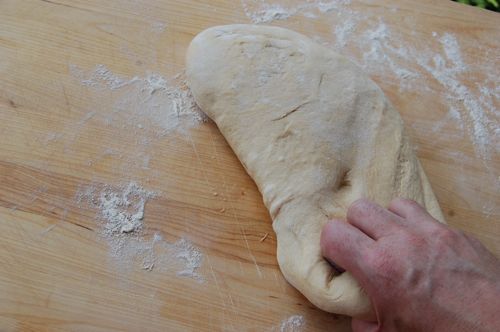
Now beat the dough with the back and heels of your hards. Hurt it. Go on, and don’t be shy. The object here is to pop any large gas bubbles, which is important for sandwich bread. Why? Because good sandwich bread has a tight, even crumb with very small holes, the kind that don’t let mustard drip out onto your brand new khaki trousers. Skip this step and you risk what we used to call “mouse houses” at the bakery: big tunnels in the crumb, or large gaps under the top crust where gas and steam have been allowed to collect.
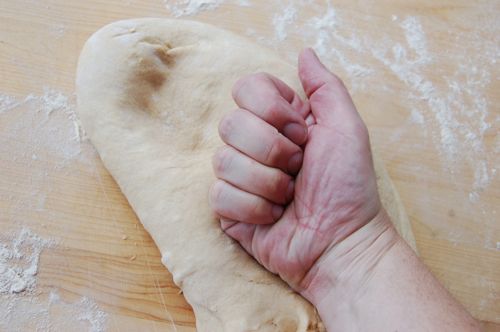
Now that your sandwich dough knows who’s boss, pat it down into a rectangle. If you see any large gas bubbles, gently tear them open to allow the gas to escape, then press the tears back together.
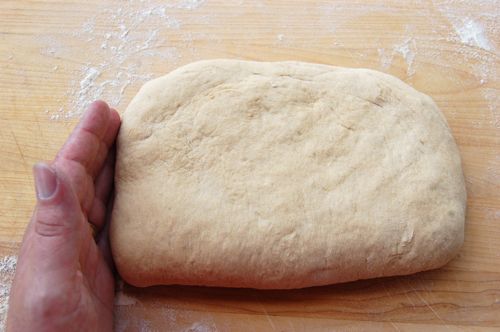
Now fold/roll it up, taking care that you don’t roll in any large pockets of air.
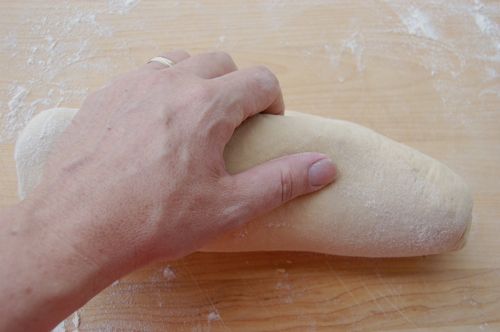
When it’s completely rolled, seal the edge with your thumb to create surface tension on the outside of the loaf.
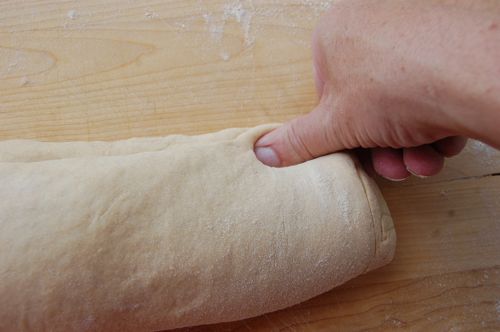
It’ll look like this when you’re done:
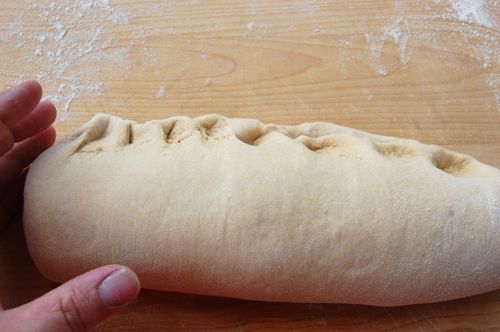
Now pat it into a plump log and lay it into an oiled 4 1/2″ x 8″ pan.
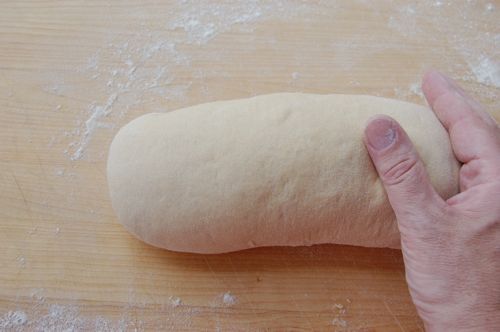
Spread some of that oil on the top , cover the loaf with a towel or plastic wrap.
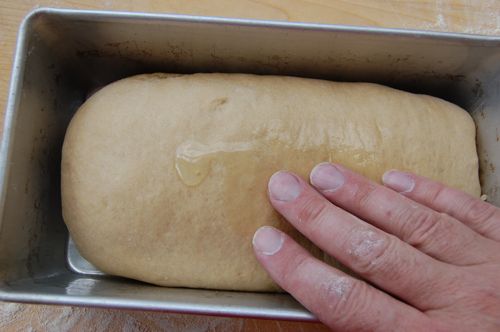
Let it rise another 30-60 minutes until it is again about 50% larger than it was. Meanwhile, preheat your oven to 425.
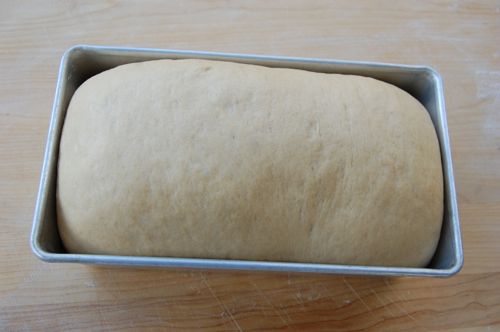
Just before baking, slash the top to allow for expansion.
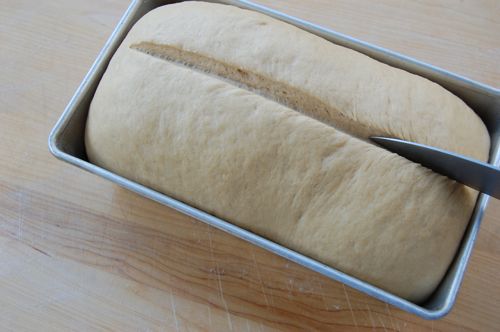
Bake for 20 minutes and rotate. If the top is very brown at that point, you can put foil over it to keep it from burning for the second half of the bake. You want something along the lines of this:
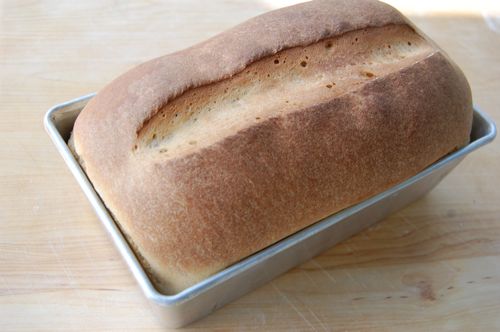
If you like a shiny top, your can paint the surface with egg wash. I generally appreciate a rustic look. Allow the bread to cool on a rack for 2 hours before slicing, then break out the ham salad.
Just a tip — I have found that atta (indian whole wheat flour used for chapattis) actually makes an excellent whole wheat bread! It is milled more finely and is made from a soft wheat (so none of the sharp edges that cut gluten and toughen up breads are present). I know you have said you’ve had trouble sourcing atta, but in case you ever find it, it is useful for more than just chapatti!
Excellent. Thanks very much!
– Joe