Vanilla Slices (Uptown Version)

Is the vanilla slice really the chocolate chip cookie of Australia? If so, those Aussies are more sophisticated than we give them credit for. Granted most home versions are made with powdered custard and either store bought puff pastry or mildly sweet biscuits, then topped with simple powdered sugar icing. Still pretty cool though, no?
Objectively speaking, vanilla slices resemble both Napoleons and galaktoboureko, but in truth they really are their own thing. The commercial versions are, at least from what I understand, so heavily gelatin-thickened that they practically bounce, hence their nickname which I won’t repeat here for fear of getting more irate comments. While I originally thought I’d try to replicate that density, in the end I decided that just getting a custard layer this thick to stand and slice neatly was enough. But feel free to add more gelatin, those of you who prefer yours with a stouter texture.
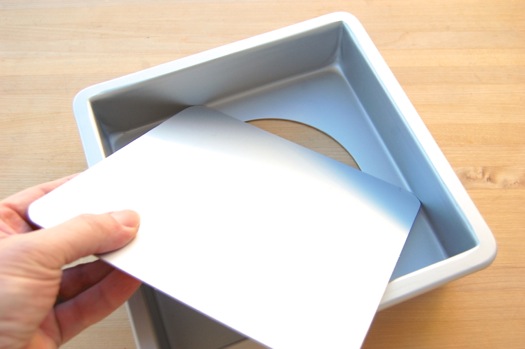
Begin by assembling your ingredients and preheating your oven to 400 degrees Fahrenheit. Have a bottomless 8-inch square cake pan at the ready. You can do this in a standard 8-inch square pan as well, though the first slice or two will come out rather messy.
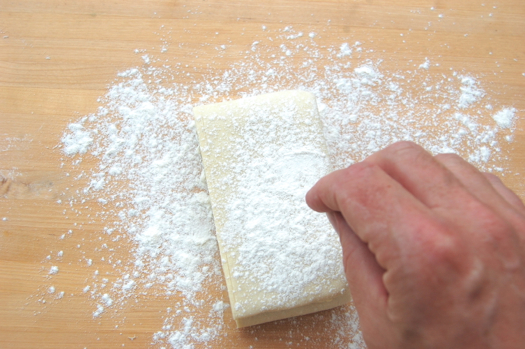
Here I have about 14 ounces of homemade puff pastry, but store bought will work just fine.
You want to roll this out very thinly, to a dimension of 10″ x 20″ (so as to account for shrinkage as the puff pastry bakes). You can also divide the dough in two and roll two 10″ x 10″ sheets, whatever is easier. Use as much flour as you need.
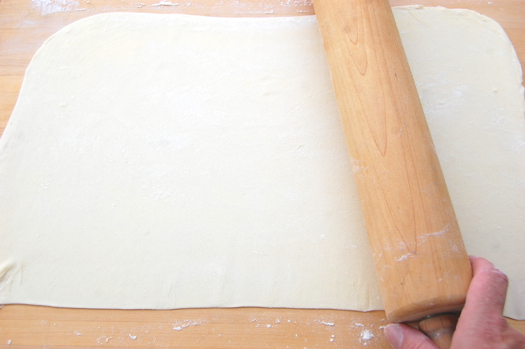
This is about the thickness you want.
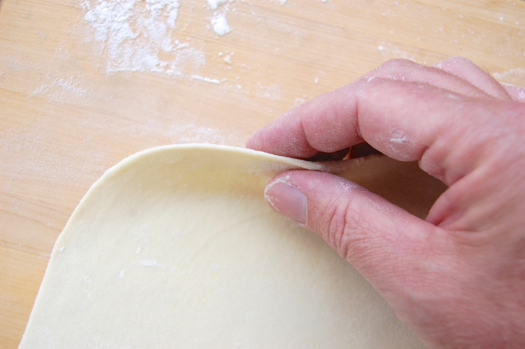
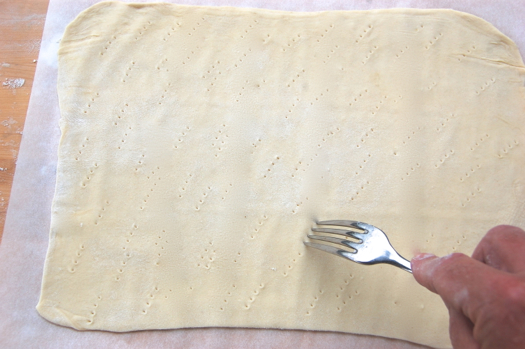
Cut the sheet in half and place each piece on a sheet of parchment. Roll the dough a little more on the parchment paper if it shrinks during the transfer. Now “dock” the pastry sheet by poking holes all over it with a fork. We don’t want this pastry rising much.
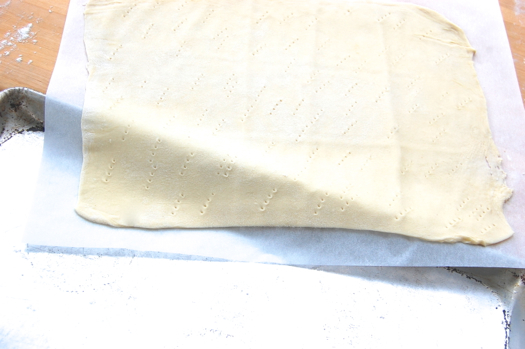
To ensure that it doesn’t we’re going to slip the parchment onto a sheet pan…
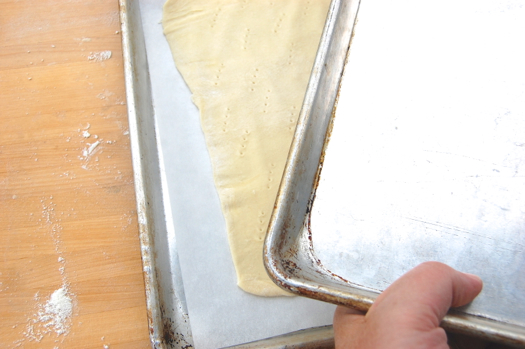
…and lay another sheet pan right on top of it (it doesn’t need to be lubricated since puff pastry is very buttery). Do the same with the other piece of pastry…you’ll need four sheet pans in total, or you can just do one piece of pastry at a time. Whatever you do MAKE SURE you let the pastry sheets rest before baking for at least 20 minutes. This will minimize shrinking.
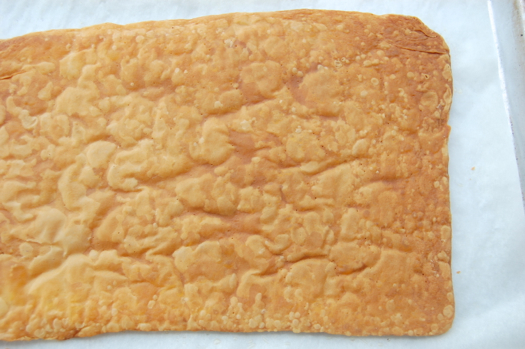
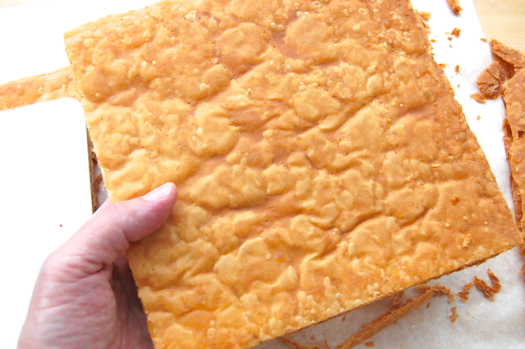
Bake the pastry in the double pans for 15 minutes until they are just barely browned. Then carefully remove the top sheet pan and bake another 5-10 minutes until the puff pastry is golden. The pastry will brown very quickly depending on your oven heat, so be sure to check after five minutes so it doesn’t over-bake. This is about what you want. Let the pastry cool completely.
Lay your pan bottom gently on the pastry and trim the sheets to 8″ x 8″. Notice I don’t have much clearance here. I forgot to rest my dough sheets before baking…I had just barely enough clearance. Whew!
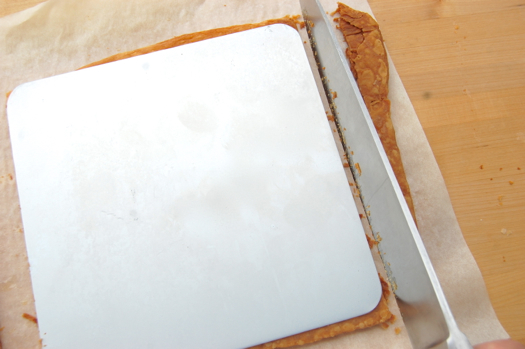
But they came out well in the end.
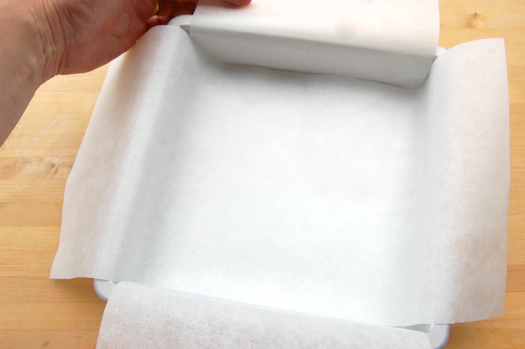
I lined the pan with parchment, cutting two long, overlapping strips and laying them in.
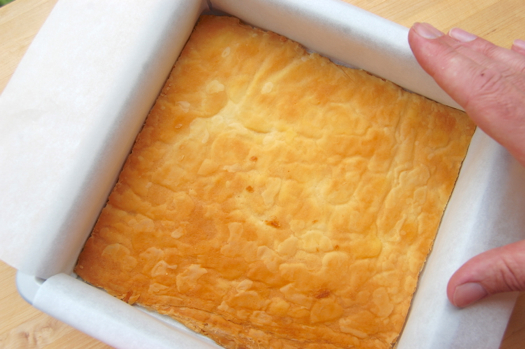
I gently placed one sheet in the bottom.
The other I placed on a rack over a sheet pan…

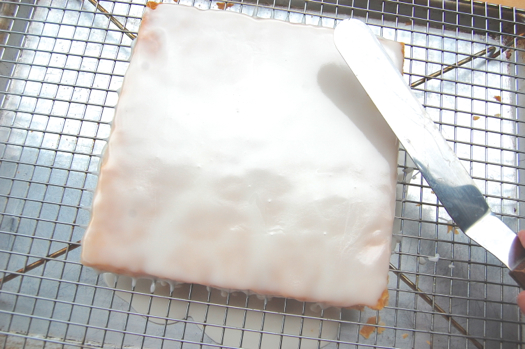
…and poured warm melted fondant all over it. You can use simple “five finger” icing instead if you prefer, though the finish will likely chip or buckle as the pastry sets up. No biggie depending on how adamant you are about perfectly smooth tops (I am as you can tell). If you use poured fondant you’ll want to thin it just a touch with a tablespoon or so of water. Alternately you can add a little fruit purée to the icing…some passion fruit purée is traditional, mango will also work, but use your imagination. A couple of ounces is enough. If the fondant is too thin after the addition of the fruit just take it off the heat and stir it as it cools and thickens. Pour when it’s about as thick as honey.

Give it a quick smoothing to push the icing over the edges.
Let that sit about five minutes, then gently slip you spatula under the pastry sheet and slide it onto a piece of parchment.
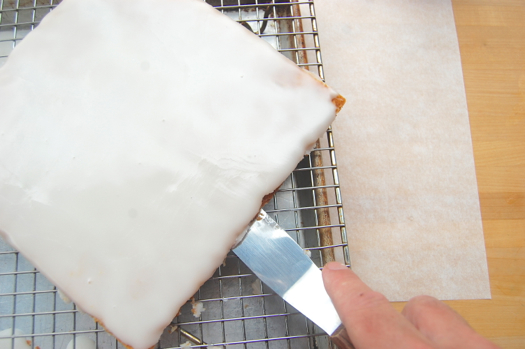
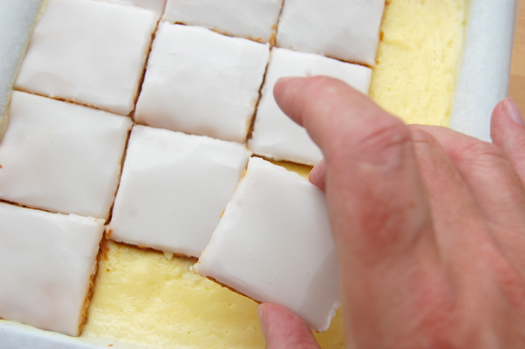
Using a large knife cut the tops to size. I understand that when they’re cut in rectangles they’re Australian vanilla slices, but when cut into squares they’re New Zealand “custard squares”. Interesting. Whatever shape you decide upon, set them aside.

Now for the filling. I used a less-firm pastry cream fortified with gelatin because I wanted the custard layer to taste less starchy and be a little more jelly-like. The firmer of my two pastry creams would likely stand up all on its own (though I might still reinforce it with a teaspoon of gelatin just to be sure).
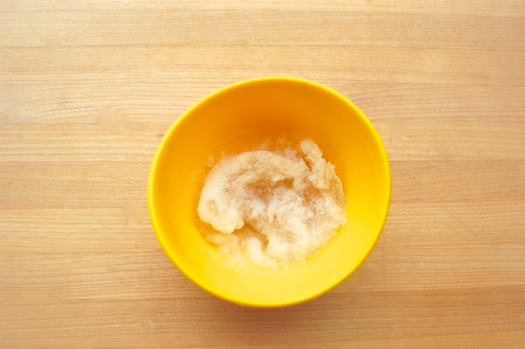
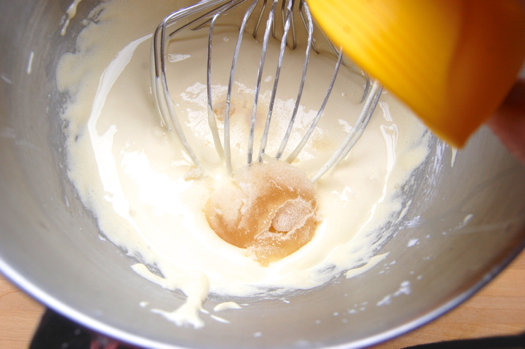
On which note, place your gelatin in a small bowl and moisten it with ice water before you make your pastry cream.
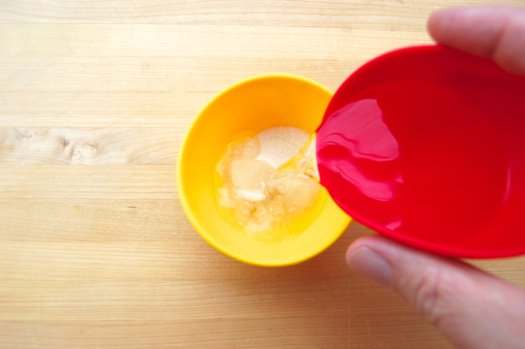
After about five minutes it will hydrate and become a rubbery mass. This is what you want.
Make the pastry cream according to directions, just add the gelatin the egg yolks and sugar mixture once it’s whipped. Plop.
Pour the hot milk mixture all over it.
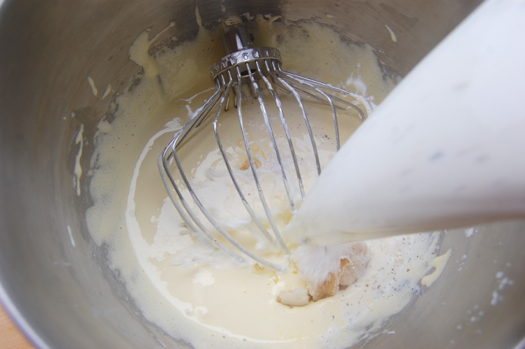
Proceed with the pastry cream as directed, and while it’s still hot pour it into the pastry-lined cake pan.
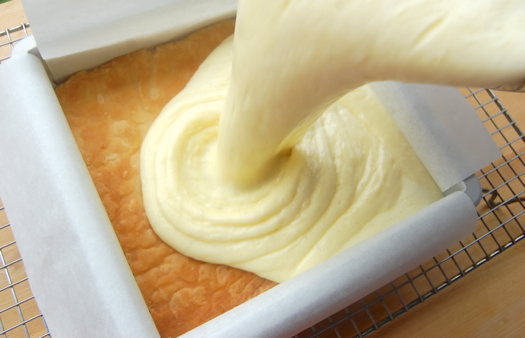
Give it a quick smoothing, then let it sit and cool for about an hour at room temperature.
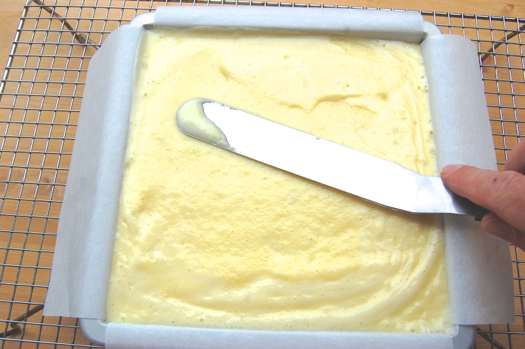
Put on the tops and put the whole thing in the fridge for at least four hours or overnight.
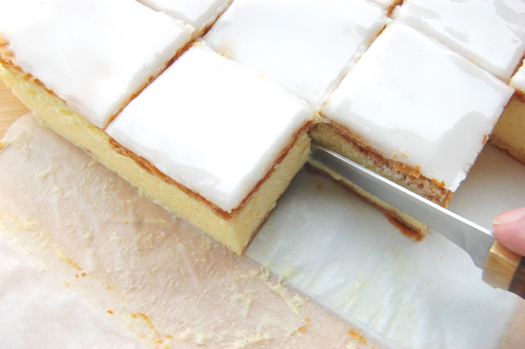
The next day de-pan the pastry.
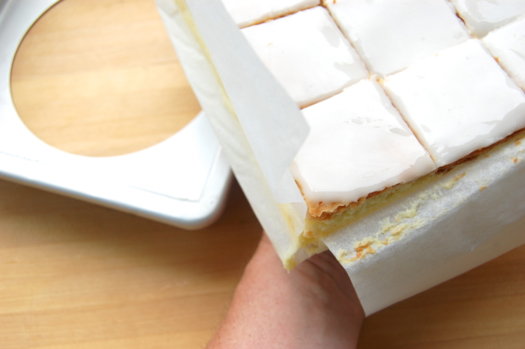
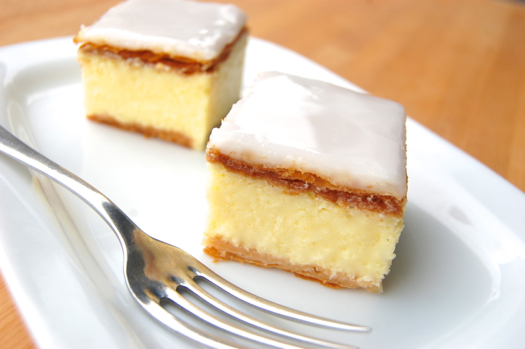
Using a sharp knife, cut down between the tops, through the filling and finally through the bottom pastry to separate them. Serve chilled.
This was my original hero shot, but then I noticed that the fish-eye effect made them look lopsided. Still basically a good shot I think.
Is this an overly fussy approach to vanilla slices? Did I overthink these? Almost certainly yes, but when you live in a culture has no custard powder in it, you have to make alterations. They sure do taste good at any rate, and I did include plenty of shortcuts for the downtown crowd. So what are you complaining about? Make yours as you see fit, and have fun doing it! Thanks for your forbearance all you Bruces and Sheilas.
Close to 30 years ago we had a napoleon-type dessert at a San Francisco restaurant and I’ve made it for our anniversary ever since: the filling is a not-too-thick layer of coffee-flavored butter cream and the combination of sugar dusted puff pastry and butter cream is incredibly good! Time to make the puff paste. . . .
That sounds fabulous. Thanks, Sally!
– Joe
Very nice! By the way, you are right about Aussies being more sophisticated than they are creditted — all of my Aussie friends can best be described as tough on the outside, but soft and squishy on the insides… much like a Vanilla Slice.
Nicely done, Brian.
– Joe
Blokes and Sheilas!!
Your vanilla slice looks yummy!!!
Snotblock snotblock snotblock snotblock snotblock snotblock snotblock snotblock snotblock snotblock snotblock snotblock
snotblock snotblock snotblock
snotblock
CfDU
(yup. We are sophisticated :D)
Remember the thing I said about Aussies being more sophisticated than we give the credit for? I take it back.
– Joe
Interesting to see that you are using a thin boning knife to cut through the squares rather than the usual big chef’s knife of long bladed cutter.
Hi Malini!
Since the pastry cream was semi-soft I wanted less surface area. A European bakery in my old neighborhood in Chicago used a wire cutter for their napoleons which was perfect. I wish I had one!
Nice to hear from you!
– Joe
Hi Joe,
Am an avid reader of your blog from Down Under. Use so many of your fabulous recipes. The Cheese Danish is a go-to favourite for our family. Love your take on an Aussie icon. It is true that many commerically made Vanilla Slices are beyond horrible – tasteless and tough like sunbaked rubber. But when you get a good one it is heaven!! Will be giving this recipe a go asap. Thanks
Nahdi
PS: You should give lamingtons a go too! 🙂
Great idea, Nahdi! It’s not the first request for lamingtons. I shall give them a try!
Thanks for all the very kind words also!
Cheers,
– Joe