Making Potica
Po-TEET-sa, po-TEET-sa is how it’s pronounced, just in case there’s still a question on that. I’m told that back in Slovenia if you can make potica you’re entitled to call yourself a cook. Assuming that’s true, then I’ve earned the right to sling hash in any all-night greasy spoon in Ljubljana. Adam and Eve on a raft — wreck ’em!
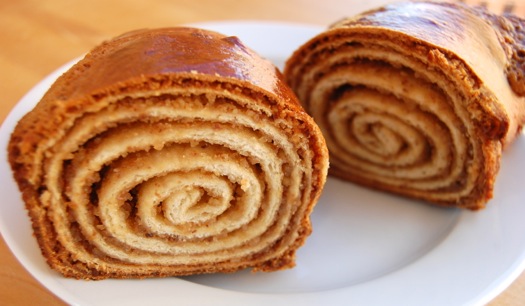
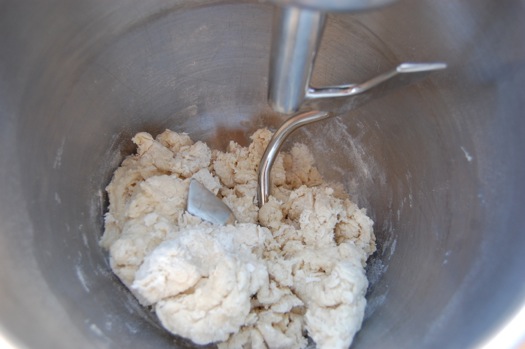
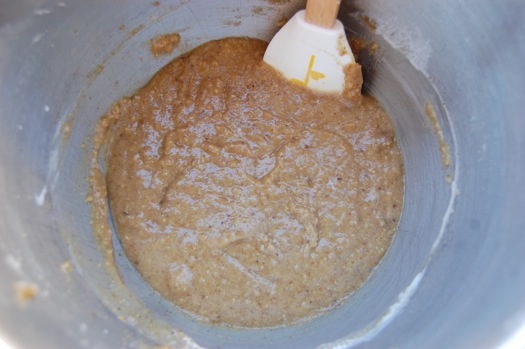
This isn’t bad for a first try. I’ve got a few surface defects but the interior looks good, and that’s the part that really matters with potica. Notice that I’ve got quite a few layers going here. I was able to stretch the dough quite thin, though a yeast dough is never going to get as thin as a very elastic strudel dough. So if many, many thin layers are what you’re after, head over to the strudel recipe and employ the dough you find there. Otherwise assemble the ingredients for potica and proceed as follows. Place the flour, yeast, salt and sugar in the bowl of a mixer fitted with the paddle (beater). Stir that on low.

Now add the warm milk and keep stirring.

A shaggy dough will form. Switch to the dough hook.
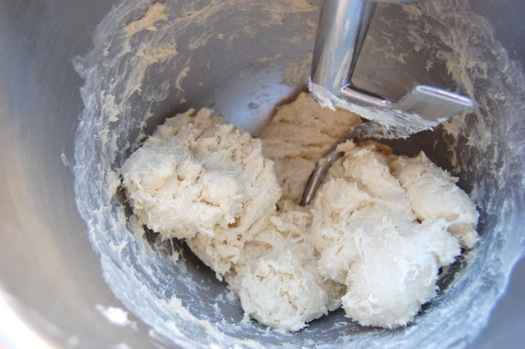
Knead the dough for about two minutes on medium until the dough smooths out some. Then add the soft butter in a couple of additions.

The dough will get sloppy at first…
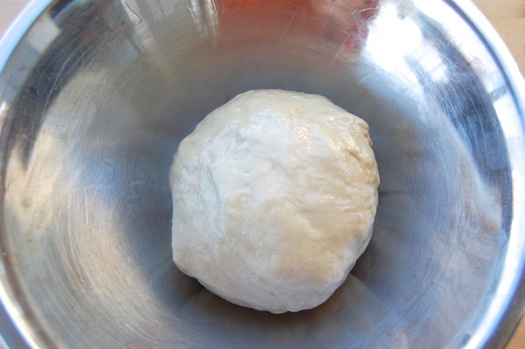
…but in 3-5 minutes it will come back together. You’ll have a clean bowl again. Done!
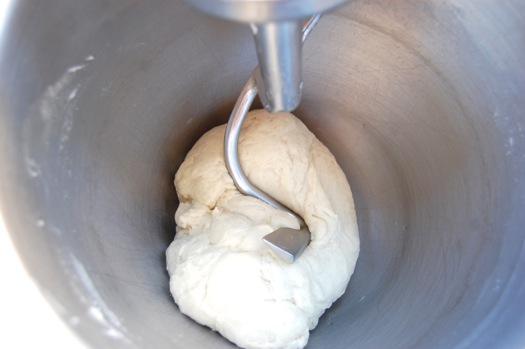
Let the dough rise in a lightly oiled bowl for 90 minutes, covered with a towel or plastic wrap.
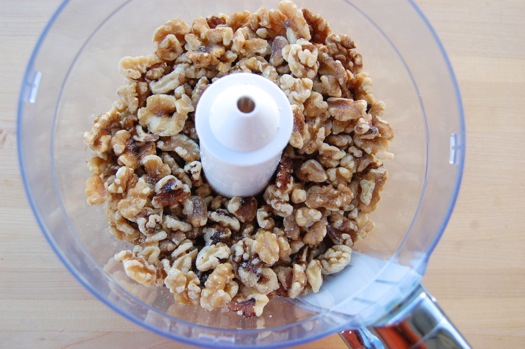
Meanwhile, prepare the filling. Grind the nuts in a food processor. You want them fine, but not ground down to butter.
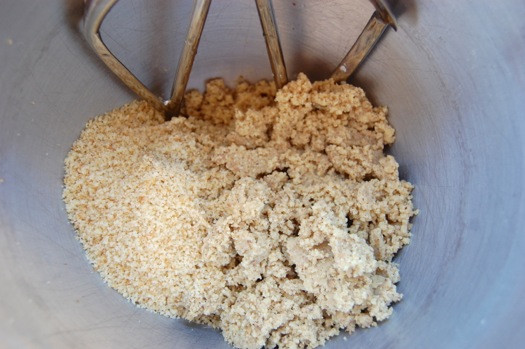
About like crumbs. See here? Those are the cake crumbs on the left, the ground nuts on the right.
Now add the rest of the filling ingredients to the bowl.
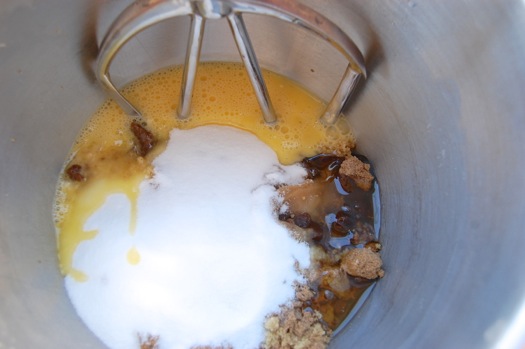
And stir about a minute until everything is combined.
After 90 minutes or so your dough will be nice and puffy.

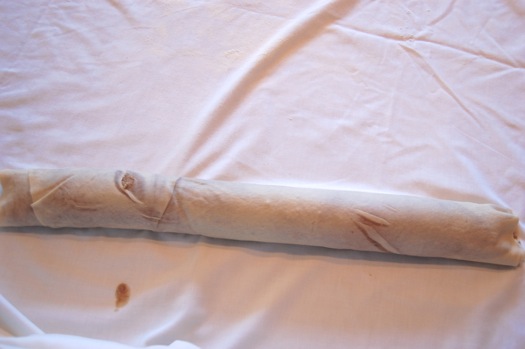
Throw a sheet over your dining room table to begin the shaping. Toss some flour around…
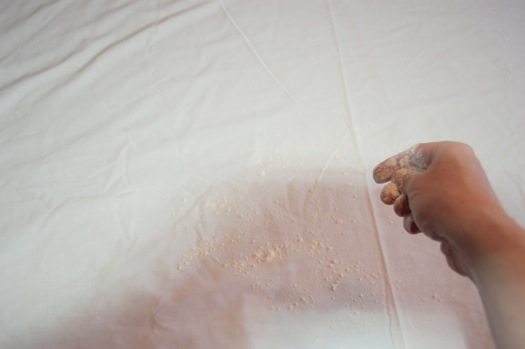
…and rub it in a little.
Apply the dough and get a pin ready.
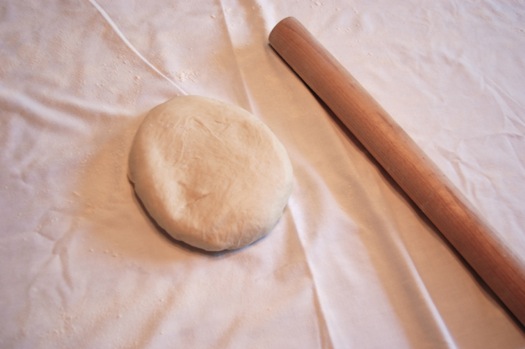
A medium pin will work decently.
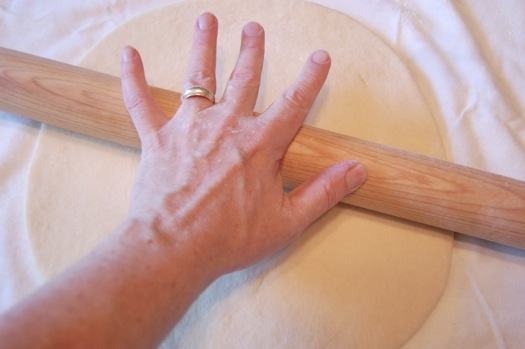
A big pin works even better.

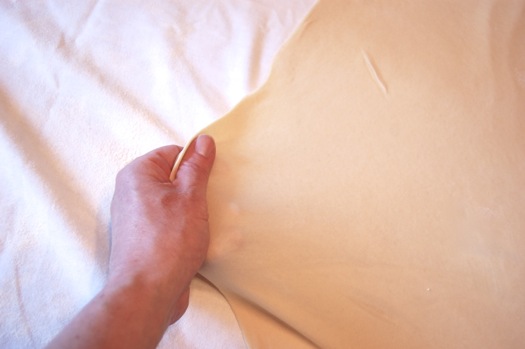
Once the dough is about two feet by three feet you’ll need to start stretching. Just grab the edges and pull gently but steadily. The dough will slowly stretch out. Remember that this process need not be terribly fast. Pull on one side, then a corner, then the next side, going around and around.
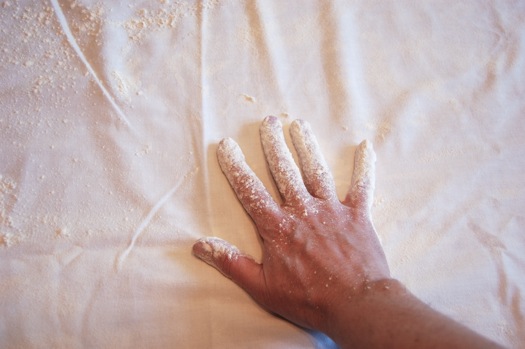
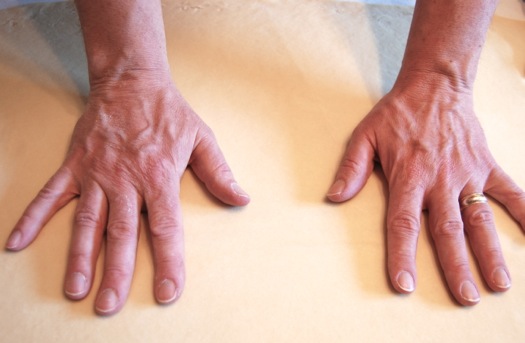
If your find the dough is sliding across the table top you can have someone plant their big hands down on the opposite side.
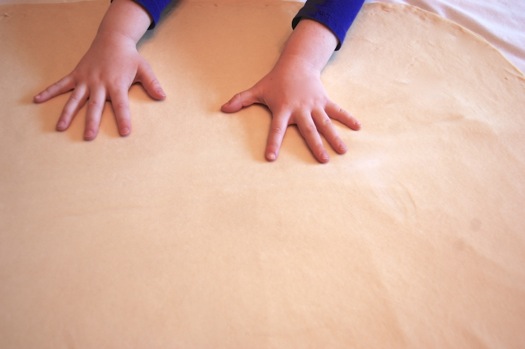
Small hands work well too.
I got this dough stretched out to about two and a half by four feet. That seemed about the limit to me. Indeed I got a couple of small tears in the dough, which are no big deal.

You just moisten your fingers and pinch them back together.

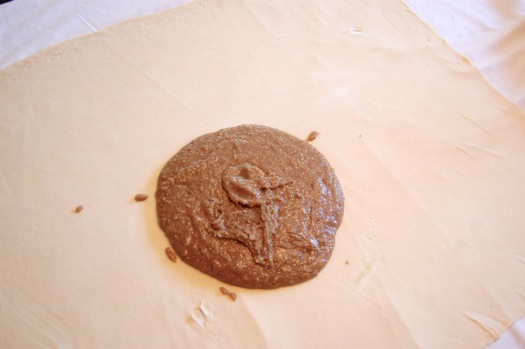
Now then, apply the filling. This stuff is a little on the gummy side so you need to be patient with it as well.
Spread it thinly, being careful not to tear the dough sheet underneath.
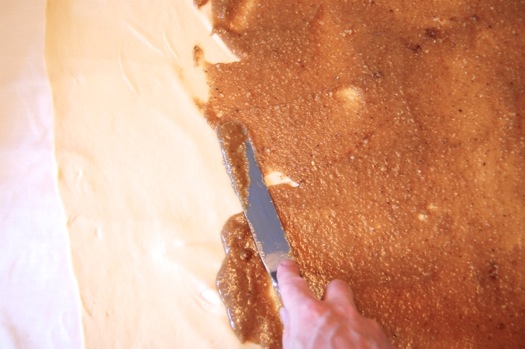
I spread the filling a bit too far to the edge, which caused some leaking later, but live and learn, am I right? To get the most layers, roll the dough sheet up from the narrow end. Turn up the edge…
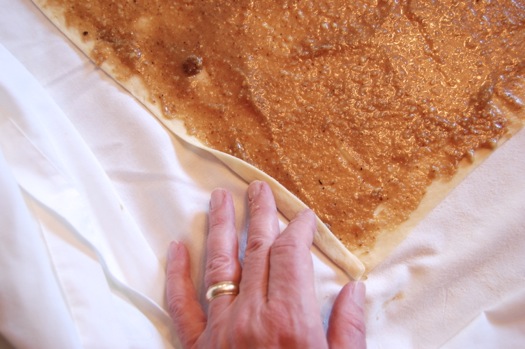
…and get the roll going.

Then, as with strudel, raise up the sheet underneath to get the roll rolling.
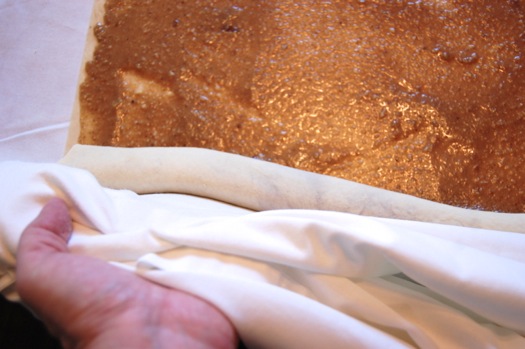
And there you are. A couple of little tears, but not a big deal.
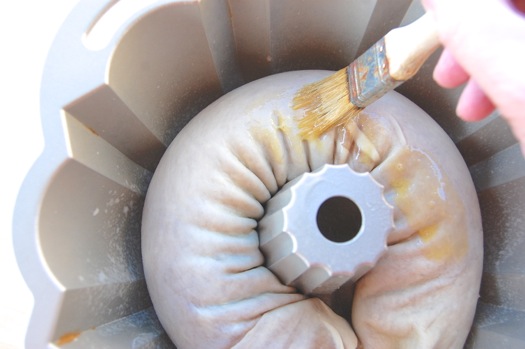
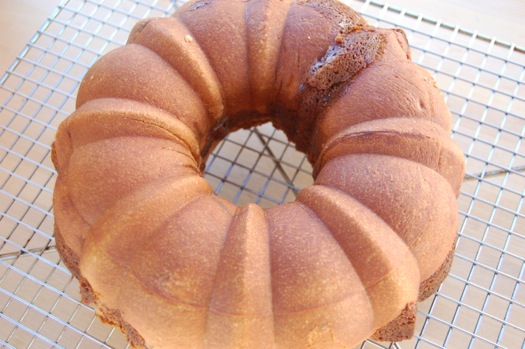
Now then, regarding forms. Potica can be baked in any form you happen to have. You can even bake it free-form if you like (a loop is classic). Some people like to put two lengths — or a single folded stretch — into the same pan to get sort of a double bull’s eye effect. Here I decided a bundt pan might be fun — lubricated with cooking spray of course.

I painted on some egg wash, then let the roll proof about half an hour. Meanwhile I preheated the oven to 350 degrees Fahrenheit.
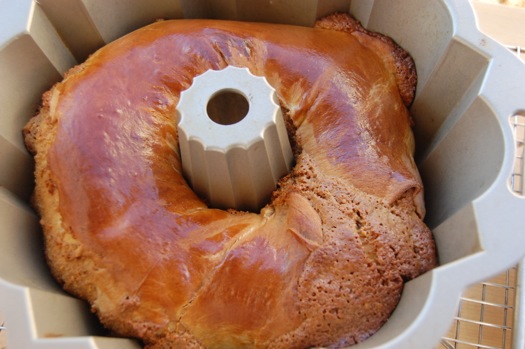
You want to bake these 45 minutes to one hour, until they’re nut brown. You can see some minor filling explosions there. Those might not have happened had I not rolled the dough so thin (or spread the filling to the very edge of the sheet) but as I mentioned earlier, it’s the inside of the potica that matters most.
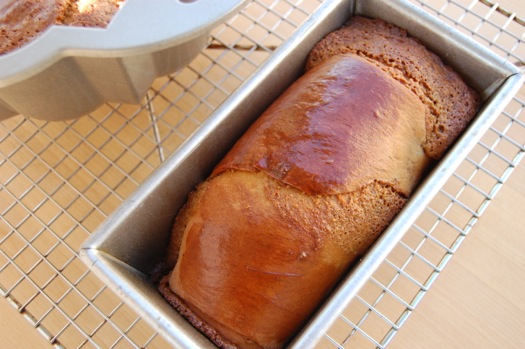
My leftover stretch I baked up in a little loaf pan, greased with butter.
Once baked, loosen the sides gently with a butter knife, then turn your poticas out. You can see that potica takes up the shape of a mold quite nicely. You can see pan-facing side of this is a little ugly, just like the top. However it just occurred to me that you could apply a light icing of some sort to obscure any defects.
But what a pleasure it was to cut into. Success!

How does it taste? Like a little slice of sweet, nutty Slovenian heaven. My young ones started with a thin slice, tasted, thought about it, then asked for more. When half of that small loaf was gone I had to stop them. Dinner was coming up.
Awesome! It’s amazing the dough stretches like that.
Thanks HBM!
I confess it’s not the most elastic dough I’ve ever encountered. Bread flour would make it more so, and I nearly made mine with bread flour. However when you’ve got more gluten there’s a greater tendency for the dough to snap back after it’s stretched. You’d really need to be patient and pull, pull, pull, while giving the sheet some time to relax between workouts.
– Joe
Yours came out pretty good! I think I may have had too much moisture in my filling…or dough. I’m not sure which. My loaves split the same way a baguette splits if you don’t slash the dough well enough on top; it split horizontally along the sides of the pastry in places. I was hoping you could explain a remedy for that as I’m not experienced or educated well enough about breads to figure it out!
Hi Susan! And thanks!
That’s interesting…the tops split. I got a little splitting on the sides of the bundt pan version but not much else. Did you apply egg wash to keep the tops moist during the proofing step? And then again before baking? That would help alleviate the problem.
But do you remember how long you let it proof before you baked it? An overly long proof might have done it as well.
– Joe
I think maybe I didn’t use the egg wash. It’s been a couple of years since I made them so I’m not sure. I’ll try that next time. Thanks, Joe. Mine did split on the sides, not the top. I read some recipes that had you use a fork or skewer to add vent holes for steam but more that didn’t vent them, so I didn’t. I don’t recall that the Potica I have eaten had any venting slits or holes. Could venting have helped?
I suppose you could slit the very top, though I’d be hesitant to vent a potica since it’s full off filling that expands when it bakes. You might get even more leakage than you would if you simply let it crack. But remember poticas are very rarely pretty on the outside. Do a google image search and you’ll see. Cracking around the middle is extremely common and may just be part of the aesthetic!
– Joe
That’s beautiful!
Now, about that pork potica? I noticed someone sent you a recipe… 😉
Ohhhhh….
She certainly did. It’s right here. This is one area where Kentucky and Slovenia definitely overlap.
http://www.gurman.eu/recepti.php?S=6&Article=3042
My kingdom for a Slovenian translator!
– Joe
Looks delightful – and the surprise from the bundt form to the spiraled interior is a wonderful contrast.
For my purposes, though, the walnuts are a no-go. Would dried fruit or some other alternate ingredients be ‘approved’ by Joe Pastry? Chocolate, in some manner, perhaps? 🙂
Hey Roger! Poppyseed is a classic as well. I’ll post a recipe for that. Otherwise there are lots of improvisations possible. All Joe approved!
HA! I was just going to ask about poppy seeds. When I was very young we used to have to drive though Minnesota’s Iron Range when visiting family. We used to stop (who knows where some place between Grand Rapids, Hibbing and Ely and get something like this that was poppy seed filled. I would kill to have that again!
It probably was potica although I don’t recall that name it might have been a version of the same thing from some other nationality.
Yes, methinks this goes by many names!
– Joe
No, its Potica on the range. There are a good number of Croats and Slavs that lived up in the area. I learned to make a couple of their dishes growing up there…
If you’re going to do it in a Bundt pan, is it necessary to egg wash it?
Only if you change your mind and serve it upside-down! 😉
It looks just like the povitica that my hometown Croatian bakery used to make!
Wow! I’m flying high after that comment! Thanks, Catherine!
– Joe
Wow! You are fearless Joe Pastry! How long did it take to roll/stretch the dough to it’s final size before you rolled it?
Eva
Hey Eva!
Thanks. It took me about 15 minutes, though probably five of that was snapping pictures. I’d say this can be done in 10 fairly easily. Beyond fifteen you might want to brush on a little vegetable oil so the surface doesn’t dry out and crack.
Cheers,
– Joe
Masterful!
Thank you, thank you, thank you! I can’t wait to try this.
Let me know how yours goes, Rainey! And thanks a million!
– Joe
Hi!
The ingredients look the same as my husband’s. He uses his aunt’s recipe from an old Indianapolis cookbook. He makes his in the loaf pans, and doesn’t stretch it very far. Also, we use a hand-cranked sausage grinder for the nuts. We’ve heard of a chocolate potica recipe, but he can’t remember where he saw it.
I mostly eat it plain, but I also like to put a dab of butter on it and zap it in the microwave just until the butter melts. Makin’ me hungry!
Very interesting Dawn. Love the meat grinder tip!
Cheers,
– Joe
Hm, found this version, with chocolate/hazelnut filling.
http://eso-bosho-ahare.blogspot.com/2009/12/chocolate-potica.html
I’m wondering if I could go straight with a thin nutella spread…
HI Roger!
I found a poppyseed filling that looks promising. This one even calls for lard — God bless those people!
http://easteuropeanfood.about.com/od/polishdesserts/r/topielec.htm
As for the chocolate-hazelnut, I’d do the nutella, though you’ll also want to add the eggs to give the filling body.
Let me know how yours goes!
– Joe
And the dough for this one uses that technique where you plop the batch of dough in a bowl of water and hope that it learns to swim. (They call it the “drowned dough” technique.) I’ve only seen it one other time, in a 3 strand braid with each strand filled with a nice marzipan and fig filling; mine never floated. Joe, how about a post on the drowned dough technique?
I confess I’ve never heard of that, Ted, and I didn’t notice it. I’ll have too look at that. Is it just a passive way to keep the surface from drying out? Strudel dough is “drowned” in oil, but water? Hmm…
Looks fabulous Joe- we made this a while ago in The Daring Bakers (Oct 2011) – and thanks for letting me know how to say the word – I won’t shame myself by telling you how I have been pronouncing it here ‘down under” !!
Thanks, Heather! And I pretty much said “pot-ick-a” before someone put me to rights! 😉
Thanks for the note,
– Joe
Try again. Got dumped last comment.
I will admit to being squeamish about the whole rolling out/stretching thing and have avoided recipes in the past for strudel, etc, for that reason. But, you have made it sound like something to try and it does look delicious and I love the layers and all the versatility in flavors.
Hey Linda!
You don’t have to roll the dough as thin as I did. There are all sorts of successful poticas with thicker layers. So give it the ol’ college try and don’t be intimidated. Have fun!
– Joe
Been away some and boy, what I have been missing – AWESOME potica! You’re officially better potica maker than me!
Congratulations!
Ha! I can’t accept that honor, Tjasa! But thanks for the kind words. I had fun!
– Joe
I remember it from my childhood with the dough layers about half that thick. And it was in a rectangular roll. I wonder it Ohma put a brick on top of it when she baked it??? There were no gaps between layers, it was really solid, then sliced as thin as a piece of paper.
Gotta be good though.
Falls in the category of health food I think. If you’re glad you ate it, what could be healthier than that?
The real pros can do it that thin, John! Me I’m just a dabbler.
And I’m going to steal that line about healthy food. Well said!
Cheers,
– Joe
Hi Joe,
Thanks for the great writeup. I’ve just finished making one from a recipe passed down from my Slovenian grandmother. I live in Australia now so a long way from Joliet, Ill. Your pictures have helped me realise that my walnuts are a bit course and that I need to be more patient with the stretching. One thing my recipe stressed was to cut the lengths with a saucer edge in order to seal the ends as it helps to contain the filling when baking.
Cheers – Paul
Hey Paul!
Ah, Joliet. Not far from my ol’ hometown! Glad I was of help to you and I like that tip! Thanks!
– Joe
This is it! This is exactly how my Auntie Theresa used to make it…and I found you by looking up the recipe –thinking I would bake one. Had no idea the magic that she performed.
Fantastic photos — my favorite is the child’s hands on the rolled dough.
Happy holiday. Oh, and I never knew it was an Easter tradition?!
Hello Bridget!
Thanks and welcome! I hope you’re planning on giving it a try! Should you decide to do that, please send a picture if you can!
Cheers and merry Christmas,
– Joe