Making Chapati
Some little old Indian ladies would have had a lot of fun watching me today, bobbling chapati while smoke poured out my kitchen windows. But I had fun! And I made some very good chapati. Not world class to be sure, but delicious. These tender breads are really fun to make and considering how fast they come together, they’re small miracles of economy: 45 minutes from start to finish! Start by assembling your ingredients.
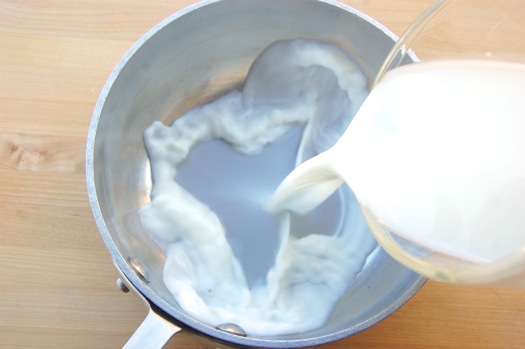
As several readers have pointed out, chapati should ideally be made with atta, a soft wheat flour from India (the fresher the better). If you can find that, use that instead of my flour combination, and simply use water instead of the water-milk combo. Otherwise, combine the water, milk and yogurt if you’re using it. Put it into a small saucepan and heat it until near simmering.
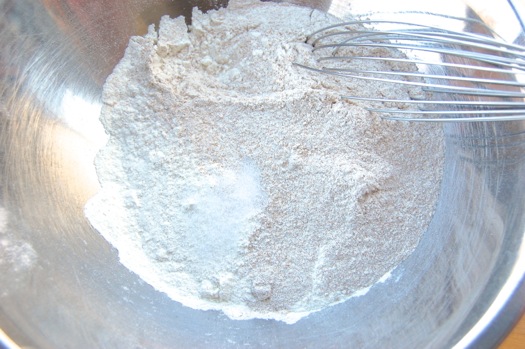
Meanwhile combine the flours and salt in a medium bowl.
Add the wet to the dry.
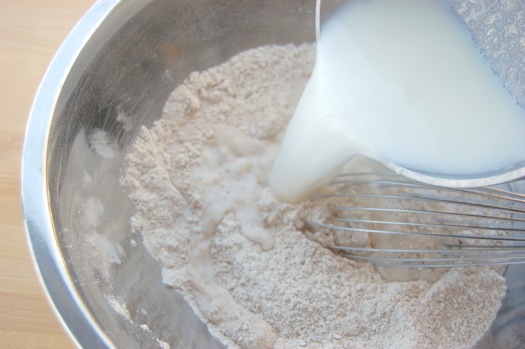
Start bringing the dough together with a spoon or spatula.
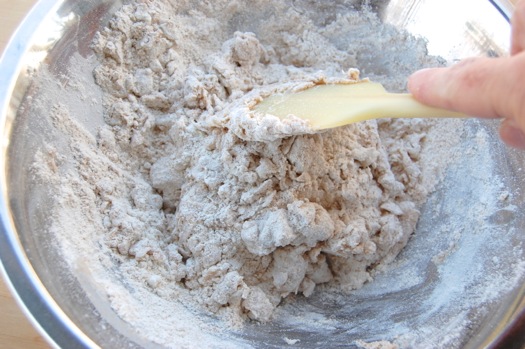
When it starts to form large clumps get in there with your hands and knead.
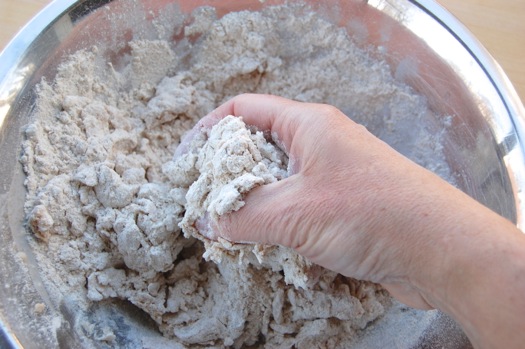
When you get a ball like this, turn it out onto a work surface. Try to resist flouring it if you can since the dough should be a bit wet and sticky.
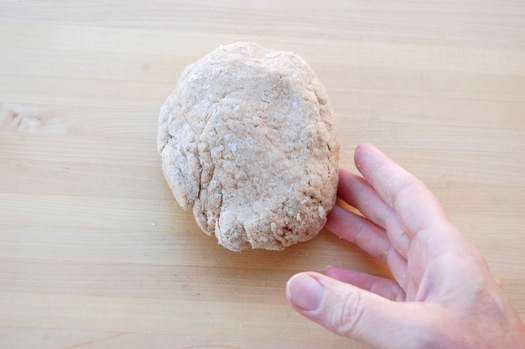
Knead for maybe five minutes until it’s smoother and more elastic. Wrap it in plastic or cover it with a cloth and let it hydrate for about 15 minutes. Meanwhile set a cast iron skillet on the stove, and start it warming over medium-high heat.

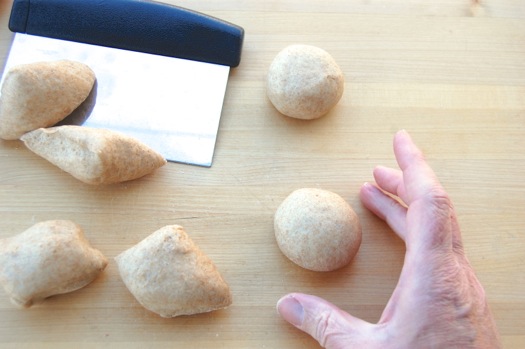
Meanwhile separate the dough into eight equal portions (about 2.3 ounces for the meticulous out there). Roll the pieces into balls and drape damp towel over them.
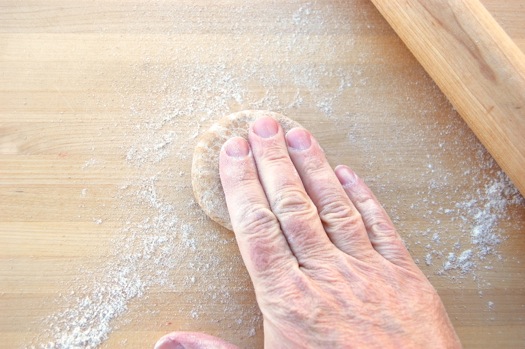
Press one of the balls down on a floured surface and sprinkle more flour over the top.
Roll it out to 7 inches or so in diameter.
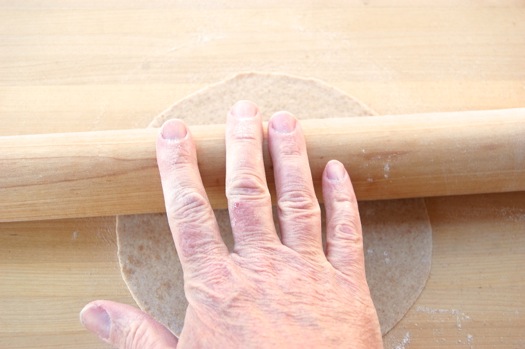
You want it nice and thin because otherwise it won’t puff. About like so.
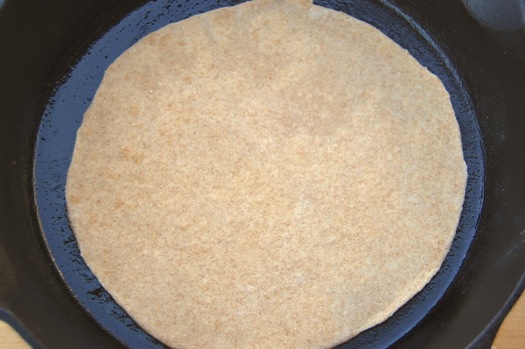
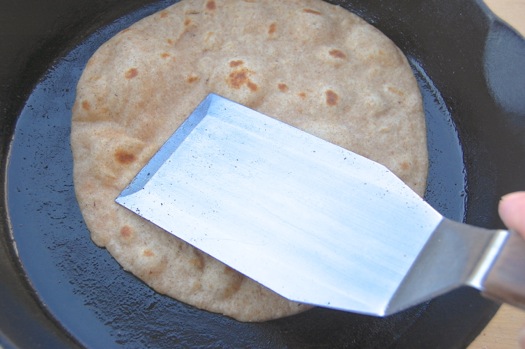
So, with the pan heated, brush on some oil or ghee and apply the chapati. Let it cook a couple of minutes until small brown spots appear on the bottom.
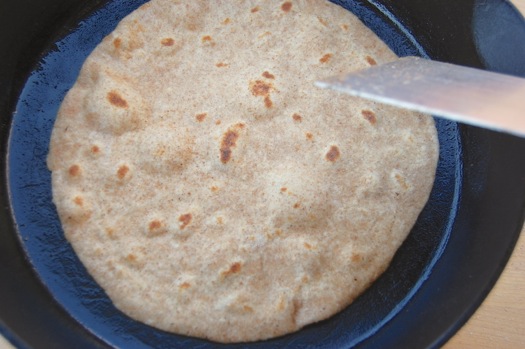
Flip the chapati over. After about 30 seconds you’ll see bubbles of steam coming up.
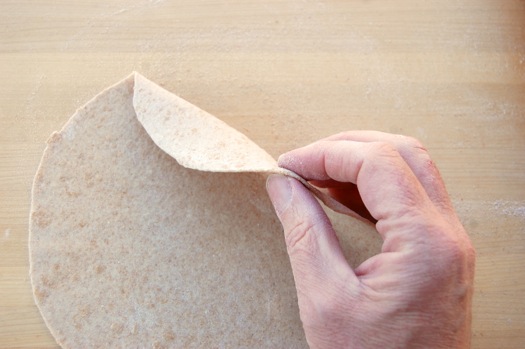
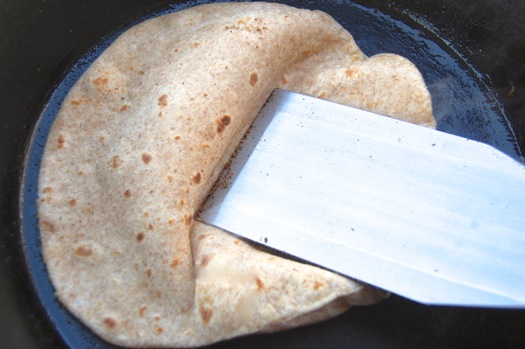
Using your spatula, press down on the bubbles gently to try to get the rest of the top crust to release. Why is this important? Because two thin layers are less rigid than one thicker layer. That’s the genius of this bread.
As long as the bottom isn’t burning you can let the whole bread pillow up. This can be done over an open flame if you like. Me, I have an electric cooktop so it doesn’t work as well. I tried it over an activated element, but it was so hot the chapati caught fire in seconds (that’s where the smoke entered the picture). As long as you can get most or all of the top crust up off the bottom, you’re in good shape.
Transfer the chapati to your stack and apply a little melted butter or ghee. Lord that brush has about had it, hasn’t it? I need to take a trip to the paint store.
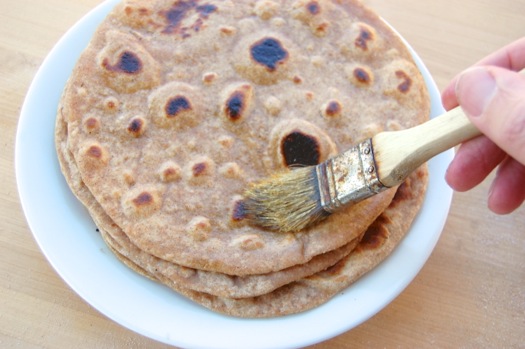
Anyway. These are wonderful. I made a batch with all white flour and they did rise and pillow better. However I recommend the half whole wheat version because of the flavor advantage. But feel free to experiment as you see fit!
Those look delicious. (I think now you really want my stove, these would probably do well with either the stove top griddle or broiler.)
A stove top griddle works great for these, Naomi. Excellent point!
Thanks,
– Joe
Hi Joe,
Indian grandmothers (like me) are having conniptions reading your recipe! Chapattis are one of those “handed down from generations” recipes that you don’t mess around with. Having said that, without access to good, fresh atta – soft whole wheat chapatti flour – yours are probably the next best thing. I encourage your readers living in big cities to seek out a good Indian grocer and try and get atta that was milled as recently as possible. The date is usually on the package. Then try making chapattis with just the atta and water. It is an unforgettable experience. I am going to try your recipe the next time I make them and see what my husband has to say.
Hehe…hi Bina! I was waiting for a comment like this! I confess this whole week is something of an improvisation. Making these types of breads without the normal flours requires compromises which I’m sure are alarming to some extent. Most of my readers can’t get Indian flour where they live, so I do my best to get close with the things that can be found. Thank you very much for your reminder that there’nothing like the real thing! I have no doubt it’s true!
– Joe
Joe:
I am very much into bread making and I just love to eat the bread by itself. I think bread is the only holy food. I had learned a lot about making European breads but here I am learning breads that I should’ve seen or heard or eaten before but never did. I love your knowledge, you are amazzzzzing.
Nahid, I love your idea about bread. I think it’s quite correct, it is holy, and many things besides.
I want to attempt lavash before I leave the subject, but I want to return to flatbreads again because they are a world unto themselves. That has been my discovery the last ten days. There is so much more here than I ever expected.
Thanks for the comment and all your too-kind words! More soon,
– Joe
Hi Joe – I’ve been dabbling with breads lately and love the idea of making one that is so quick from start to finish! I have a question for you about making these ahead – have you tried freezing the dough at any particular stage? Does that change the finished product? Thanks 🙂
Hi Katie!
Good question. You can freeze the dough at any point after it has a chance to rest. Even so, my suggestion would be to freeze the finished breads and reheat them before you’re ready to serve them. Most breads perform pretty well this way.
Have fun!
– Joe
oooh my! I have to agree with Bina up there heh. my grandma is gujarati and they are the kings of phulkas, which is a very particular kind of uber healthy chappati. atta and water and then roll in this circular motion so it spins round under the pin and rolls out even. then toast on your skillet, no fat at all, till very tiny speckles turn up. then flip and once tiny speckles happen again, put onto the open flame and turn the fire to high and watch that baby puff. the secret is all in the wrist when you’re rolling. flip over (we have these nifty mesh things with handles that we lay the, on but you can use tongs) till it puffs a bit more and voila.
also takes bout fifteen minutes start to finish to make ten
Hehe…thanks MinCat! 😉
– Joe
Maybe one of your other readers can answer this. I remember way back when I was a little girl (I’m talking younger than 5), we lived near what must have been an Indian family. I remember that I loved visiting their house because a frequent treat there was chapati with some sort of banana dip. I’m wondering if anyone out there is familiar with this snack, and if it’s something traditional, or if it’s something our neighbours made up on their own.
I certainly don’t know, but we’ll see what happens, Kristina!
– Joe
Joe, Could you go more into the differences between atta and other whole wheat flours? I noticed that you don’t mention atta in your blog section on flours, and I wondered why it makes a difference to use the atta. We live in an area where we can get atta easily (and my Indian mother-in-law has told me that atta from India is the best). Thanks,
Cala
Hello Cala,
That’s an excellent question and I wish I knew the answer. I want to re-do this post and use atta, but can’t find any here in Louisville. I came under quite a bit of criticism for not using that flour with these, and I believe there is a difference. However not being able to get my hands on any I don’t know what it is!
Let me know what your observations are because I’ll be curious!
– Joe
Just a note – if you do use a water-milk-yoghurt mixture, be careful heating it. There may well be enough acid in the yoghurt to curdle the milk, which makes a nice paneer, but doesn’t help for making chapati.
Ah yes, very true, Jane. Thank you!
– joe