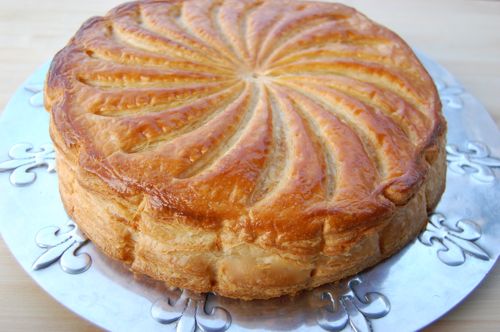
Making Galette des Rois
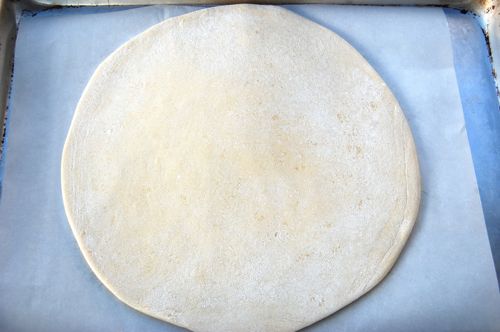
I didn’t post a recipe for this since you only need three components: two ten-to-twelve ounce pieces of puff pastry, about two cups of frangipane and a beaten egg. Piece of cake, no? No. Not if you’re making your own puff pastry, since that’s a project itself. I encourage you to try that, but if from-scratch puff pastry is a bridge too far at this point in your pastry-making career, the store-bought version will still produce an excellent result. (Mind-blowing is what I would call the version with your own pastry). Start by laying out the first of your two pieces on a floured board (keep the other in the fridge until you’re ready).
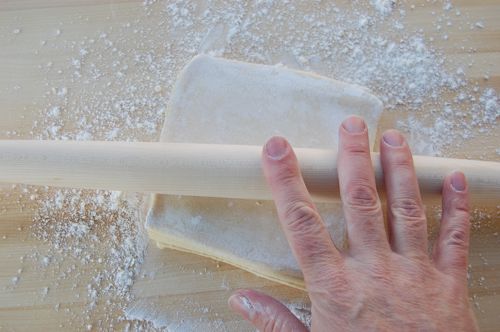
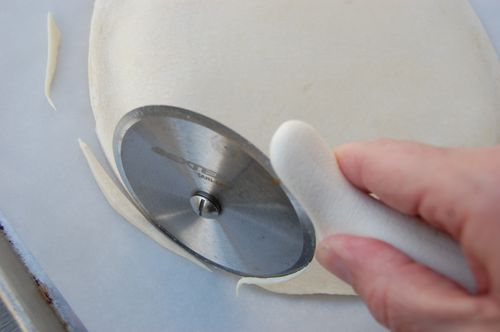
Roll the pastry out until it’s about 11 inches across or more. The dough should be about 1/4 inch thick.
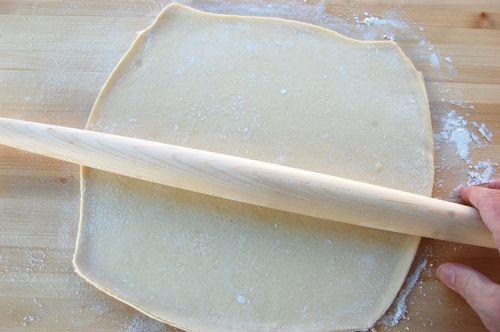
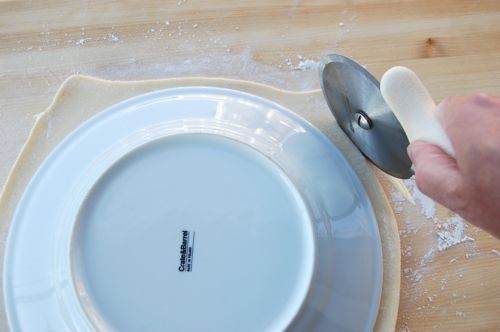
How do I know when I’ve reached 11 inches? Because this plate is about that far across. A paper plate or cake circle would be better for this since it wouldn’t compact the dough, but hey, you can only obsess over so many details at one time before your head explodes. Trim around the edges with a pizza cutter until it’s circular. Does it need to be absolutely perfect? Absolutely not.
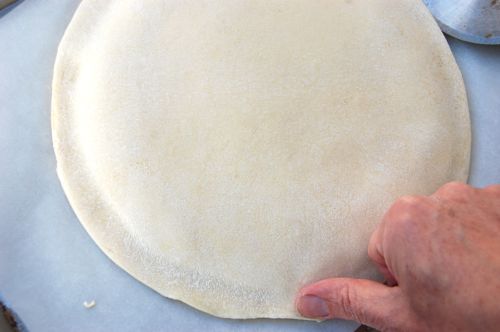
Transfer the round to a sheet pan or cookie sheet and roll the next piece. Set it aside in the fridge when it’s finished.
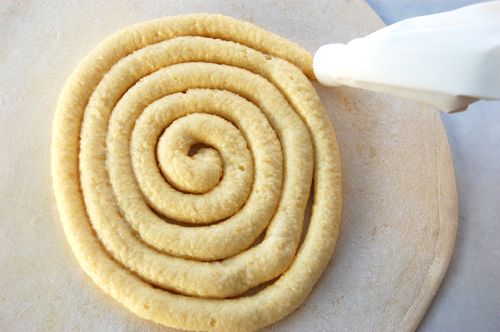
…and apply your frangipane. You don’t have to use a pastry bag if you’d rather not, though this way you put down a more even layer with more defined edges, and that’s handy when it comes to shaping. If it turns our you don’t have enough frangipane to come within about 3/4 of an inch from the edge of the circle, just product the pizza cutter and reduce the size of the circle.
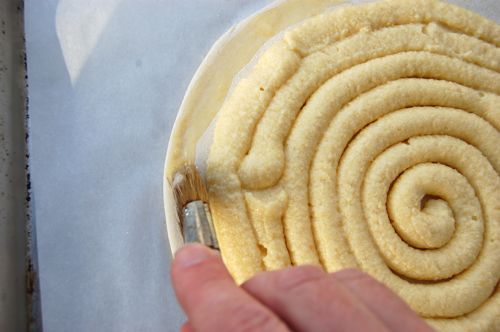
Paint the outer lip with some of the beaten egg, being careful not to paint the edges, which will glue the layers closed. If you’re using a bake-proof trinket like a dried fava bean and/or a dried pea (peas are sometimes used in addition to fava beans to select the “queen”), insert them now. Otherwise you can sneak a little plastic whatsit through the layers in the pastry after the galette is done and cool.
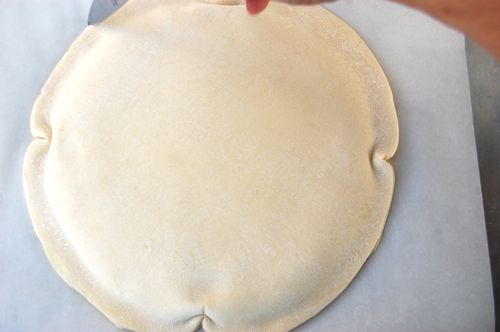
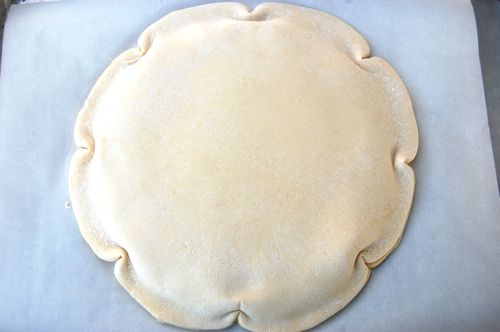
Apply the top layer…
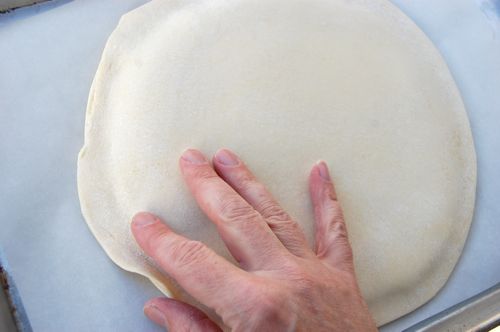
…trim up any overhang…
…and slide your thumb around the outer lip to seal it.
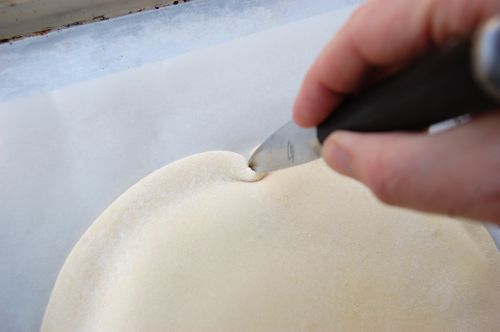
Now then, for the shaping. This is a little technique I saw a Frenchman do on YouTube while I was searching around for ideas. With the back edge of a paring knife, make a little indentation in the dough at a location of your choice along the lip. (If I could go back and do this again, I’d make the tucks a little deeper so the fluting on the finished galette was more obvious). If you notice that the edge is cutting into the dough instead of merely pushing it, turn the knife a little to create more surface area.
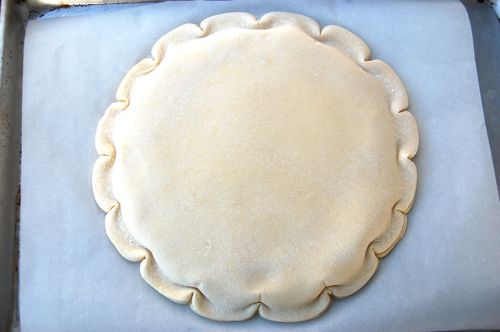
Make similar tucks at all the cardinal directions…
…repeat at the mid-points between all those tucks…
…and again at the mid-points between those tucks. Pretty, yes?
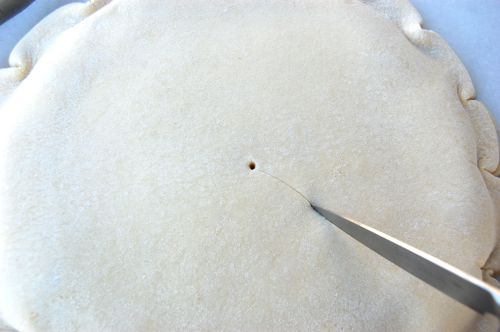
Now with a skewer make a steam hole in the very center.

And with that same sharp paring knife, make shallow decorative cuts in the top. A swirl is traditional, but I’ve seen criss-cross patterns, diamonds, Washington crossing the Delaware, all sorts of stuff. OK, that last one was a lie, but the point is you can get creative if you feel like it. Don’t cut all the way through. Just slide the knife gently along the top. If the knife is sharp, that’ll be enough.
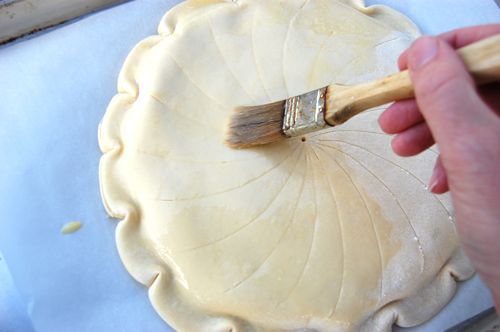
Here I’m doing the swirl using my steam hole as a guide. At this point you want to rest the galette for a good half an hour in the refrigerator, an hour is better. This ensures the dough is good and relaxed and that the butter is firm and ready to make those great layers. Meanwhile, preheat your oven to 475.

When you’re ready to bake, paint the top with more egg wash (again, looking out for those edges) and you’re ready to roll.
Bake the galette for 10 minutes at 475, then open the oven door, rotate the galette, and reduce the heat to 400. Bake for 25-35 minutes more until it’s richly brown, turning once more if need be. Cool the galette completely (insert a gold coin or other plastic thingamabob through the side if you want) and serve. Kings’ cakes are welcome at any time of year, but are classically served between the New Year’s day and the middle of January.
Classically, this pastry is brushed with a little simple syrup to just barely sweeten the surface. It’s a nice effect. Another method of accomplishing the same thing is dusting the top with powdered sugar about ten minutes before the baking is done. If the sugar doesn’t completely caramelize by the end of the baking time, placing the galette under the broiler for a few seconds will do the job (just be careful not to incinerate your masterpiece). A blow torch also works well, plus it’s less risky.
Hey Joe,
Super excited to try this recipe! One question- Does it need to be refrigerated or can it keep for a couple days at room temp? Thanks
Hey Laura!
You can keep it at room temperature for a day definitely. I’d refrigerate it after that just to be safe!
Let me know how it goes! Cheers,
– Joe
I’d like to try this au chocolat! Should I add chocolate to both the almond cream and pastry cream?
Very interesting idea!
Chocolate is much easier to add to pastry cream than almond cream, so I’d just do the one and see what you think. Probably an excellent combo. Let me know how it goes!
– Joe