How to Make Caramel-Pumpkin Bars
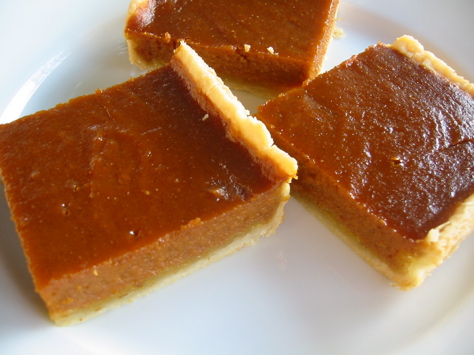
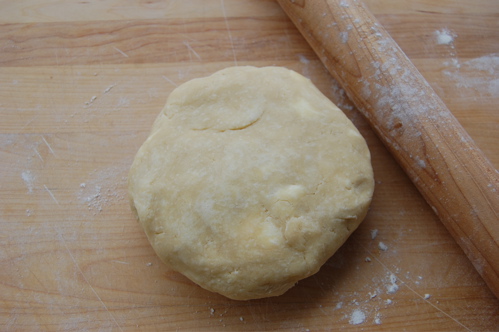
I’ll confess it, of all the delicious, complicated baked things there are in this wide world to eat, these simple pastries are my favorite. They are more “squares” of caramel-pumpkin pie than they are cookie-like “bars”. In pastry shops, pie squares like these are made on sheet pans (jelly roll pans), but I thought a 10″ x 13″ casserole pan would be better in this instance. It works the same way and doesn’t produce an unwieldy amount. Start by taking your dough disk out of the fridge and laying it down on a lightly floured board.
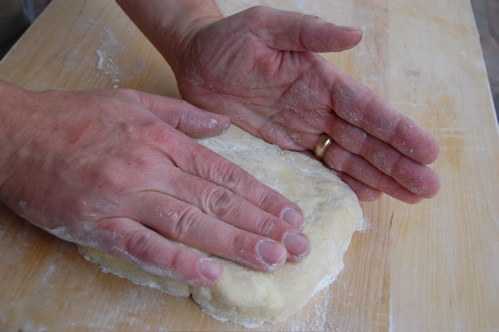
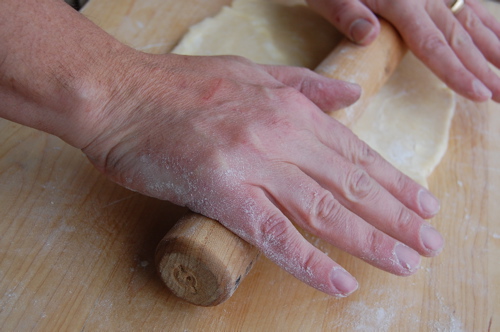
It’s a bit more challenging to roll pie dough out into a rectangle shape versus a circle, but don’t worry, you can handle it. Just square the dough up a bit as you roll it out. Use your palm…
And your pinky to gently push it to shape.
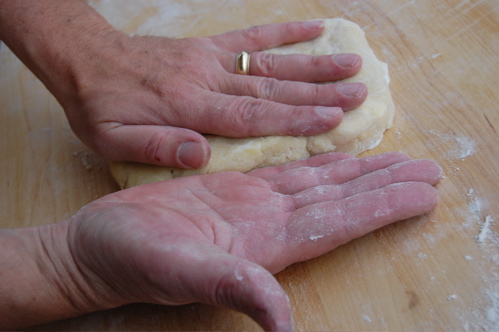
Too many recipes, in the interests of preventing us from “working” pie dough, make bakers afraid to touch, push and squeeze it in this way. But where is it written you can’t manhandle your dough a little? OK, lots of places. But let’s be real here, as long as you’re not working your pie dough like a lump of silly putty over the Sunday comics, you’ll be alright. Keep rolling…
When it’s about the right size, lay it into the baking pan…
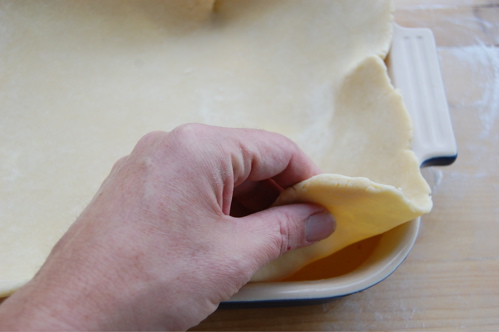
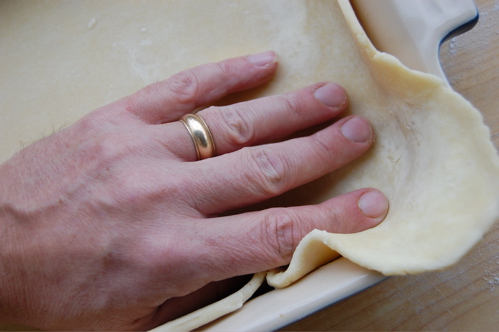
…then gently press it into the contours.
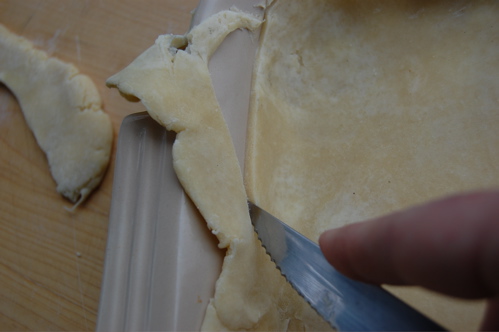
Trim it with a sharp knife (if you wish), leaving an inch-plus lip (this will compensate for any shrinkage).
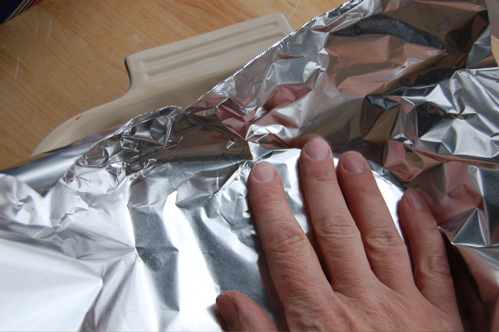
Lay down your foil…
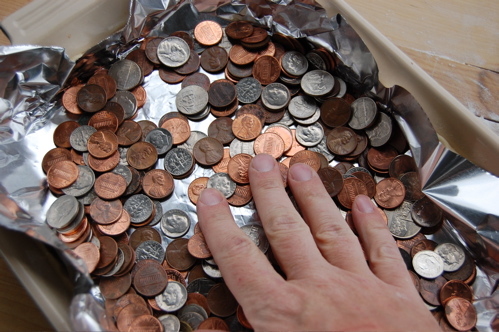
…and add your weights. Some people like ceramic weights, others like dry beans. I myself am a loose change man. Don’t worry, the money never touches the crust (and it gets sterilized in the bargain!). Bake for 25 minutes in a 375 oven, then remove the weights and foil and brown for 10.
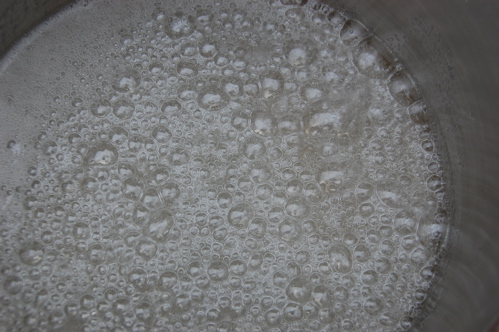
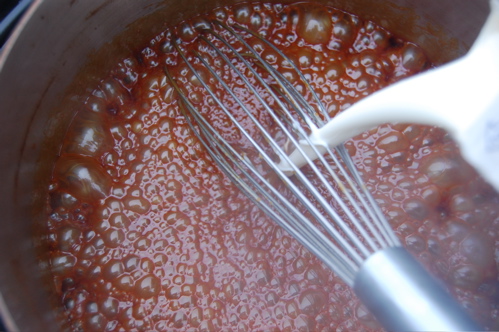
As the crust is baking, make your filling. Why not do it before? Because you want your filling warm, and you want to be able to pour it into the crust while the crust is hot. The first measure is to help prevent cracking, the second to prevent a soggy crust. Trust me, this really works. Start by swirling your cup of sugar and quarter cup of water over high heat until it turns to bubbling syrup.
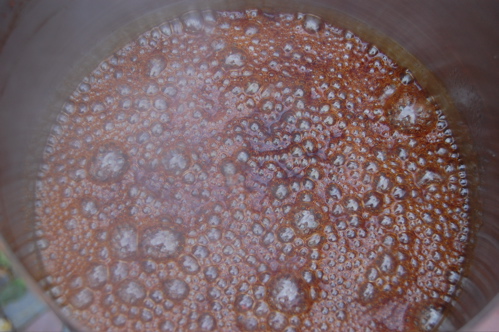
It’ll turn light amber, then dark amber. A few seconds later a tell-tale brown-black spot will appear, letting you know the caramel is at optimum burnt-sugar flavor (but not bitter).
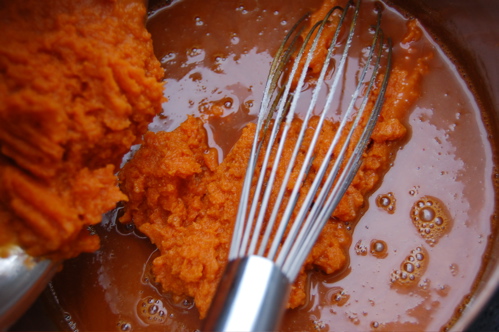
Quickly kill the heat and start adding your cream in a slow stream, whisking all the while. If you go too fast the sugar will cool too quickly and harden into candy. If that happens it’s no big deal, simply return the pan to low heat and whisk it until the hard candy melts.
Whisk in the last of your ingredients, reserving the eggs. Keep the mixture warm — not boiling — as you wait for the crust to finish.
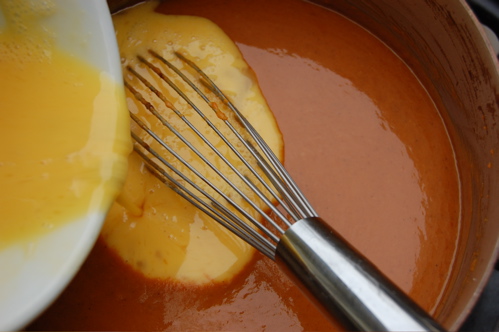
When the crust comes out of the oven, thoroughly whisk in your eggs and pour the mixture into the shell. No, I couldn’t take pictures of that, I was moving too quickly. If I was a human squid and had another set of hands (or two), believe me, I would have.
Drop the heat to 350, return the pan to the oven and bake for 20 minutes. Turn the pan, then bake for another 10 minutes or until the center no longer sloshes but jiggles firmly.
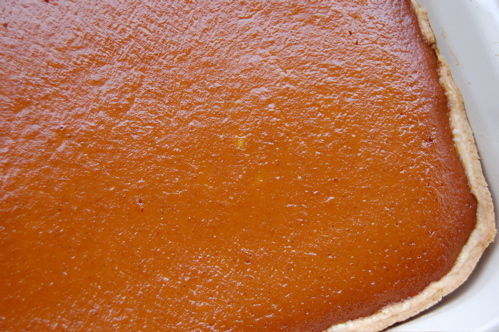
Allow to cool for a minimum of an hour before cutting. Or chill, then cut (and eat).
Hi Joe,
I made this for Canadian Thanksgiving and those who normally dislike pumpkin pies LOVED this. Thanks for sharing a great recipe with the pictoral step-by-step!
Annie, these just may be my favorite baked things ever. I’m so pleased to hear they went over — and with some pumpkin haters to boot! 😉
Thanks so much for sharing your success story. And keep up the great work!
– Joe
Looks delicious but….Where is the ingredients?
Hey Marcela!
Right here: http://joepastry.com/category/desserts-and-cookies/caramel-pumpkin-bars/
Just check the left-side menus and you’ll find the recipes and tutorials together. Cheers and let me know how they go!
– Joe