How to Make Bagels
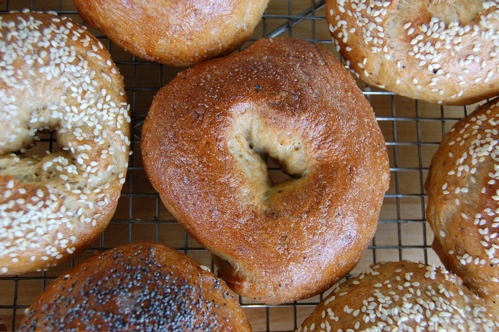
I don’t think I’ve ever made a bagel that’s a flawless torus, but nobody’s perfect. They’re crunchy, chewy, deep brown and taste great with cream cheese, which is all you need to get into bagel-maker heaven when you die.
As I’ve mentioned previously, there are a lot of bagel dough recipes out there, and when you start to compare the really good ones, you begin to see that there’s not a whole lot of difference between them. The main difference is usually the amount of water in the dough (hydration), otherwise the thing that really makes one bagel different from another is technique. That said, here’s how they’re made. Beginning with your dough, you first use a bench scraper or a knife to cut it into pieces…
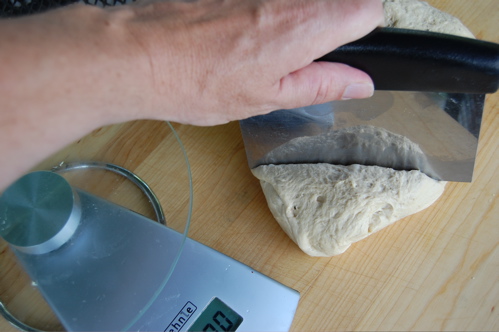
…weighing about five ounces each.
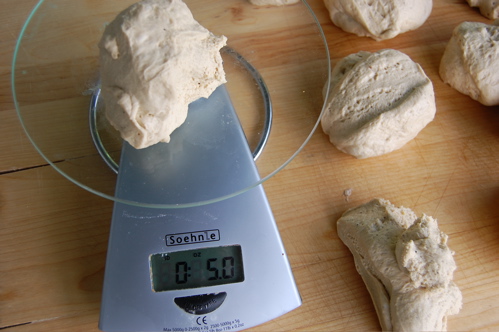
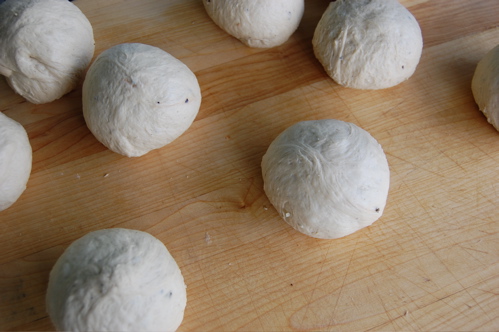
Next, roll the dough pieces into balls using the same technique for buns and rolls that I demonstrated in my post on that subject.
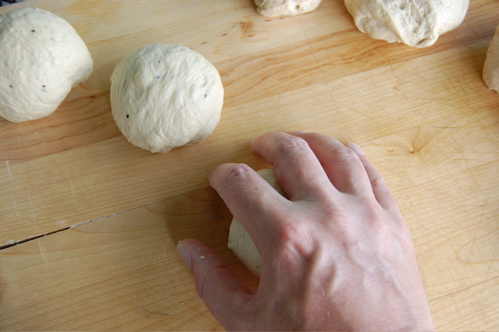
The balls need not be perfectly smooth, for believe me, they’re going to get a whole lot bumpier. If you’re wondering what those flecks are in the dough, they’re cracked black pepper (I add about a teaspoon to the dough since I like my bagels a little spicy).
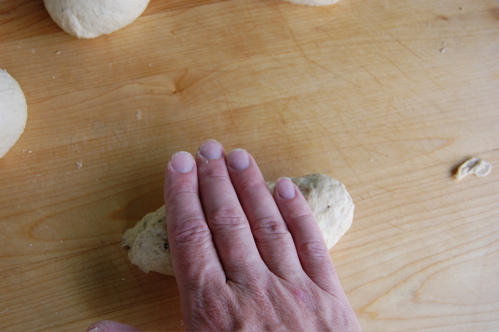
Now then, there are two basic techniques for shaping bagels, and they produce very different breads. I’ll show you both of them since, well, different strokes for different folks. First, the one I prefer. You start by rolling your dough out into a log. Notice I’m not using any flour, not even a little. The reason for this will be clear in a second. Fortunately good bagel dough is very stiff.
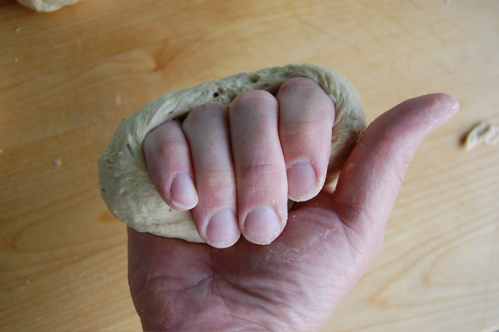
Once you’ve made about a six-inch log, you wrap it around your knuckles like so, holding the two ends in your palm. (WARNING: Does not work the same as brass knuckles in a street fight).
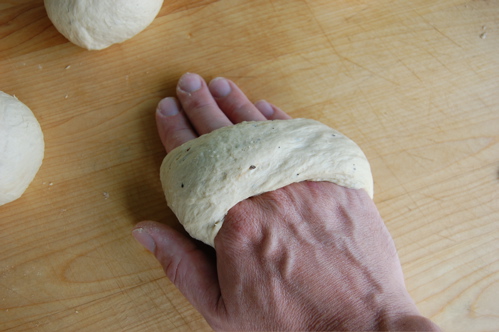
Then you just give the bagel a couple of quick rolls to seal it. Here you can see why I’m not using flour on my board, since if the two ends of the bagel were coated with a dusting of flour, they wouldn’t join.
This method is a bit more involved that the other method I’m about to demonstrate, but it produces a flatter and denser bagel for the simple reason that the pressure of rolling breaks more gas bubbles.
Method II begins by poking a hole in the center of the dough ball with your finger…
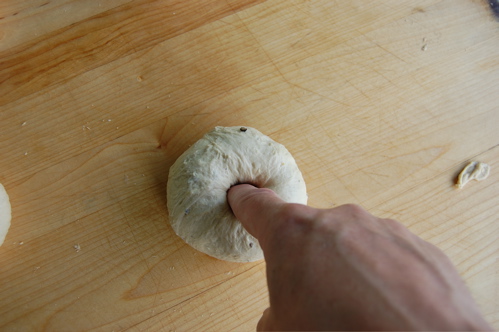
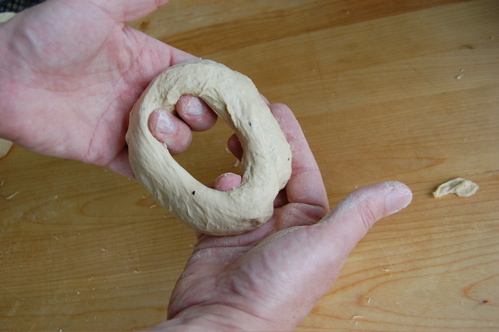
…then stretching the dough ring out with both hands (some people twirl it on the end of their finger…whatever floats your boat). This method has the advantage of being easier if your dough is on the sticky side, though the bagels tend to puff up to a more roll-like shape since more gas bubbles are left intact.
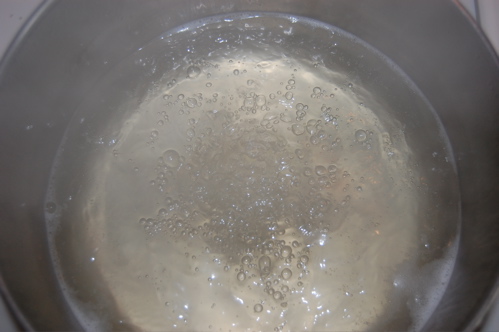
Now then, while all this rolling has been going on you’ve had a pot of sugary water on the boil, yes?
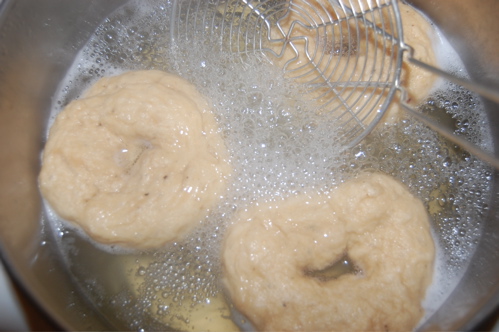
Gently drop your bagels in a few at a time and boil them for about two minutes on the first side…

…then giving them a flip with your spider, about a minute on the other side. Pretty bumpy, yes? I told you. But don’t worry, all those crinkles will bake out.
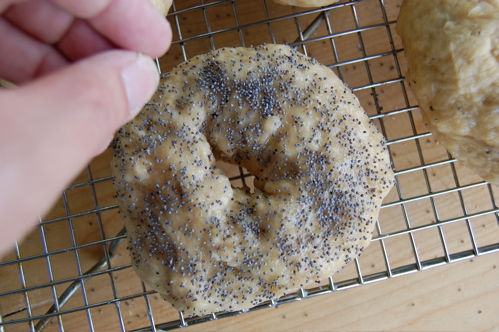
Transfer the bagels to a wire rack and paint them with an egg white-water glaze (doing it on a rack keeps you from spilling the glaze on the baking sheet, which would stick the bagels down).

Now if you wish you can apply toppings. A few poppy seeds…
…some sesame seeds for the wife.
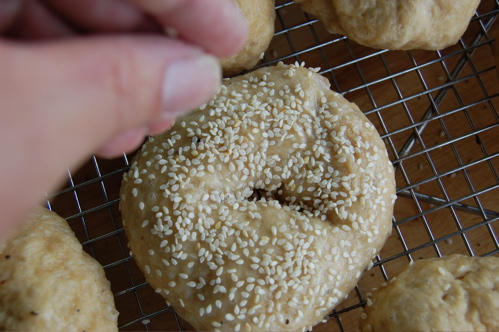
Me, I like mine plain. Again the advantage to doing this on a rack is that it prevents you from spilling the seeds onto your baking sheet where they’d certainly burn. That wouldn’t really hurt anything, but it smells sort of nasty. Now then, all you need to do is transfer your bagels to a parchment-lined baking sheet and bake at 450 for about twenty minutes until brown. Cool on a wire rack while you head out to get the lox. Eat!
Joe my bagels sometimes turn out a little too chewy for my liking, do you know what would cause this? Could I be boiling them for too long before baking, is my dough too stiff? Thank you
Hey Bev!
There are a few things you can do. You can switch to a weaker flour, that will probably do more than anything. Letting them rise a bit longer will make them fluffier. You can also boil for a shorter time (or not at all) so they’re less dense.
Good luck!
– Joe
Thanks for the tips Joe, I will try a weaker flour with my next batch and see how that goes. I had wondered about my rising time too so will give them a bit more time. Thanks, Bev
So the recipe I use calls for a “broil, boil and bake”… What difference does that make? Thanks.
Hey Stephanie!
Not sure where the “broiling” comes in, but the other two steps are definitely true. The boiling forms a skin on the bagels which prevents them from puffing up in the oven, keep them nice and dense. There’s much more on the science of bagels in the posts around that week. Have a look!
Cheers,
– Joe
Joe thank you so much for the advice to bring the boiled bagels on to the rack instead of directly to the parchment, never thought of that before. It was messy most of the time. Bagels are one of my favourites. I bake them once every 2 weeks. I add brown sugar to the boiling water and the bagels were chewy and nice too.
I made the bagels using KA’s recipe. Wanted to tell what I did so others can avoid my mistakes. I followed the recipe and after shaping the bagels I placed them on parchment lined baking sheets, covered them in plastic wrap (using cups to hold the wrap up from touching the bagels) and set them in the fridge over night. At 5:30 am (ugh!) I took them out to come to room temperature. They looked awesome resting on the baking sheets. Got my pot of sugar water onto boil and then went to get them into the pot and they were completely stuck to the parchment. I had to (wo)man handle them to get them off of the paper. They completely deflated. I went ahead and boiled and baked them but they were dead. We tasted one and it tasted odd to me. My husband said it was just ok. Maybe over fermented in the fridge? idk but what I do know if I won’t be doing that again! I will try the recipe again but not overnight. H
Hey Holly!
I’ve been having better luck with Rose Levy Beranbaum’s recipe lately. Maybe I’ll put that up instead.
– Joe
If your bagles get stuck to the baking paper, just cut the baking paper around each bagel and boil the bagels with the paper. The paper will get loose and your bagel will not deflate.
Great tip, Lenka! Thank you!
– Joe
Joe,
I was making bagels last 2 wks.
Each time has it’s up & down… still edible.
However, would like to know how to accomplish a smooth shiny surface?
After boiling them; I would say all of the bagels will have wrinkled surface…
If you have any idea about this, do share.
Jacob
Hey Jacob!
Usually bagels smooth out their wrinkles as they bake. I wonder if your dough is rising long enough. A little more time might allow for a bit more CO@ and more over an oven spring when they hit the heat!
– Joe
Hi, Joe.
I did not see the bagel formula? Am I looking in the wrong place? Love your tips and tricks.
Tim