Brick Oven Update 2
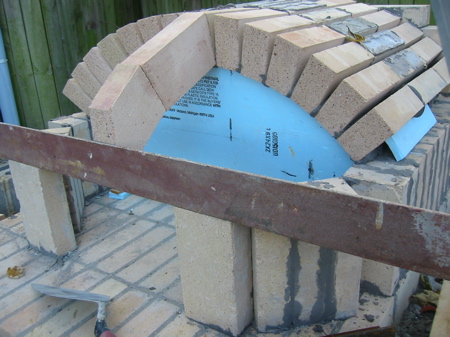
Scrambling to get my affairs in order before we bug out of town for a long Thanksgiving weekend. However I wanted to provide a brick oven update for the curious. It is indeed coming along. Great strides will almost certainly be made by my intrepid mason in my absence. For now here’s where we are. As you can see, the oven ceiling has been built out to where it’s very near the oven opening, at which point the bricks need to slope forward. For this each brick needs to be cut to a custom shape, which has really just been a process of trial and error. In the below photo you can see that the first couple of custom-cut bricks have been put up, resting on a piece of angle iron:
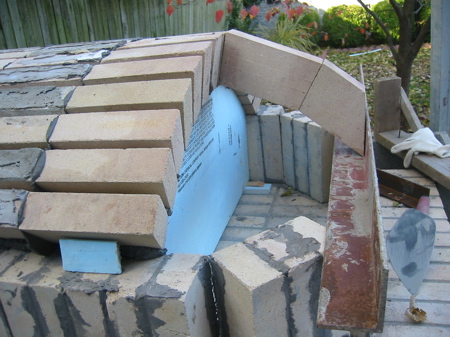
Here’s a side view of the same thing:
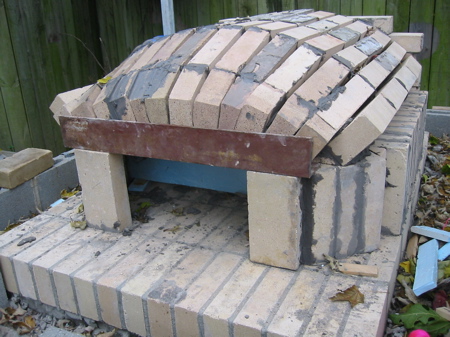
Here all the bricks for the front arches are in:
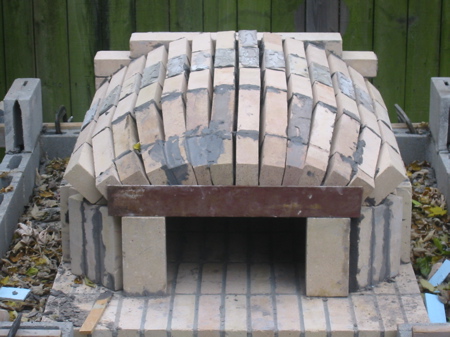
After a day the arches are dry enough to take the forms out (though not fully dry, the completed arches will actually hold themselves up at this point):
And voilà ze inside of my oven, she is done.
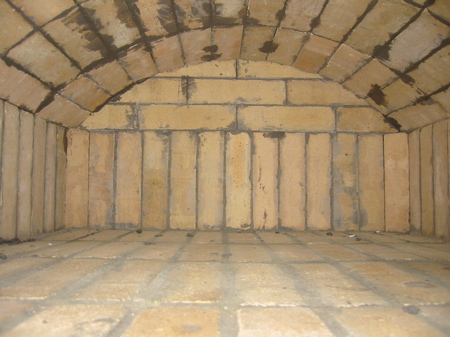
Now to mortar in all the joints…

…and give it a test fire with a Duraflame log:
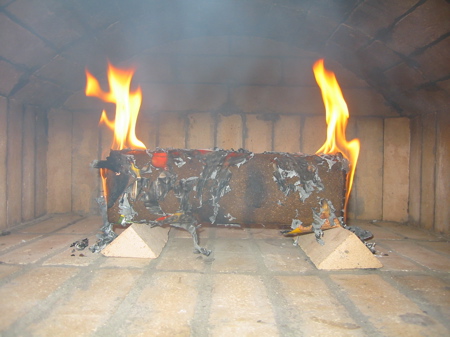
Eureka! It works! Once the enclosure dries all the way the next step is to cover it, first in tin foil, then concrete (the foil keeps the bricks separate from the concrete in the event they have to move or expand in the heat), at which point the exterior structure can be built up around it. This is the most interesting bit though, if you ask me. Certainly the most difficult. Thank God I have someone working with me who knows what the hell he’s doing!
A fine Thanksgiving to all! Travel safely, travel well, and join me back here on Monday!
-Joe