Making Italian Easter Bread

Talk about great decorative breads for Easter brunch, these are it. Italian Easter breads are sweet and fluffy with some very welcome surprises baked in. Little Joan Pastry would eat hard boiled eggs all day long if I let her. I don’t know what she’s looking forward to more on Easter morning, chocolate eggs and jelly beans or these breads full of eggs. Breads virtually identical to this are also made in Greece and some parts of Spain.
Here’s the bigger one which will make a great centerpiece.
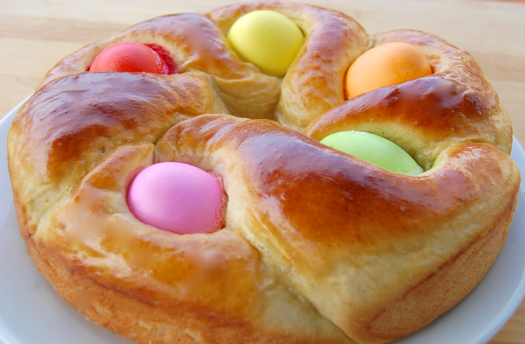
Italian Easter bread isn’t as hard as it may look. It rises fast and shapes easily, and it takes only about 5 hours from start to finish. If you’re an early riser you can get it done on Easter morning. There’s a long two-hour rising window that will allow you to get to church and back no problem. However I should mention that they hold up well overnight if you want to make them the day before. Start by assembling your ingredients. First comes the mixing. Begin by combining the milk and butter and microwaving them on high heat for bursts of 10-15 seconds.
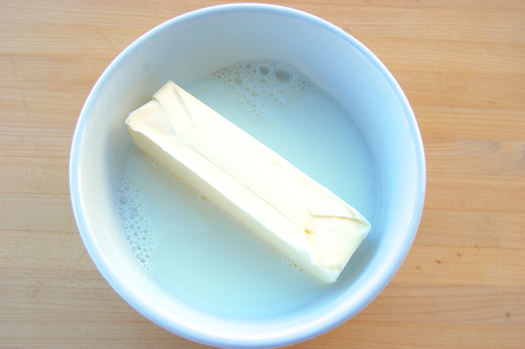
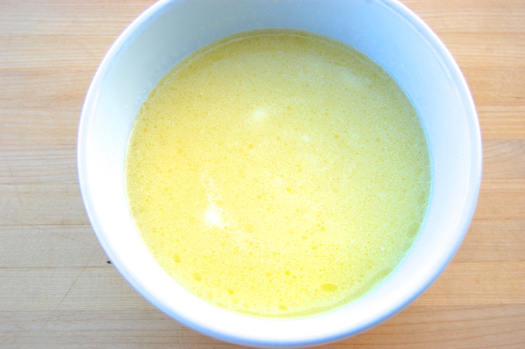
Until they look like this. Set the mixture aside to cool.
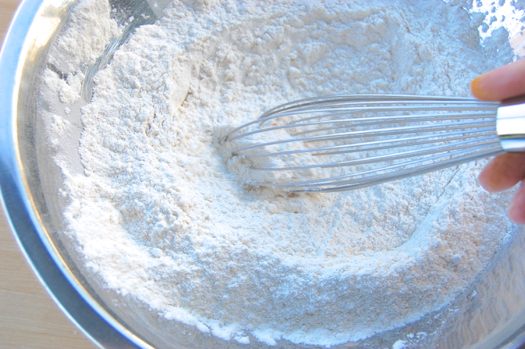
Now put the flour, salt, yeast, cinnamon and orange zest in a bowl…

…and whisk them together.
When the butter and milk mixture is cool, pour it into the bowl of a stand mixer fitted with a paddle (beater). Add the sugar and lightly beaten eggs and stir them together on low.
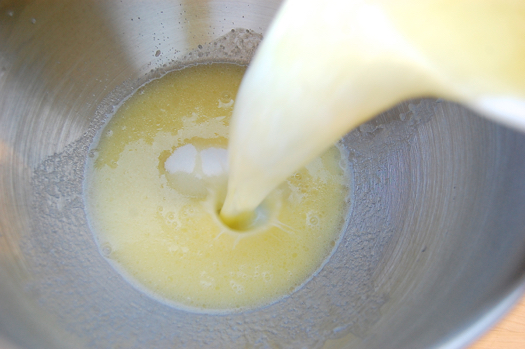
Add the flour mixture all at once and stir until all the flour is moist.
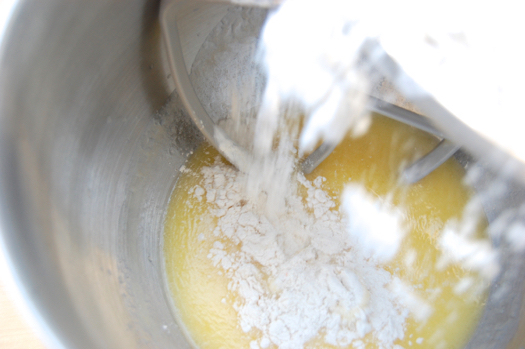
Switch to the dough hook.
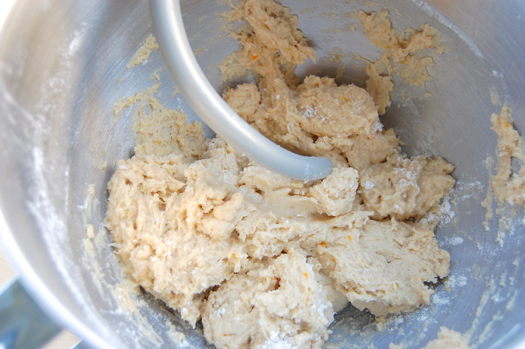
Knead the dough for about five minutes. If at that point it looks like this it’s too wet.
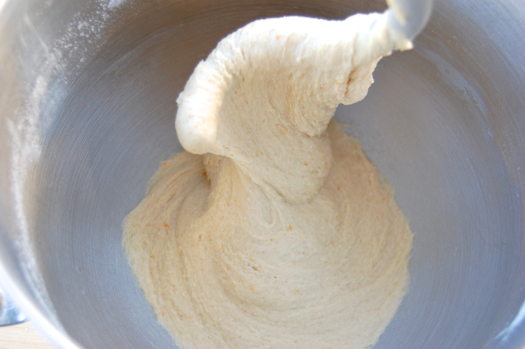
Add about another half cup of flour and knead about another two minutes until it looks like this:
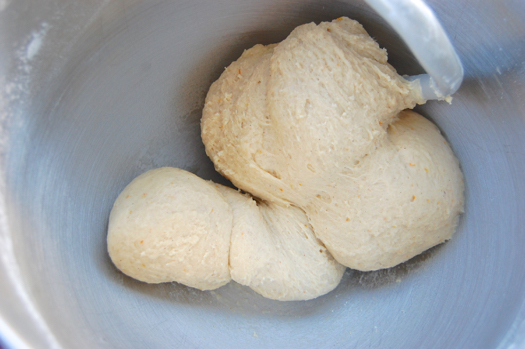
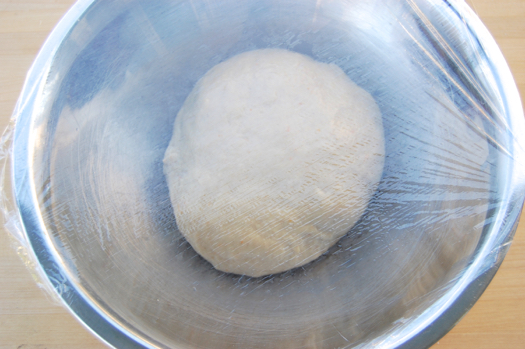
Shape the dough into a ball, place it in a lightly oiled bowl and let it rise until it’s about doubled, 2 to 2 1/2 hours.
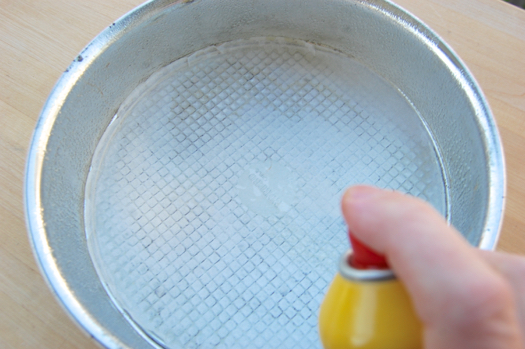
Meantime grease a 9-inch springform pan. I put parchment on the bottom of this one because I take no chances with sticking. You probably don’t need it.
When the dough has risen (no Eastern puns intended), cut it into three pieces. I eyeball this but what I have here are two pieces that are about two-fifths of the dough and one that’s about a fifth. If that’s annoying I apologize. I had no idea what sort of shaping I’d do when I started. I ended up making one large one in a 9-inch pan and one small one free-form. You could make a single large 11-inch bread with this quantity or probably five individual-egg versions if you wanted.

For the big one I rolled the larger pieces into snakes about 26 inches long. They’ll be about an inch thick.
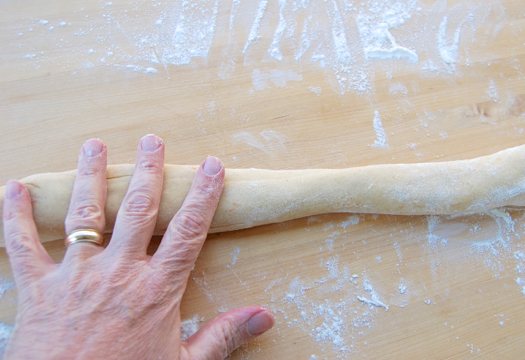
Yep, about an inch.
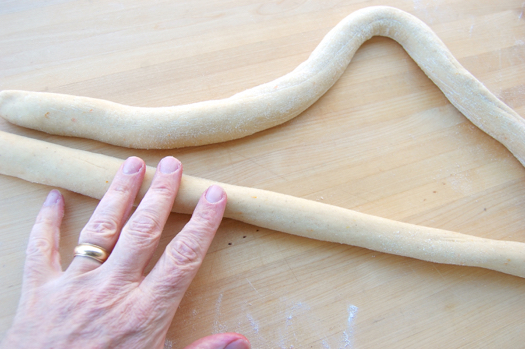
To shape it, pinch the ends together at one end.
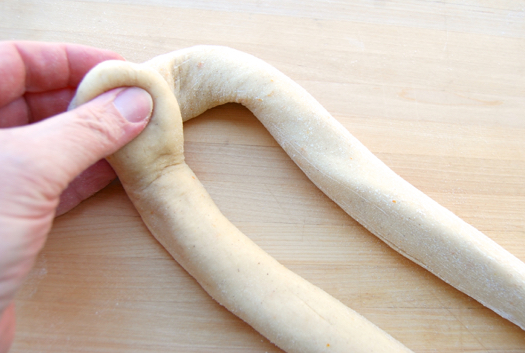
Put a hard boiled and dyed Easter egg there. I understand you don’t strictly need to hard boil the eggs first since they’ll cook in the oven, but a.) I was boiling eggs anyway for Easter and b.) I still didn’t want to take a risk that the egg would burst in the high heat.
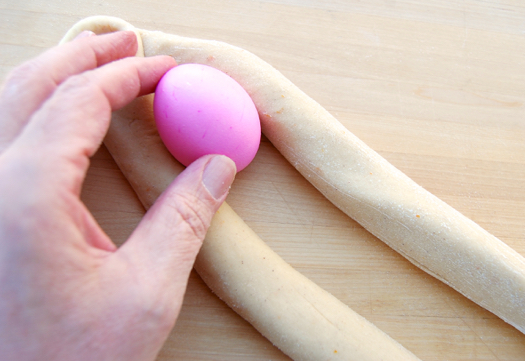
Anyway, bring the dough pieces around, one over the other.
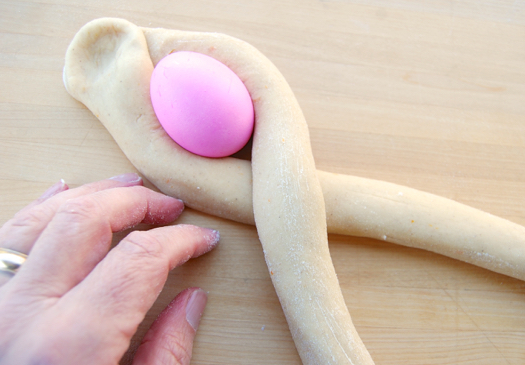
Put down another egg then bring the dough around, following the same over/under pattern you started with the first egg.
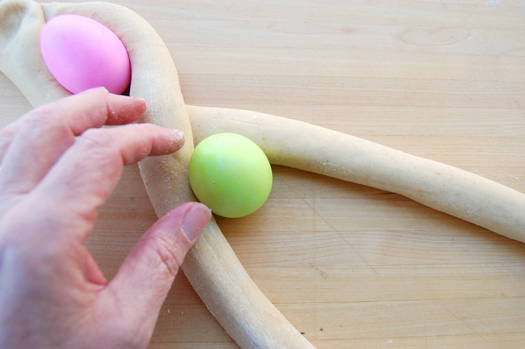
And the next one.
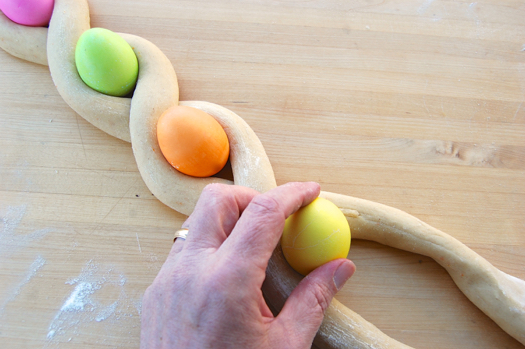
And the next one and so on until you’ve used five of them. You should be out of dough by then, so pinch the ends together.
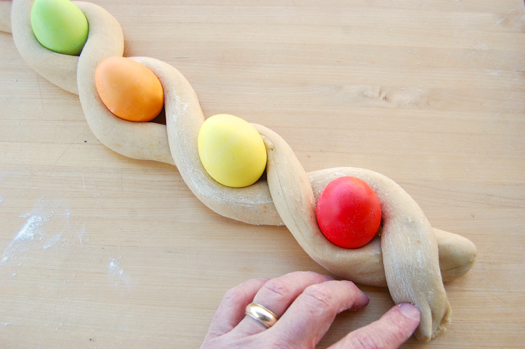
Bring your egg and dough rope into a circle.
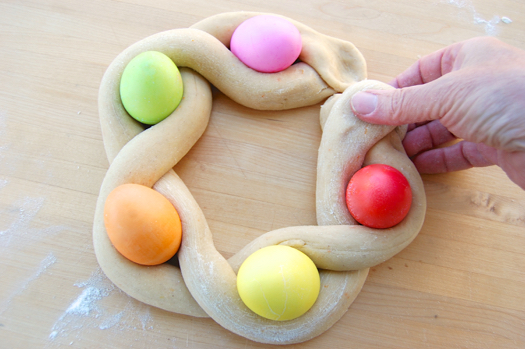
Slip the bottom of the springform pan under your creation…
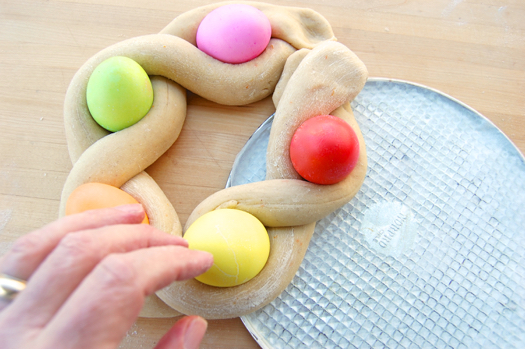
…and lastly put on the ring. Done! Paint it with egg wash without getting any on the eggs. It’ll turn dark brown in the oven.

For the individual version I split the remaining dough into two pieces and twisted them together to make a sort-of braid, then wrapped that around another egg.
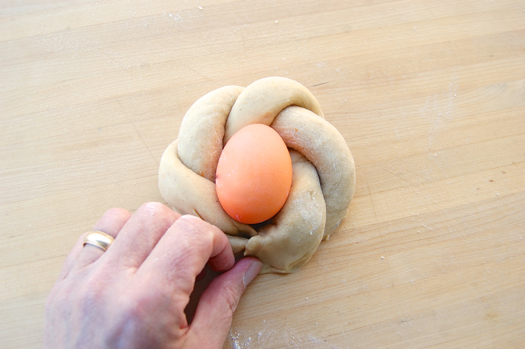
Let the bread rise until it looks about like so. 1-2 hours depending on how cool it is in your kitchen. Meanwhile preheat your oven to 375 degrees Fahrenheit. Paint the bread again thoroughly with egg wash, being careful not to get any on the eggs.
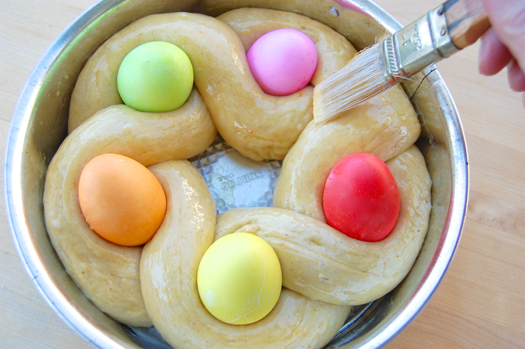
Bake the bread about 25 minutes until it’s a deep brown on top. Let it stand about 10 minutes…
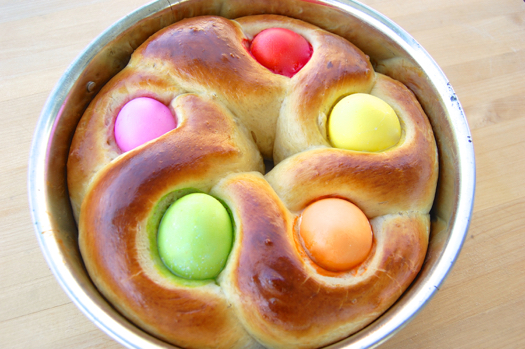
…the remove the springform ring and let it cool down the rest of the way. I got nuts with the little one and added some Easter jimmies to the top. Kinda fun!

May the Bunny be good to everyone!
Such beautiful breads!
Do you use anything to make the jimmies (sprinkles) stick to the bread or is it just the original egg wash at work there?
Hey Laurag!
Thank you and indeed it is just egg wash. Worked great!
Cheers,
– Joe
Very nice. Happy Easter to the entire Pastry family.
Thanks, Brian! Same to you and yours!
– J
Great post, Joe. My daughter would absolutely love this idea. Happy Easter to you and your family.
http://askmelissaanything.blogspot.com/
Same to you, Lissa! Thank you.
– Joe
Joyous Easter Blessings on the whole Pastry clan!
The same to you and yours, Jeannine!
– Joe
“When the dough has risen….”, you made my night Joe. Thanks.
I swear I’m not totally responsible for these groaners. They just happen of their own accord.
Cheers and thanks, Johan!
– Joe
Really beautiful, I should keep this in mind for next Easter!
What happens with eggs while baking? Are they still edible after such exposure to heat twice?
Thank you, Antuanete!
And the eggs are perfectly fine to eat after the baking. The only thing that happens is that much of the dye that’s in contact with the bread runs off. Otherwise they’re delicious!
Cheers,
– Joe
Bellissima!
Thanks, Karen!
– Joe
Brilliant idea! I can’t wait for next year’s Easter Sunday just to make this. I’ll make one of these days. I really love the look!