Making Bialys

Bialys back in their turn-of-the-century heyday in Bialystok, Poland were very large, very flat affairs covered from one side to the other with chopped onion. After a few decades in New York bialys became both smaller and chubbier, with naught but a sprinkling of onion in the center. This is my attempt to split the difference to some degree. These sport the thicker torus shape but contain more onion because, well, I think more flavor per bite is better.
These breads can be made in an afternoon or overnight of you prefer. My version calls for ripening the dough in the fridge overnight to more fully develop the flavor. Other good ideas include making them with old dough or a sourdough starter. If you go the old dough route, simply substitute a 50% hydration, aged (up to 3-day-old, refrigerated) dough for 1/3 of the recipe (be sure to make it with high gluten or bread flour). You can do the same thing with a bread starter, just make sure that you add enough flour in your most recent feeding to bring the hydration to roughly the same 50-50 by weight ratio (make sure you’re feeding your starter with high-gluten or bread flour in the days leading up to the mixing). Or you can skip the ripening altogether and make them by the straight dough method in a single afternoon. They’ll still taste great.
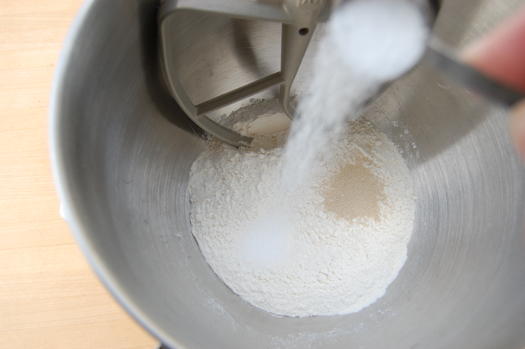
Start yours by assembling your ingredients. Combine the flour, yeast and salt in the bowl of a stand mixer fitted with a paddle. Stir the ingredients on low…
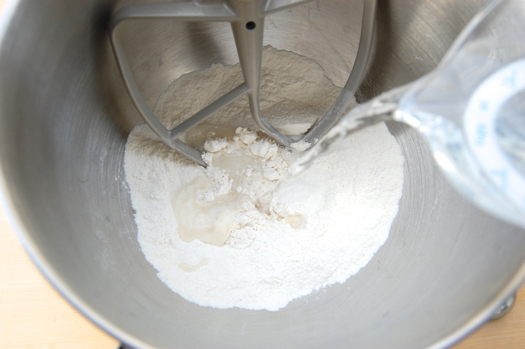
…and once they’re blended pour in your water as the machine runs.
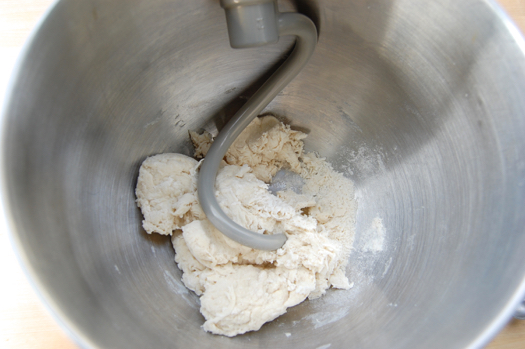
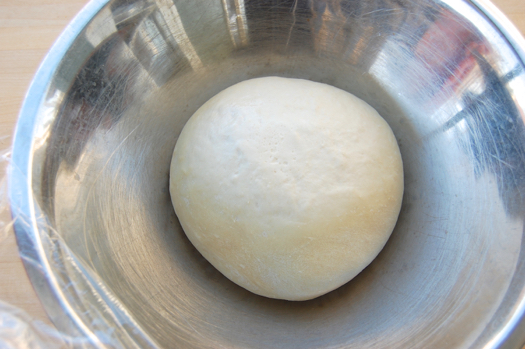
When the dough looks clumpy/shaggy, switch to the dough hook and knead for 6-8 minutes until the dough comes together into a fairly firm ball.
Sorta like this.
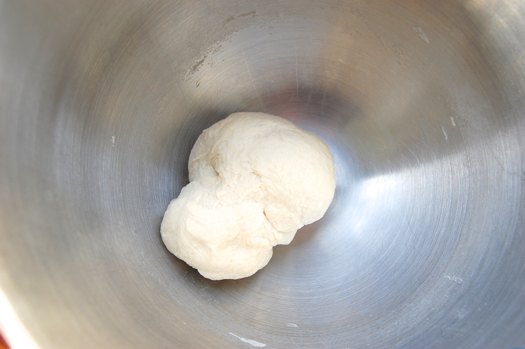
Place the dough in a lightly oiled bowl and cover it with plastic wrap. Let it rise for 1 hour then refrigerate it overnight. Or if you’re using the straight dough method, just let it rise for 1 1/2 hours.

Take the dough out of the fridge and let it rise about 1 hour, half an hour to take off the chill and another half hour to complete the rise. The dough should increase by at least 50% if not double.
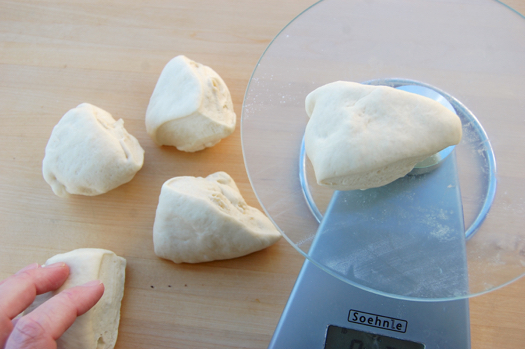
Cut the dough into five 3-ounce pieces.
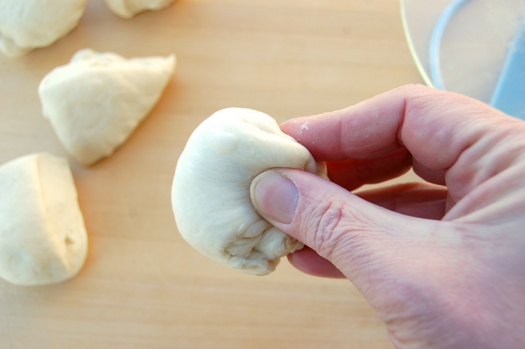
Pinch the cut ends together, stretching the ball mostly smooth on the top.
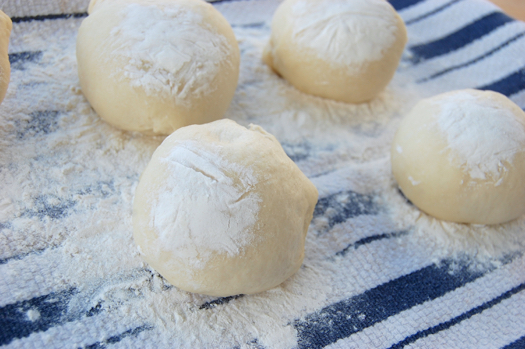
Place them smooth-side up on a towel-lined sheet pan. Sprinkle the dough balls amply with flour and cover with plastic wrap.
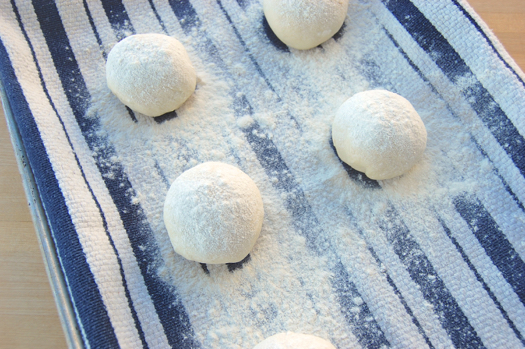
Let the dough balls rise at least another 2 hours until they’re about double their original size.
Over-proofing isn’t really a concern here. Indeed it’s a good thing as it will prevent the bialys from puffing up too high. When you poke the dough with your finger the impression should NOT spring back as with a well-proofed baguette. The impression should remain there, exactly as it was. Here is a live action movie of what you should see:
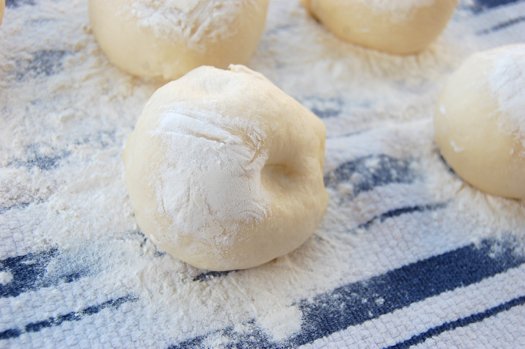
Got it? Nothing. If it takes another hour to get the dough to that consistency, so be it. I should add here that if you like flatter bialys, let this proofing continue up to another hour, even two if you like.
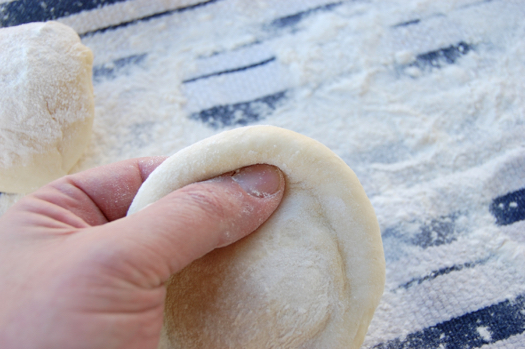
While the dough is over-rising, make your oven as brick oven-like as you can and then preheat it to 500 degrees Fahrenheit (or whatever your maximum temperature is). Now then it’s time to shape. Pick up a ball and firmly pinch it flat in the center, rotate the dough in your hands to get an even lip. My other hand appears here courtesy of Warner Brothers.

You want a wide center with a thin lip, like a small version of a pizza. Once there were special rolling pins made for this purpose. Wish I could have found one.
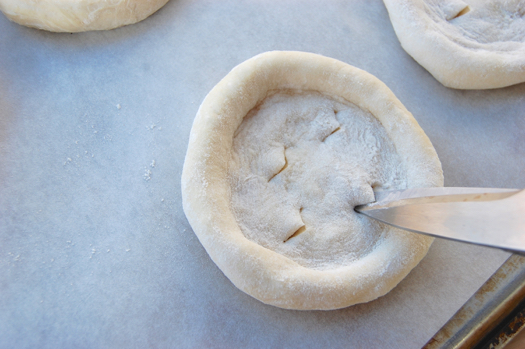
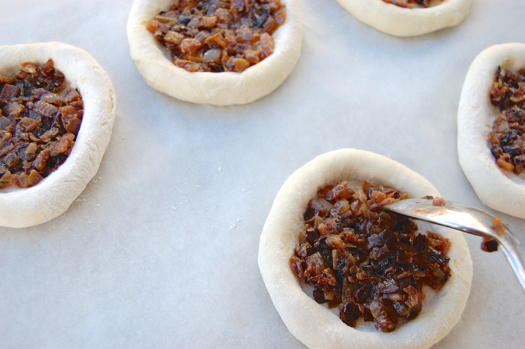
Lay the rounds out on a piece of parchment paper and using a pair of kitchen shears cut holes in the dough to discourage puffing. Cut all the way through to the bottom. The filling won’t fall out and indeed the holes will close during baking.
Spoon in a tablespoon of cooked onions. These are quick-sautéed onions, browned (indeed blackened) in about 8 minutes over high heat. I used one large onion, about a tablespoon of oil and about 1/4 teaspoon of salt.
You can also use sweeter long-cooked caramelized onions or baked garlic. Raw onions are an excellent choice as well. Mix in some poppy seeds to boot if you want a truly Old World look. Slide the parchment sheet onto the back of a sheet pan. Rest them 10-15 minutes to relax the gluten (another anti-puffing measure).
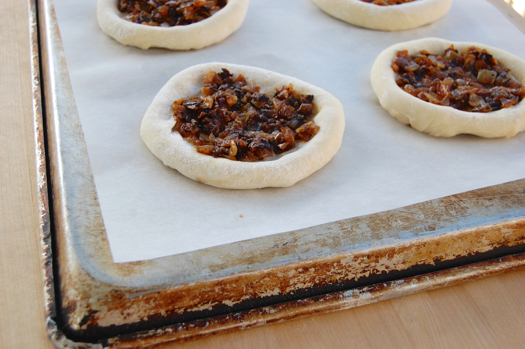
Once the resting is done, bake them in your prepared oven, sliding the bialys with the paper onto your baking stone as shown here. Bake them 8-12 minutes until brown patches appear. Grasping the edge of the parchment paper carefully with your fingers or a set of tongs, slide the paper off the baking stone and back onto the back of a sheet pan.
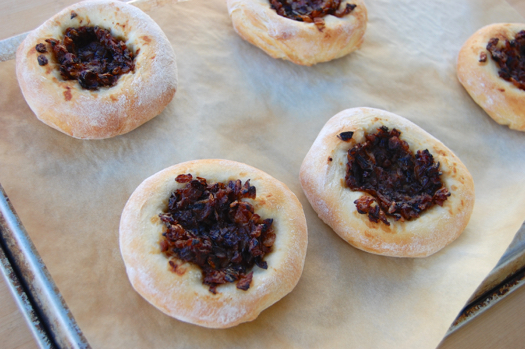
At which point they’re done. They are best consumed warm with a “schmear” of good butter or cream cheese over the top. Carmy, I hope these meet with your approval!
Congratulations 🙂 You finally made them, they look like a real cebularze! If you have more question about polish food, I will be happy to help.
Thank you very much, Ilona. You were a great help on this project! And I’m certain I will have more questions at some point. I’ll be in touch!
Cheers,
– Joe
Special rolling pin like from a child’s kitchen-toy? Or a dowel, maybe 1″ or so in diameter and as long as you want it. Mine is about 8″ long, just the thing for rolling out pie crust for individual chicken (beef, pork) pies.
Hey Sally!
From the research I did on these I discovered that there were once special pins that were about eight inches long and rounded on the ends, which allowed the baker to produce a round piece of dough with a lip simply by rolling it. Very cool indeed.
Cheers,
– Joe
Oh YUM. I think I’d go with roasted shallots and garlic. But 5? Only 5???. I’d need at least 3 times that many to serve with my mom’s Beer Cheese soup!
Hehe…very true. This is definitely a toe-in-the-water quantity. The good news is it scales up to whatever degree you want!
Cheers and ;et me know how they go!
– Joe
You never really said if this batch is what you had expected when you started this project. Were they?
Hey Susan!
Honestly I wasn’t totally sure what I was shooting for at first, so, um….this is EXACTLY what I wanted! 😉
In truth my idea was to try to do something that was a little more Old World than typical New York style bialys, which usually have a good deal less topping than their Old World cousins. I thought mine would be more pizza-like. However what I discovered is there’s a reason American bialys are puffy: it’s all the elastic gluten in our flour. It causes the dough to ball up in the oven during baking. So while mine are still tall compared to Polish versions, they do have more filling. I count that as a victory! 😉
Cheers and thanks for an excellent question!
– Joe
Um.
Would it disrupt the Order of the Universe too much if I divided the dough into 6 pieces rather than 5?
I’m not sure what it might do to the spacetime continuum, so proceed at your own risk.
I’ll say this: the smaller they get the harder it will be to keep the centers flat. Otherwise there’s no reason you can’t!
Cheers,
– Joe
Ah, so that makes sense. Larger means flat centres.
See, I looked at it and thought “5? Who makes 5 of anything?”
Thanks, Joe!
I hear you, though you can always scale it up by 16.6%!
😉
– Joe
Christening my new baking stone with these little guys later today and I couldn’t be more excited! No more desperate longing for Bell’s Bialys! Mr. Pastry, you’re my hero!
Haha! My heroism all depends on how well your bialys turned out. What was the result, Elizabeth?
Cheers,
– Joe
Delicious, but not exactly what I was hoping for. My husband is the resident bialy-eating expert, and he recalls a flatter but lighter bialy with a crispy, blistered crust. Maybe I rushed things and didn’t allow enough time for true over-proofing? Should I have sprayed the bialys with water to get the crusts crispy and blistered? A hotter oven? Maybe it’s the difference between Old World bialys and Brooklyn bialys?
I’m going to keep tinkering!
Flatter AND lighter, eh? Does he mean bigger holes? Or just a fluffier interior? But yes, max your oven out — bake as hot as you can and do them on a stone as I mentioned. It may well be that a home oven just doesn’t have the chutzpah. A lot of bakers prefer brick ovens for these, where the heat can be 700 or more. But get back to me. We’ll keep working these until hubby is satisfied.
– Joe
When pressed, he likened The Bialys of His Childhood to saltier, over proofed pizza dough. Maybe I’ll try a wetter dough?
Hey Elizabeth!
Just proof the heck out of these. Go 3-4 hours and you should get the result you want. If the holes aren’t big enough still, you can add another ounce of water to the formula.
Keep me informed!
– Joe
Thanks Joe, these look so yummy. Will have to try making then soon.
Cheers
Let me know how they turn out!
– Joe
Joe, these are similar in appearance to kolaches, a Czech pastry that is popular in Texas. The difference is that the filling in kolaches is usually fruit-based or a lightly sweetened cheese, and the dough is sweetened. My grandmother made the best kolaches in the universe (!), and of course she used lard. Unfortunately, many bakeries try to pass off any sweet roll or even pigs-in-blankets as kolaches, so younger people may not know the real thing. Have you ever eaten or baked kolaches? If so, please consider writing about them.
Hey Nancy! There are two different kolache recipes on the blog, one that’s more bialy-like and one that’s more cookie-like (they make them both ways in Chicago where I grew up). Have a look under “Pastry” and you’ll find them. And if you want more on the subject just do a word search and you should find plenty!
Cheers,
– Joe