Making Chocolate Babka
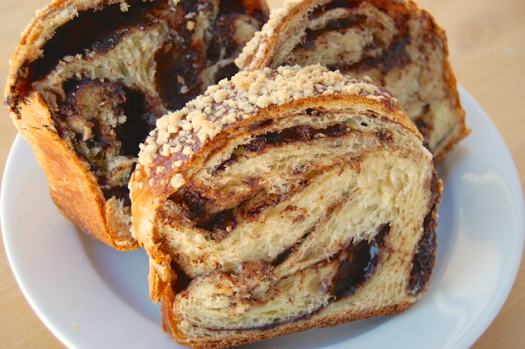
Imagine a mouthful buttery, fluffy brioche. Its cottony texture is interspersed with a creamy-decadent bittersweet chocolate swirl. Notes of cinnamon fly high overhead while bits of crunchy baked streusel dot the terrain. That’s what a big bite of chocolate babka tastes like, friends. I can’t sell it any harder than that.
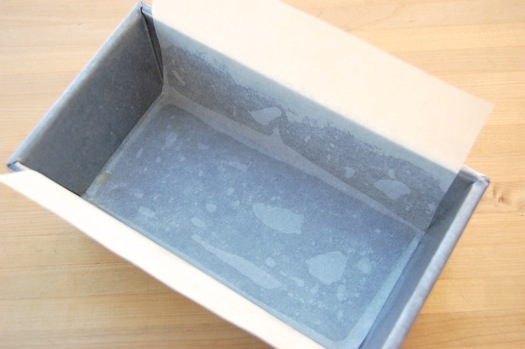
There’s word on the street that babka takes a lot of time and effort to make. Which isn’t true. You can have the whole thing done in about four hours and have a cooled loaf waiting for you by tea time. Trust me, this isn’t hard. Start by assembling your ingredients. Next, grease a standard 8 1/2″ x 4 1/2″ loaf pan and place a piece of parchment in it like so. Grease a little more.
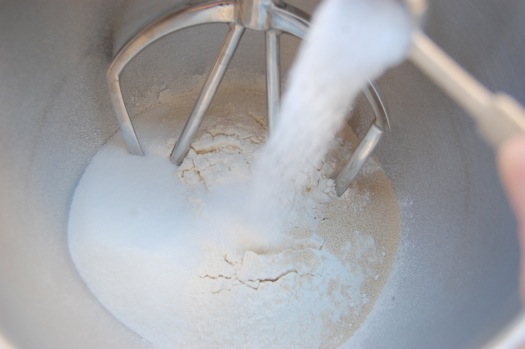
Begin by combining the dry ingredients in the bowl of a mixer fitted with a paddle.
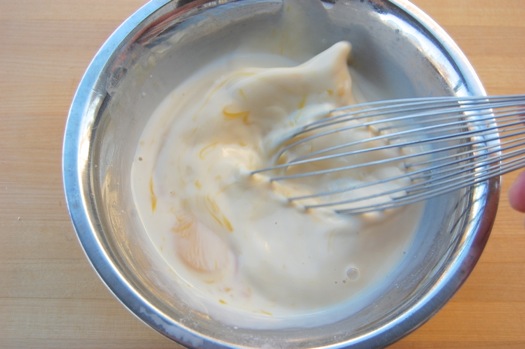
While that’s stirring on low, combine the wet ingredients in a medium bowl and whisk them together.
Combine the two.

Stir them together on low until everything is moistened. Switch to the dough hook and knead on medium speed until the dough is smooth and sticky.
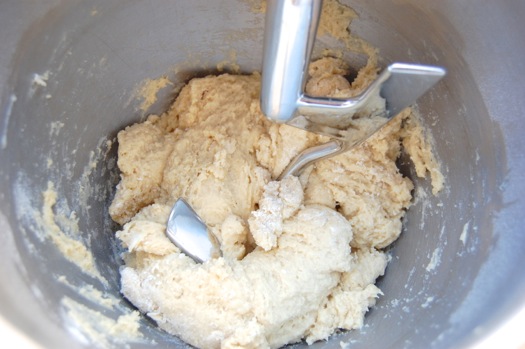
Add the butter and knead another 3-5 minutes until it’s all incorporated. You may need to scrape the bowl once along the way.

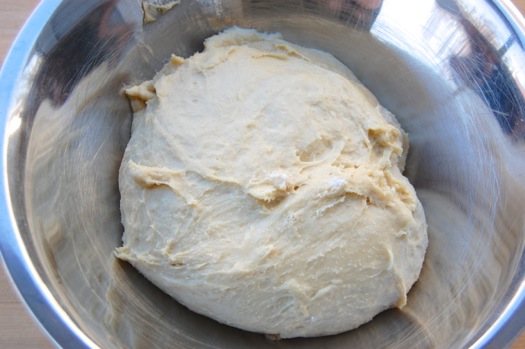
Turn the dough out into a bowl, cover it with plastic wrap and let it rise for 1 – 1 1/2 hours until it’s about doubled in bulk.
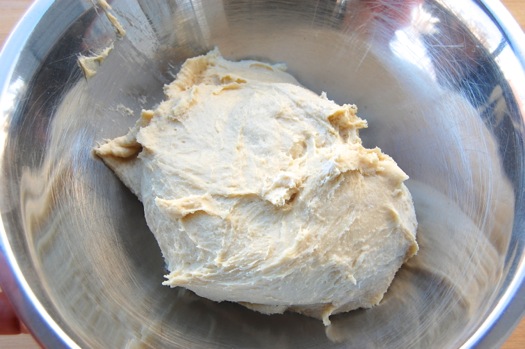
Sorta like this.
Remove it to a floured board and apply the pin.

Roll in one direction…
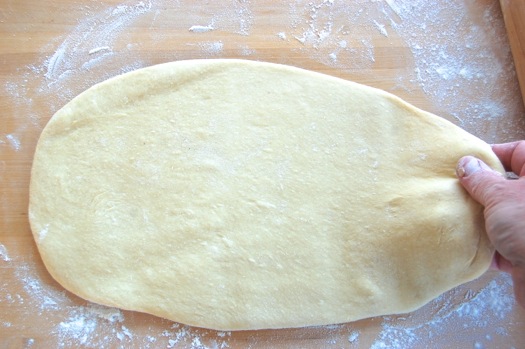
…then the other.
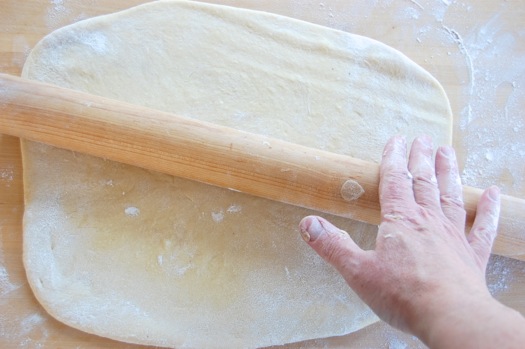
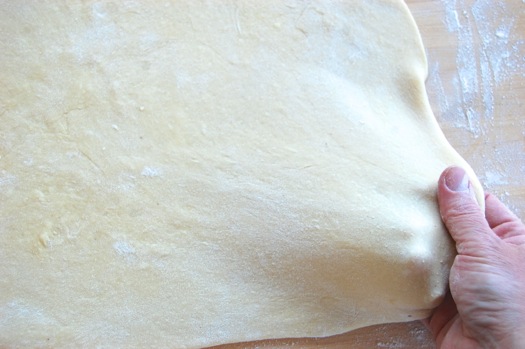
Stretch the corners by hand to make a square shape if need be. That’s absolutely in the rule book. You want your sheet about twice the length of your pan, 16 inches or so, though you can always stretch your roll later so don’t sweat it too much.
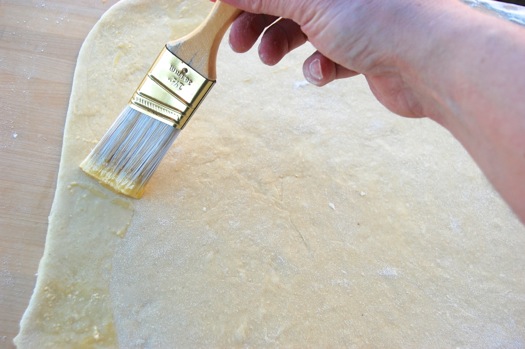
Now paint egg wash around down side edges and far edge.
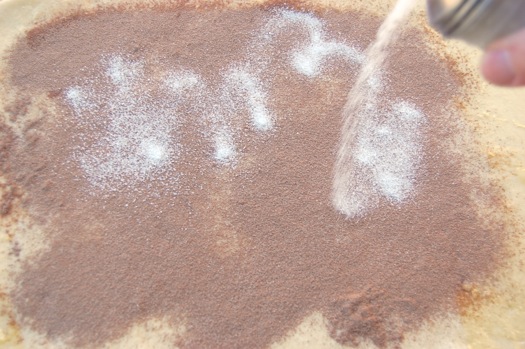
Apply a dusting of cocoa powder.
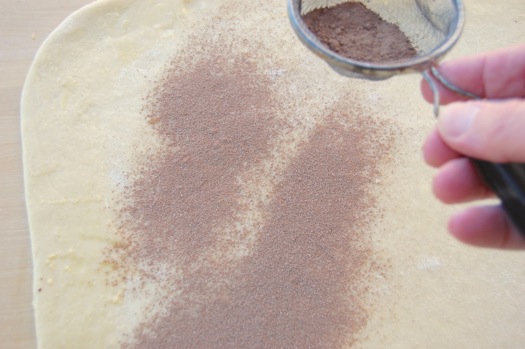
And sprinkle sugar over it.
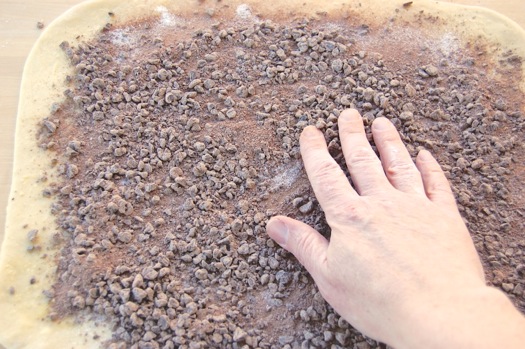
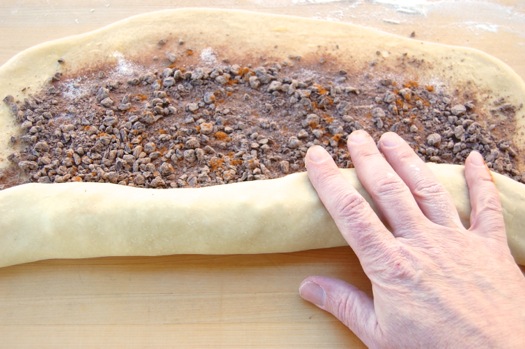
Apply your chopped chocolate. This is six ounces of bittersweet chocolate chips chopped in the food processor for 30 seconds or so. Hey, it’s what I had.
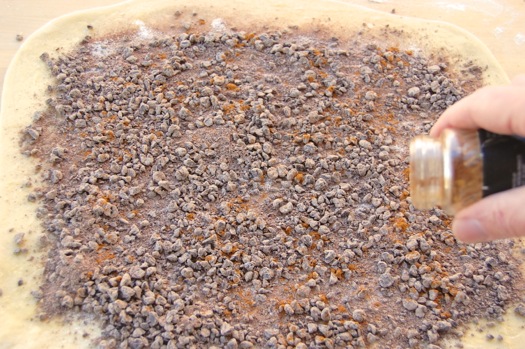
Now sprinkle on a little cinnamon.
Begin the roll with the side closest to you.
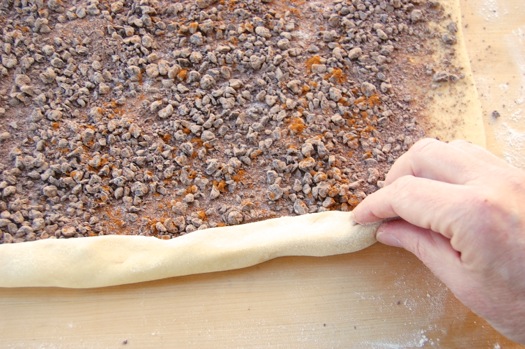
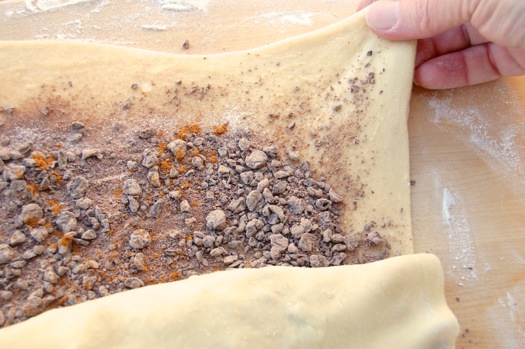
Gently roll it up with two open hands, your fingers outstretched.
As you get to the end you’ll want to again tug out those corners.
Pinch the ends shut so no filing leaks out.
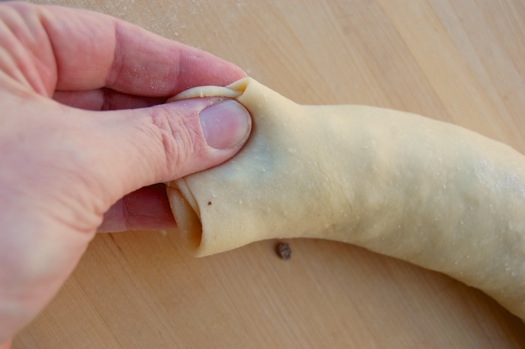
Twist the roll a couple of times on one end, then the other (in opposite directions). This will help with the swirling action.
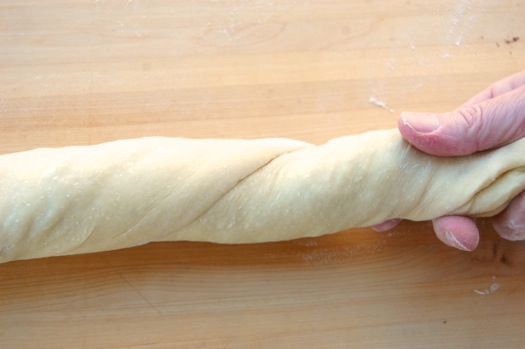
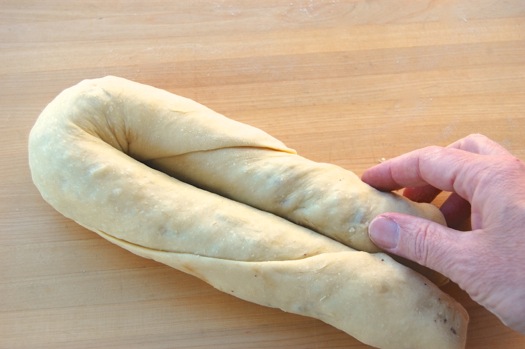
Now then. Fold the roll in half…
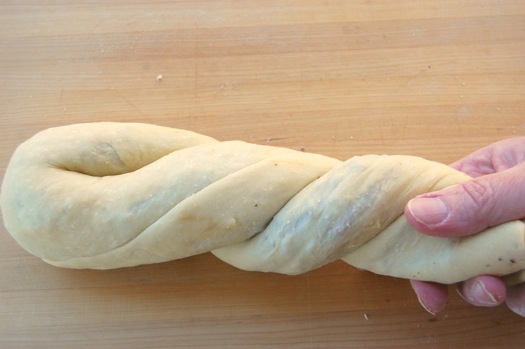
…and give it two twists.
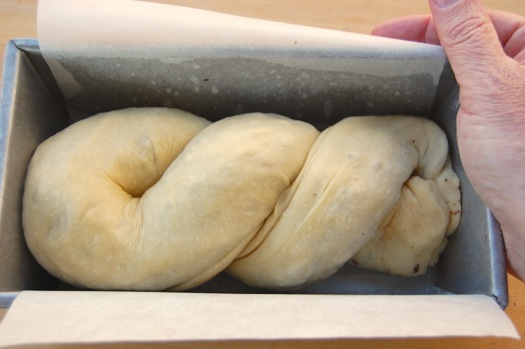
Place the roll into the prepared pan, paint it with egg wash and let it proof for the same amount of time it took to rise. Probably around an hour. Meanwhile, preheat your oven to 350 degrees Fahrenheit and set up a rack in the lower third of the oven.
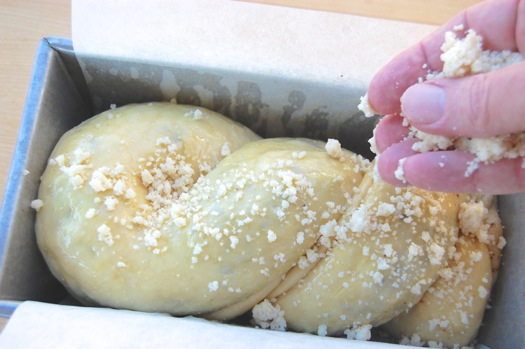
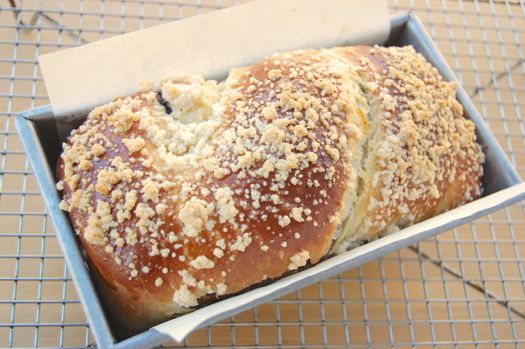
After the proof time is up paint the roll again with egg wash and sprinkle it all over with streusel.
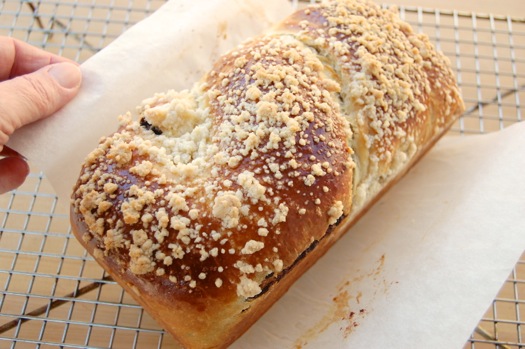
Bake it for 25 minutes or so, then rotate the pan. Bake another 10 minutes and check the browning. If it’s getting very dark, apply some loose foil. You want to be sure the sides brown as well as the top. When it’s about to here, take it out and cool it on a rack for about ten minutes.
At that point gently de-pan it by pulling up on the parchment. Let it cool at least an hour before slicing. Several hours or overnight is better, but who can wait for something like this?
In my ideal world my layers would be more defined. Next time I may cut the proofing time a bit, which will probably help with that.
But I’m not complaining, friends. You really need to try this.
Some folks roll both long sides to the middle then fold and twist. It’s pretty, too!
Interesting. Ideally mine would be prettier on the inside but what are ya gonna do. Next time I’ll fiddle!
Cheerio,
– Joe
Tomorrow’s project, coming right up.
Made it (three times), loved it, and wrote about it—thanks! http://bit.ly/1iOmNqd
Delightful, Jennifer! You go better definition than I did. Very well done all the way around. Looks excellent. Thanks for the comment and the links!
I shall look forward to visiting your blog in the future!
– Joe
You had me at “Chocolate”! Just the inspiring pictures I was waiting for. If I have some time, I will try it this weekend and let you know how it goes. 😀 It really looks amazing with all that chocolatey deliciousness inside. Thanks again for sharing and making it look so approachable.
Eva
I want the full report! It’s not a struggle, I promise,and the result is well worth it!
– Joe
This looks outstanding! I can’t wait to make it! Thank you so much! Mr. Pastry, enjoy your vacation! Here are some more exclamation points for good measure!!!
That makes it extra good! 😉
Thank you and thank you!
– Joe
Mr. Pastry,
I finally had a chance to bake this babka last weekend as a thank you gift to my sister and her husband for letting me stay in their guest room. My brother-in-law has a sugar sensitivity, so I used evaporated cane juice wherever the recipe called for sugar, including the filling and streusel. Everyone loved it! I’m told that I’m welcome back any time, especially if I bake while I’m there.
Thanks again for an excellent recipe!
Thanks for getting back to me about it, Elizabeth! I’m very glad it worked so well!
– Joe
Could ya sprinkle a little instant espresso too? Is that too much? (Just showed it to my other, who seems to think coffee makes everything better.)
Ooh yeah, you’re thinkin’!
Did you see me wave as I passed over NOLA this morning?
– Joe
Looks fab! Do you think it would be OK to proof the shaped loaf overnight for a breakfast/brunch treat?
Hey Maria!
You could try that in the fridge, though it would need at least half an hour to come to room temperature before baking. I’d say just bake it the night before and eat it the next day. I like mine slightly aged!
– Joe
For some reason I cannot get the topping recipe. This looks amazing. Can’t wait to try it.
I’ll double check that, Donna. You can look it up under the Pastry Components menu also. Just scroll all the way down to “Variation 2”
Cheers,
– Joe
Thanks Joe. I got it and can’t wait to make this.
Let me know how it goes, Donna!
– Joe
I’ve never made a babka, but I’ve had plenty (happily for me); in fact, post-funeral I’ve had an excess of them, so I discovered that (should you have this odd problem) babka freezes very well. Slice it frozen, pop the slice in the toaster, the brioche softens and the chocolate gets warm and gooey — fabulously decadent.
Yours looks really good, Joe.
I does indeed freeze well after baking. Great tip! I love to eat it frozen in fact, to heck with the toaster!
Cheers and thanks!
– Joe
Long time lurker, first time commenter here. (Love your blog; it makes for enjoyable and educational reading.) I tried the recipe and thanks for this tutorial. As a novice baker, it’s reassuring to have visual confirmation of what the recipe should look like approximately at various stages and your tutorials make seemingly difficult or complicated recipes easy to tackle.
I ended up with a decent babka, but mine turned out dry, perhaps because I baked it for an hour (per the recipe, not this tutorial). I noticed that in this tutorial, you seem to bake it for a shorter period of time and “[w]hen it’s about to here, take it out”. Could you please elaborate what that means? Does it mean the colour of the babka in the picture below?
Hey there, Isk!
I’m sorry to hear that. An hour is definitely too long and will certainly have dried it out some. 25 minutes plus maybe ten more as it says in the post is about right. You want the top and side crust fairly browned, but once that happens it’s time to take it out for sure. It’ll probably still go great with coffee!
Cheers,
– Joe
Thanks for the confirmation that it’s supposed to be baked as indicated in this particular post, as opposed to the recipe post (http://joepastry.com/2014/chocolate-babka-recipe/). Appreciate it!
Oopsie! My mistake. It often happens that when the proverbial rubber hits the road, the tutorial is different than the theory of the recipe. I sometimes forget to go back and change it. I shall fix that.
Thanks!
– Joe
I made this recipe again, but baked it approximately 40-45 minutes and it was absolutely delicious.
I gave away part of the babka to my friend and her parents and my friend’s mum said it was like it came from a professional bakery.
Definitely going to make it again, so thank you so much Joe!
Wonderful to hear, Isk! Thanks very much for checking back in on the subject. I really appreciate it!
Cheers,
– Joe
Made this last weekend. I guided the lily and added toasted pecans. Dear GOD, this was Amazing. Thank goodness I had the presence of mind to leave it at my daughter’s house..otherwise, I would have eaten the whole thing myself!! Now that I know how EASY this is, I’ll have to make it again and again…
Wonderful times 1000…
Thanks so much for getting back with me on it, Carla! Once you take out the yeast proofing step the whole thing really is easy. Like you I had to stop myself from gobbling up the whole thing.
Cheers,
– Joe