Making Baked Alaska
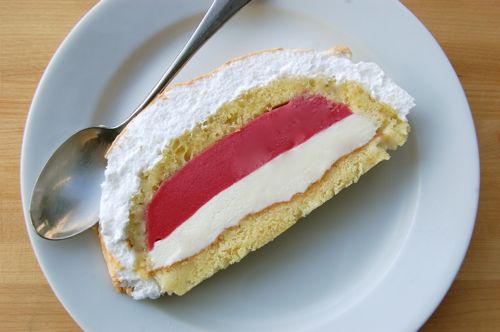
Building a baked Alaska is a delight. It’s fun to work with ice cream, but I also like the fact that the process can be spread out for up to several days if need be. This summer has been a lot more hectic than I expected. Being able to park the unfinished pastry in the freezer for hours at a time is a real convenience. You can assemble at your leisure. Oh, and did I mention it tastes fantastic when you’re done?
Yeah, there’s that.
You’ll want all your components ready before you start. Here I’ve got a frozen 9″ génoise cake, still on its round of parchment. (Note that whenever you freeze génoise you want to wrap it tightly in plastic, because it picks up freezer odors easily). You can see I’ve trimmed it up to make the top more level. So then, slice the layer horizontally by first making a shallow cut all the way around to mark your line.
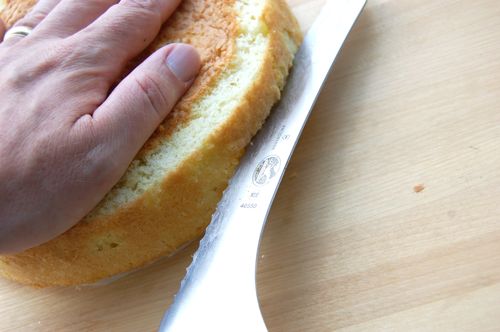
Keep rotating the cake, cutting steadily deeper until you separate the layers.
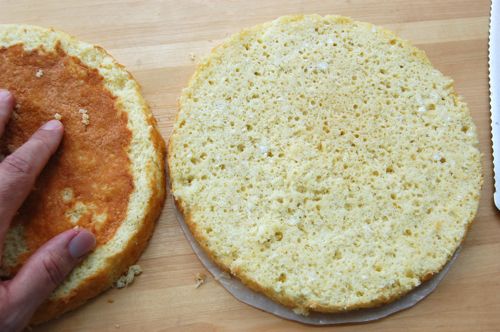
Repeat the process with the bottom half. I know, this sort of narrow horizontal slicing can be stressful. Just take it slow. And if you don’t get your angles right, don’t worry about it. For this sort of baked Alaska, it really doesn’t matter. You’ll see why in a minute.
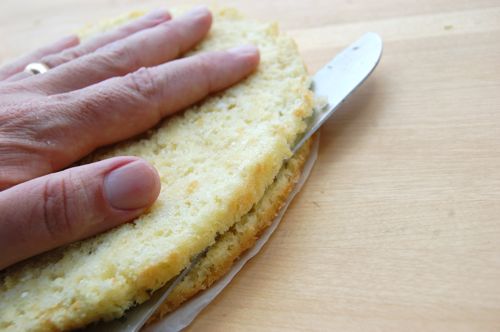
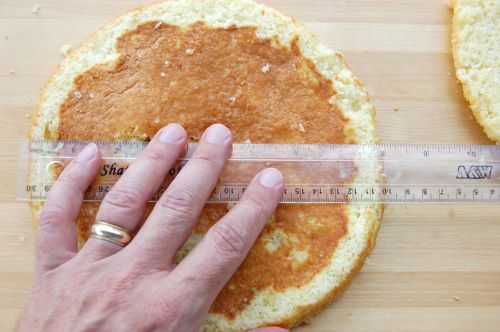
Right. Now trim up your base. Measure the cake…it’ll be a little more than 8″ across. Mesnier’s version of baked Alaska calls for a base in the shape of a football (an American football). So…
…set a cake circle on top of the layer about an inch and a half from the edge…
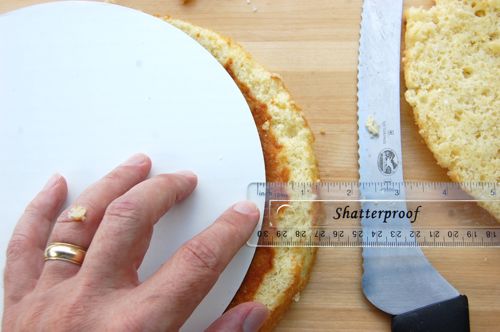
…and trim off the excess.
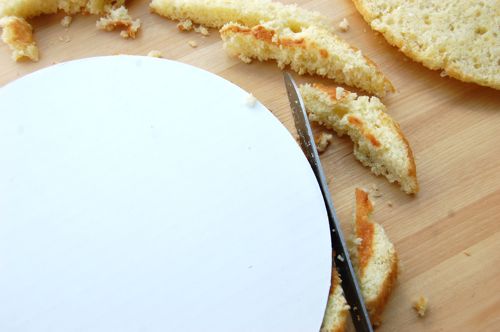
Do the same with the other side and you’ll have something like this. I know, it’s not all that pretty, but we’ll be covering it with ice cream. Everything looks better that way, doesn’t it?
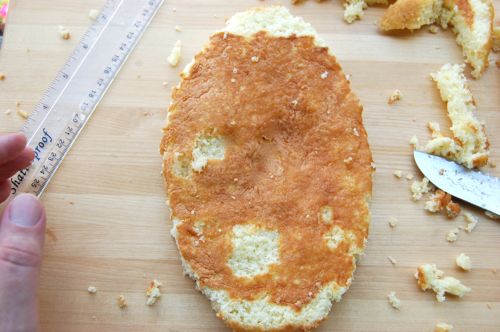
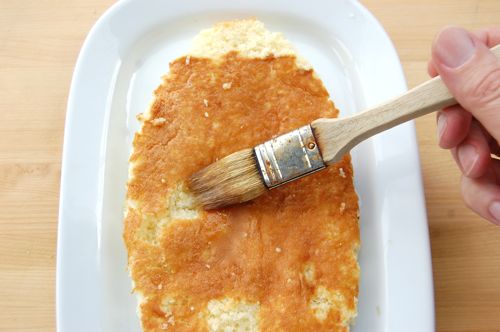
Place it on an oven-proof serving dish and apply a liberal coating of heavy syrup, but not too much, you don’t want it sopping. Now stuff the base, dish and all, into the freezer while you prepare the ice cream.
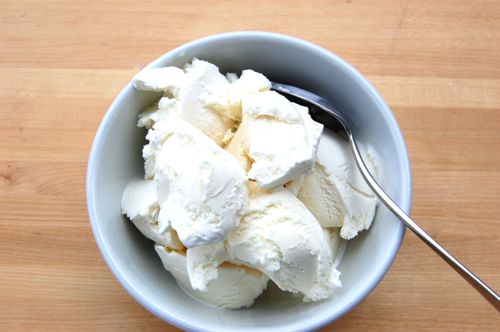
Scoop the ice cream in big chunks into a bowl. Let it sit for about three minutes, then start kneading it with a spoon until it’s soft and spreadable, about the consistency of soft serve ice cream.
Remove the base from the freezer and just spread it on.
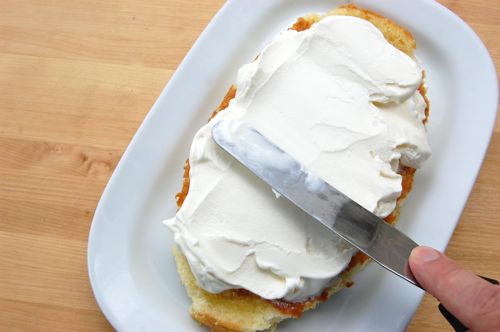
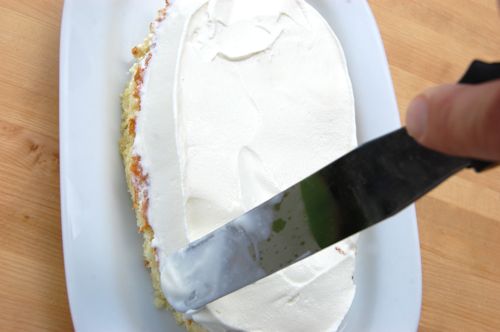
Sculpt it around the edges to make it smooth, then return the whole thing to the freezer for at least half an hour.
When half an hour is up, repeat the process with the raspberry sorbet.
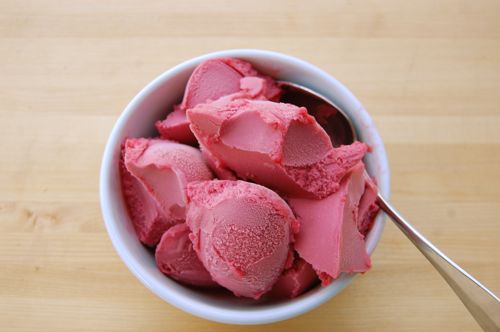
Spread it around. Narrow the top a bit if you like, but it’s not strictly necessary. This is a free-form pastry. Again, return the Alaska to the freezer for at least half an hour.
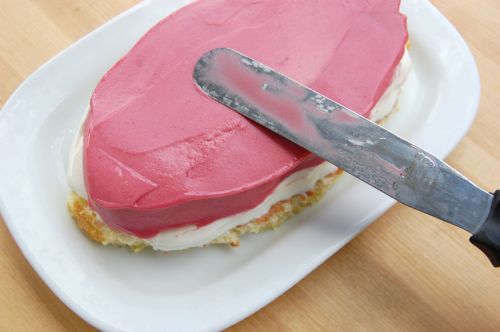
When the sorbet has firmed back up again, take the Alaska out of the freezer and apply the better of your two layers of génoise. If the other one is nothing but a bunch of mangled scraps, that’s OK. They’re what you’ll need next.
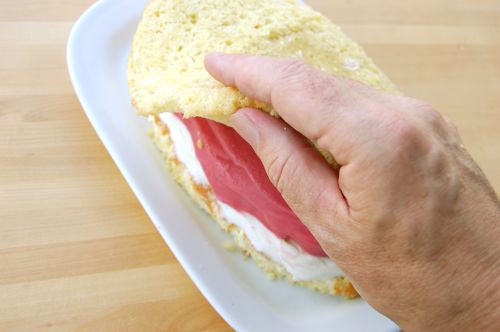
For the ends, see?
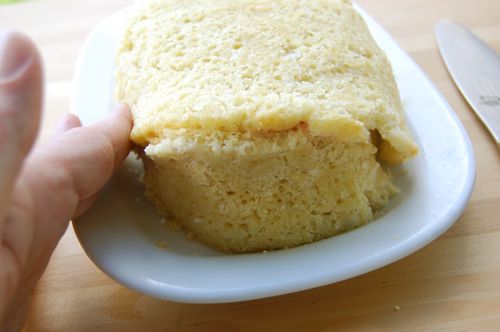
Once you’ve got your pieces all cut and in place, firmly press the cake around the ice cream with the palms of both hands. You’ll have something like this. Yes, there’ll be a little cracking. It matters not.
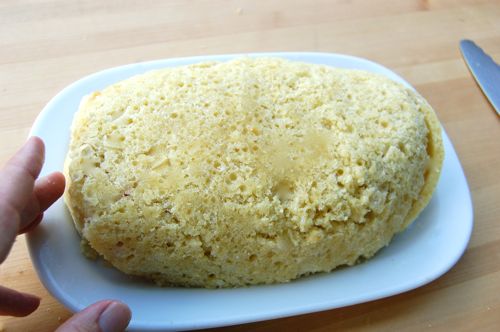
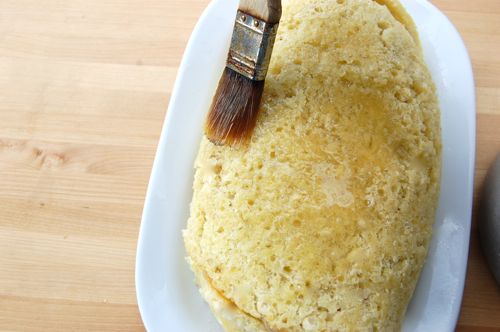
Paint the Alaska with more heavy syrup and return the whole thing to the freezer for up to three days. Wrap in plastic once the génoise has frozen.
When you’re ready to serve it, whip up your meringue and apply it to the Alaska. I over-whipped my meringue a little…the texture is a little coarse, no? Oh well, press on, Pastry! Life is short!
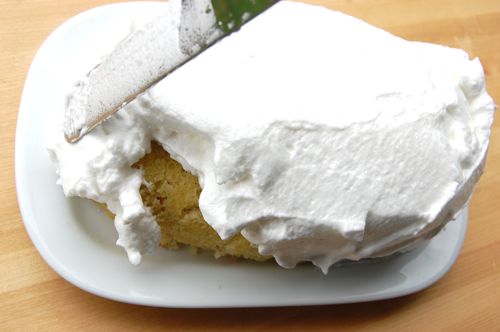
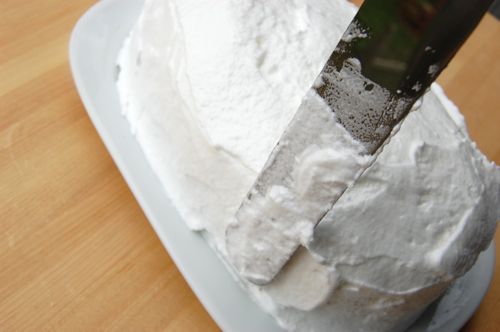
Make sure you cover everything. You can freeze the whole thing again at this point if you want for up to a day. Just brown it when you’re ready. I’m going to dive right on in.
Bake it in a 425 oven for about four minutes until lightly toasted. When it starts to brown (after about two minutes) rotate it every twenty seconds or so to ensure even browning. About like so:
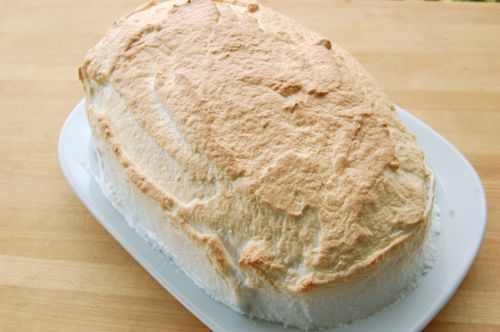
Bring it to the table with great ceremony, slice and serve immediately.
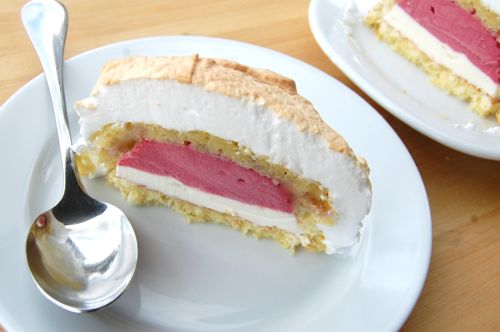
(With spoon or fork).
Bravo! That is really great. You can just play around with that thing indefinitely, no? I mean, three layers of ice cream; chocolate genoise; chocolate AND plain genoise; swirl or spike the meringue; can we get chocolate syrup in there somehow? Individual baked Alaskas! This really demysitifes something that has always mystified. If there are leftovers (not bloody likely, but just in case), can that go back in the freezer? Can/should it be reheated just for a minute or two before serving?
Thanks Chana! You’re right, baked Alaska can be modified almost infinitely. The first time I had it as a kid, it was served to me as a cube of Neapolitan ice cream covered in meringue. Sauces go well with it on the side. I was planning on making a little raspberry sauce but ran out of time. But you can really let your imagination run with with this.
And oh yes, provided you have a little meringue left over to cover the sliced side, you can re-heat it in the oven once it’s been cut.
That is just great-looking. The hot pink raspberry really makes it spectacular.
Thanks nbm! It was fun to do. I hadn’t eaten baked Alaska in years and I forgot how much fun it is to eat. And you’re right, when you slice into that big pile of white to reveal that bright pink interior…it’s very exciting to the eye. I fed this whole thing to some workmen who are fixing up the house next door. They reacted like little kids when I started slicing it. “Glee” is the only word I can use to describe it. This dessert really has a remarkable effect on people.
Thanks for the email!
– Joe
Ok, so of course I have questions about procedure, what would a week be like when I wasn’t questioning the technique you use?
This is one dessert I have not made before and therefore I cannot speak from experience. Could you work from the outside in, meaning, could you line a mold of some sort, half round mixing bowl, loaf pan, etc, with cake. You then could add the first layer of ice cream, either following the contours of the bowl, or making a simple horizontal layer. Freeze for a bit, remove from freezer, add second layer. Freeze for a bit more, add a third layer – now filling the bowl almost to the top and then cover with the “bottom” layer of cake.
On sure. In fact that’s a more common way to make baked Alaska. In, say, a loaf pan. Line the sides with cake, lay in the ice cream, etc.. A bombe-style dome is also quite common, and those are made of course in a bowl. I guess I get a little tired of seeing things in loaf pans, and I tend to think a bowl gives you too high a proportion of ice cream relative to the cake and filling. This free-form version was different, so I decided to give it a whirl. I was pleased with the results.
Thanks, Ed! I always look to you for a good question!
– Joe
I should be clear that I don’t question because I question your ability, I question because I like hearing the though process. Having you explain why you choose one method over another makes me examine my own technique and methodology as well.
Sometimes you change my mind, other times you re-inforce why I choose to work the way I do and sometimes we do it the exact same way.
I realized that I could come off as some a$$ who just wants to show off.
No worries, Ed! I’m not pretending to be creating the definitive version of anything on this site. God knows there are all sorts of clever ways to achieve the tasks that the pastry kitchen requires. I like this sort of feedback. That doesn’t mean you’re not an a$$, of course. 😉
Thought* dammit, I should never try to post before breakfast! My grammar and spelling abilities melt away every night and are only restored with the last bites of breakfast…
I haven’t made a baked Alaska for a long time, and now, I must, and it’s your fault. So pretty, and sooo good. Perfect make-ahead, wow-em dessert for summer, too. Thanks for posting.
Ha! That’s great, Nancy. Let me know what technique/mold/flavor combo you decided to use — I’ll be interested!
Cheers,
– Joe
Hi,
Just wondering how you would go about making this ahead? For example, if I want it for Saturday dinner, I could make the whole thing (with meringue on top) on Friday night and freeze it overnight couldn’t I? My main concern is, before I serve it, would I need to thaw it first (since the meringue and cake will be frozen now too, as well as the ice cream) or could the whole frozen thing go in an oven to brown? If I do this, will the cake be too hard to cut through when it’s time to serve it?
Any help would be great!
Your baked alaska looks to die for by the way!! 🙂
Hey there, Nda!
Don’t be worried about frozen cake…that’s part of the process! It’s still plenty pliable even when frozen. Just make it ahead as you’re planning, pop it into the oven and all will be well!
– Joe
Ohh fantastic!!! That is much more convenient than waiting for the whole thing to thaw 🙂 Will I need to leave it in the oven a little longer if it’s frozen? I guess it doesn’t really matter – I’ll be keeping a very close eye on it after putting so much effort in haha!
You won’t need to do that, but as you say…keep an eye on it. Let me know how it goes, I’m sure your guests will be wowed. Cheers,
– Joe
I am trying to make a baked Alaska for a friend and I am having trouble figuring out how long I can freeze it for. With it all put together.
Also If you can’t freeze the whole thing is there a way to keep the meringue fresh for 3 days?
Hi Anya!
The best thing would be to simply whip up the meringue right before you bake it. Failing that you can freeze it for the full three days. You’ll lose a little of the volume in the meringue but it should still taste great!
– Joe