Tiramisu
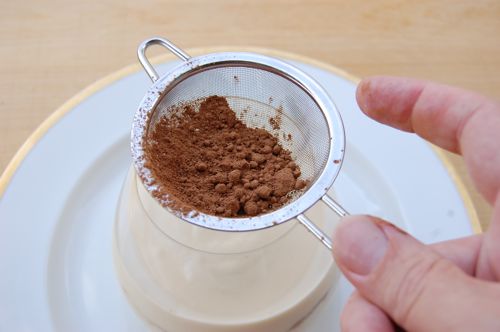
I don’t go nuts on plating as you know. Yet I’m uptight enough to have an aversion to desserts that simply land on a plate in a heap. That’s what happens most of the time with tiramisu, since it’s normally made in a large dish. Try as you might to cut tiramisu into neat squares, by the time it’s scooped out and plated it’s mostly a mess. Sure it still tastes good, but isn’t there a better way?
What about wine glasses? Works for me, and it’s not terribly difficult. But before we get into that, we need to get the tiramisu “cream” made. As mentioned, it starts with a custard. Combine your eggs and sugar in a small saucepan…
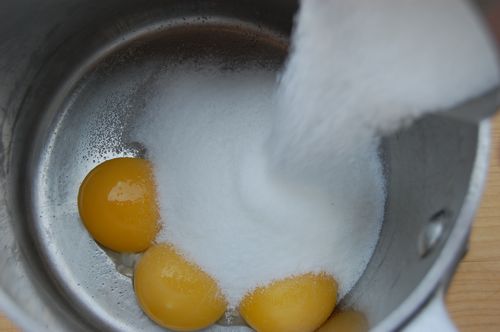
…and whisk to combine.
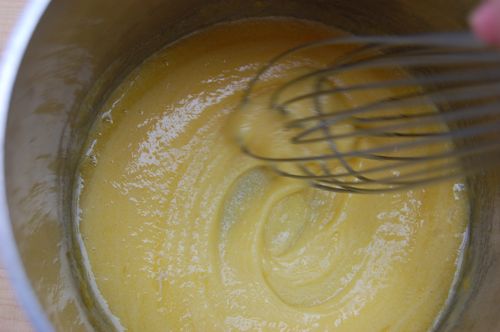
Now whisk in the Marsala. If you’ve only ever eaten tiramisu spiked with Kahlua, you’re in for a treat. Marsala makes a demonstrably better dessert.
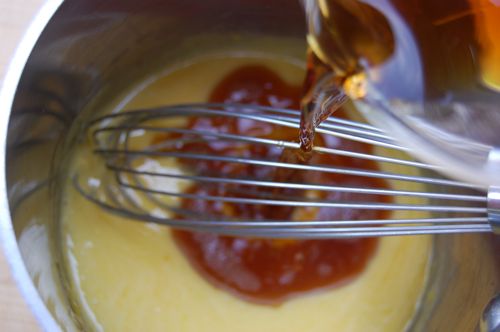
Whisk it all together and set it over medium-low heat. For all you sticklers for authenticity who don’t want to cook the eggs, skip this step and leave out the wine, which will make the finished product too liquid-y. I recommend the cooked version, however, not just because it’s safer, but because it’s got more depth and interest.
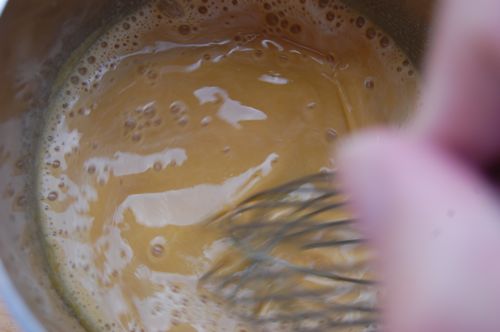
You want to keep whisking gently until the mixture thickens. Your target temperature is 196, though thick enough to coat the back of a spoon is good if you don’t have a thermometer. Just don’t let it boil.
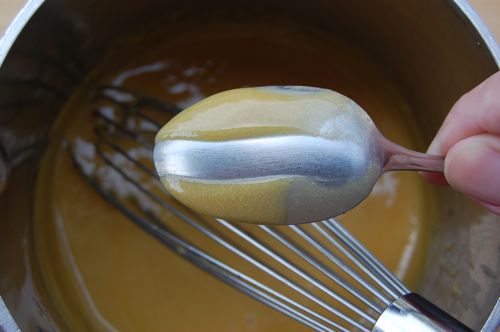
Allow the custard to cool a bit. While you’re waiting, scoop a pound of mascarpone into a medium bowl and beat it up until it’s smooth. Add the custard.
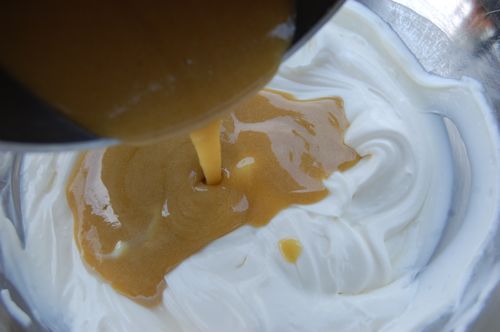
And whisk to combine.

Now for the whipped cream. Pour the cold cream into your mixer, fitted with the whip…
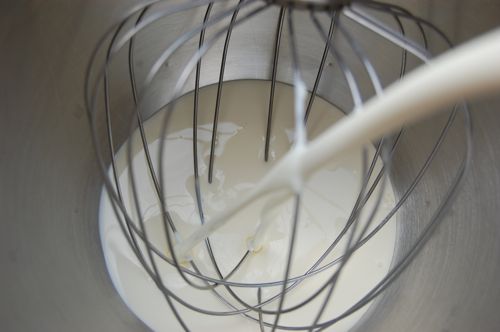
…and whip to soft peaks. Oops, I overdid it a little. No matter, all is still well.
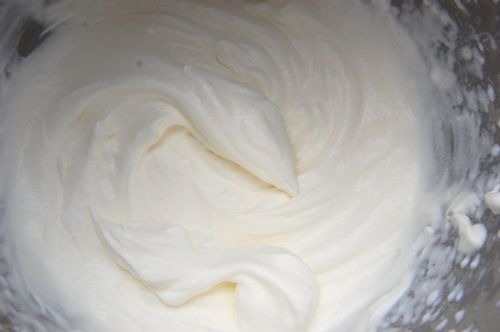
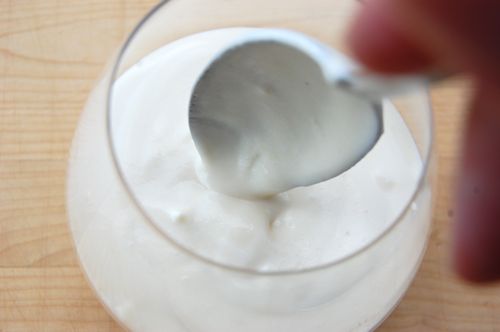
Fold the cream into the mascarpone mixture…
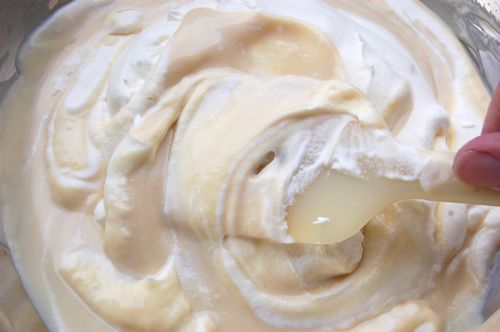
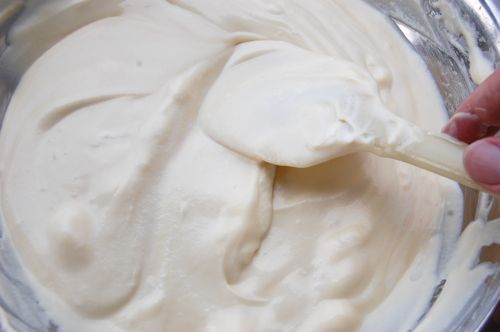
…and you’re done.
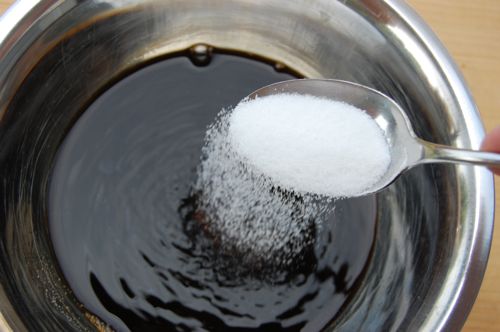
Add the sugar to your espresso, and, ladyfingers in hand, you’re ready to assemble.
The standard assembly in a baking dish is easy enough (instructions are in the recipe post below). To do the wine glass thing, use a cutter to cut out circles in your ladyfinger rows that match the circumference of your glasses.
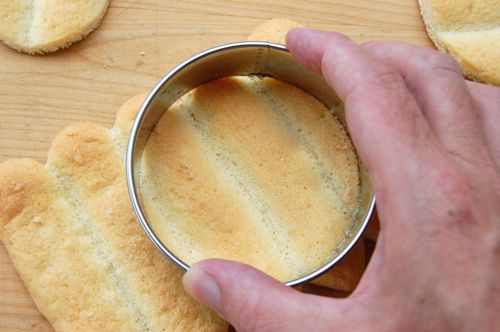
Save those scraps! You can use them for other things. Like ice cream.
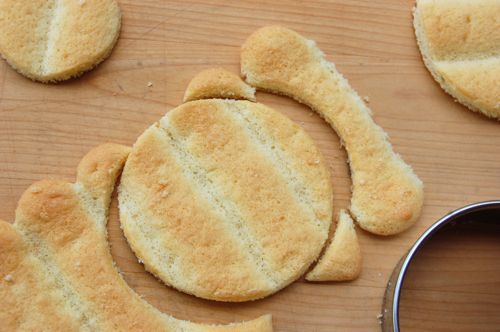
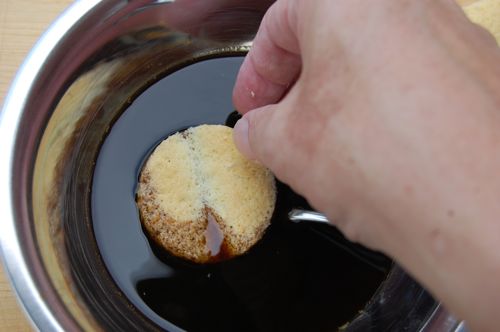
Dip the bottom round into the espresso. Get it out quickly before it gets too wet.
Carefully insert it into the glass…
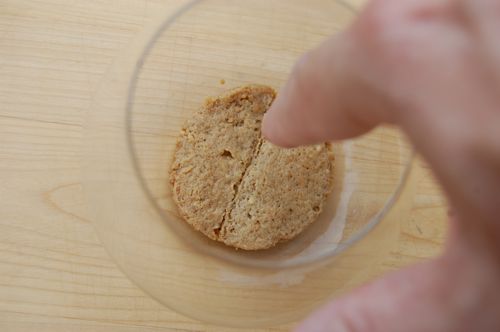
…and cover it with the mascarpone cream.
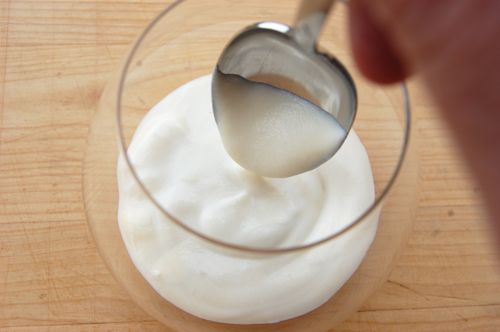
Now lay down the next level of ladyfingers. Here I needed to break mine up into individual pieces since the whole round wouldn’t fit through the mouth of the glass.
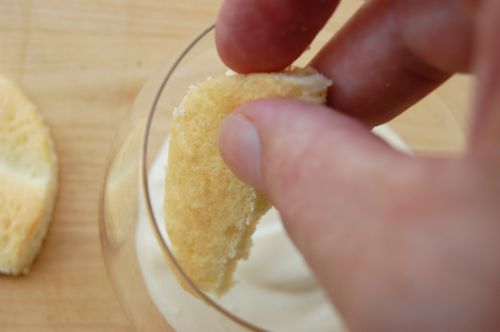
A quick adjustment with the handle of a spoon…
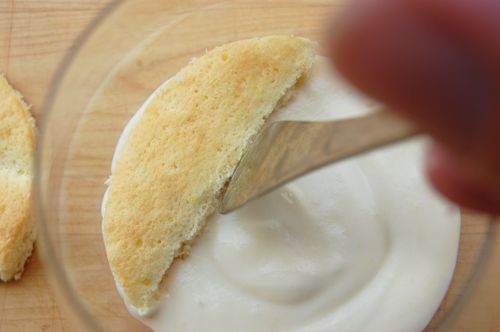
…and a couple more ladyfingers…and it’s time for the espresso. I’m painting it on because pre-moistened ladyfingers are too soggy to work with.
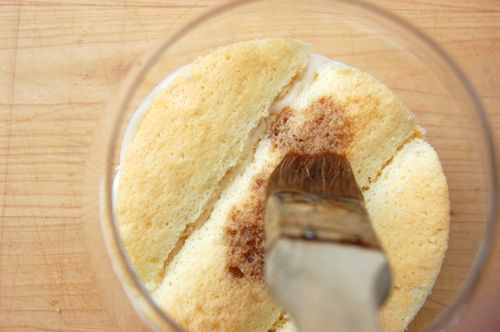
More cream…
…followed by another layer of ladyfingers…and more cream…
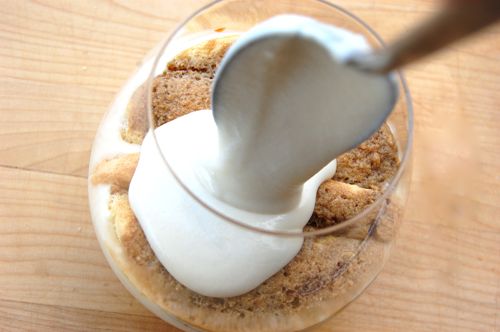
…and you’re done. Now chill that for at least a couple of hours.
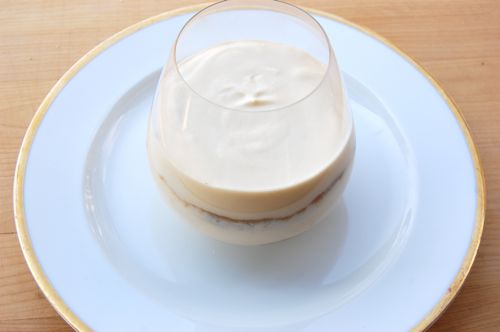
When ready to serve, dust some cocoa powder into/onto/around the glass. NOTE: This is also not traditional!

It looks nice though, I think.
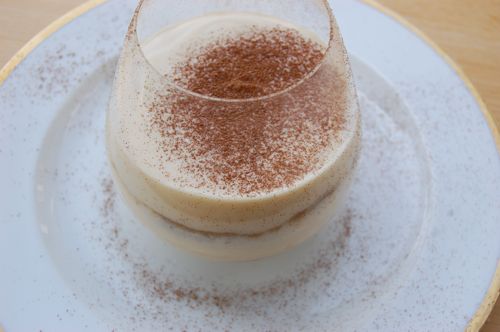
Eat!
I’m having an Italian themed bridal shower for my niece next weekend and am making your tiramisu. It looks beautiful and will be an elegant addition to the menu… I’ll let you know how it turns out! LOVE your site!!
Thank you, Melissa! Best of luck, have fun, a successful wedding and get back to me about all of it!
Your friend,
– Joe
Hi Joe,
Delicious recipe. But I I wanted to make a tiramisu cake, how do I get the filling to firm up enough to support the weight of a cake without collapsing and also to cut neatly? Do I have to add gelatin (how much?) or is there some other trick?
Thanks so much for your help!
Hey Rita!
More mascarpone is one way for sure. But I know there’s a good recipe for a tiramisu cake over at Smitten Kitchen. Have a look and see what you think!
http://smittenkitchen.com/blog/2007/11/tiramisu-cake/
Cheers,
– Joe