Making a Gingerbread House 3: Home Improvement

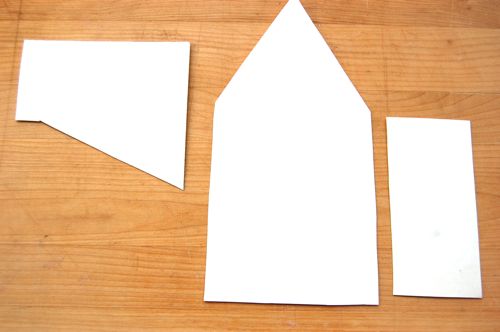
It’s human nature to never be quite satisfied with your home. Most of us would like more space, perhaps more light in the key living areas and of course, more curb appeal. The good news is that upgrading and/or renovating doesn’t have to be expensive, and can significantly add to the value of your house. Better still, armed with the right tools and techniques, you can do all the work yourself. For example, using these simple templates…
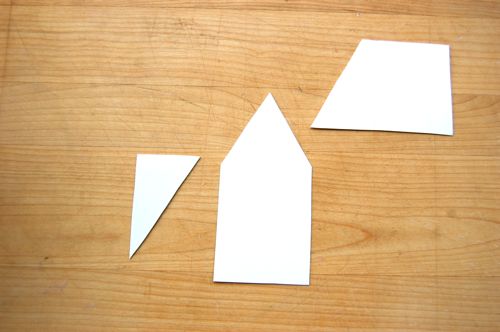
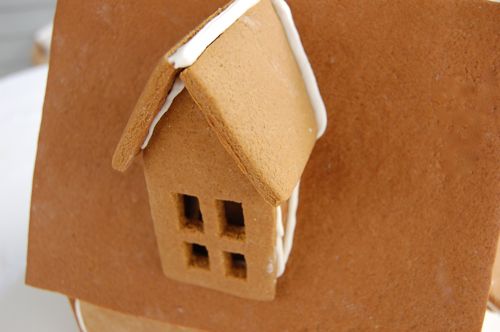
…you can make a dormer.
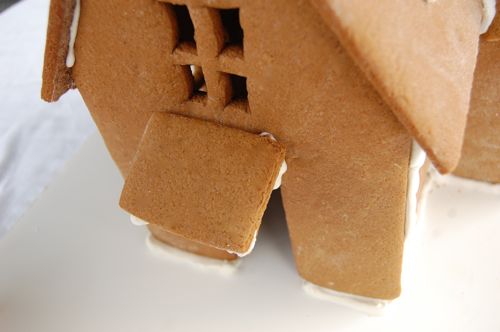
With these…
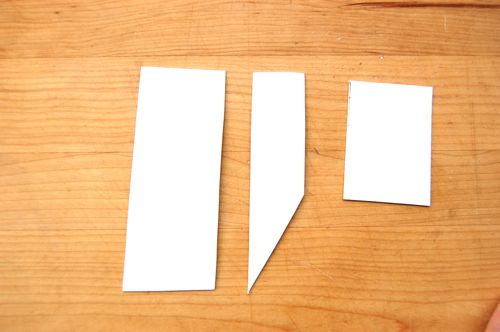
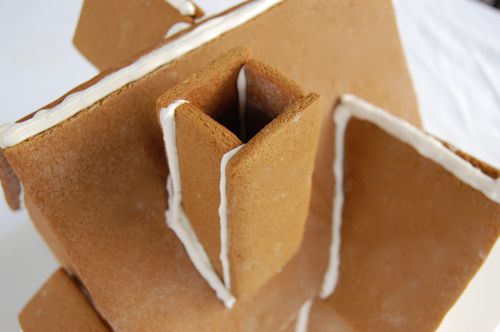
…a chimney.
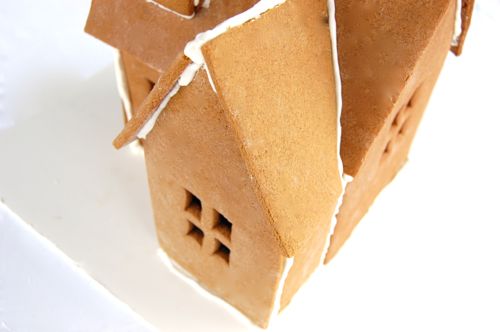
These shapes can make…
…a wing.
And this awning, well, I just threw it together with some scraps.
What makes all these improvements possible? Why, your original paper templates of course! With them you can figure out what shape to cut your chimney pieces…
…determine the size and dimensions of side walls and roof parts…
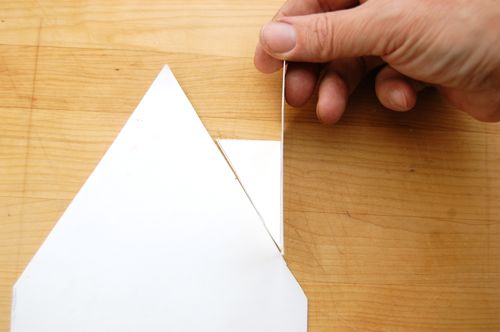
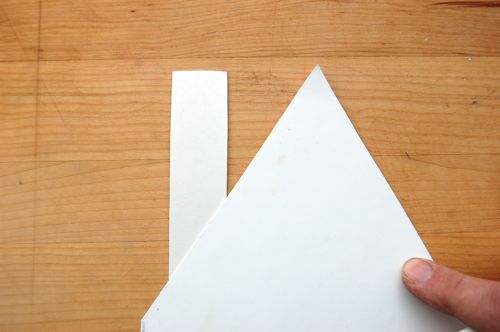
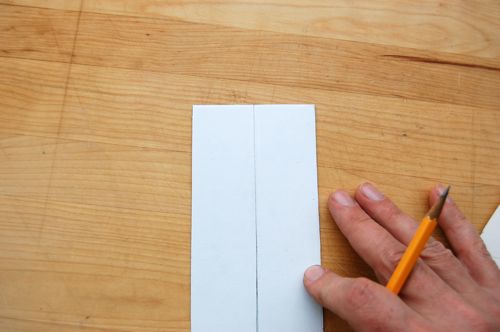
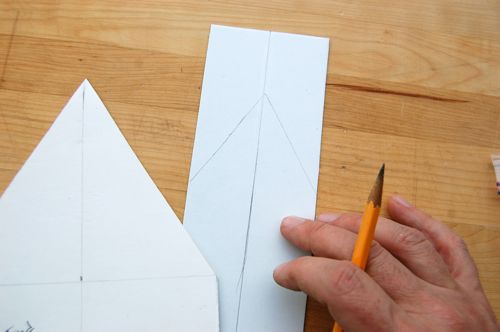
…even save time and headaches when it comes to figuring out the angles of dormer and wing roofs. All you do is determine how wide you want your new element to be, then draw a line right up the middle.
Lay your original side wall template over it…(make sure the lines match up)…
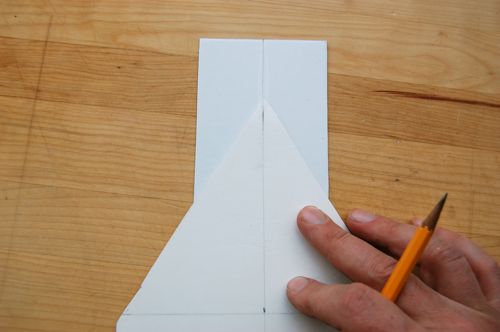
…and trace you original roof angle right onto it.
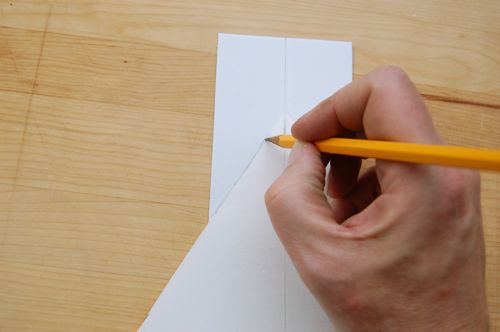
It’s simple AND aesthetically pleasing!
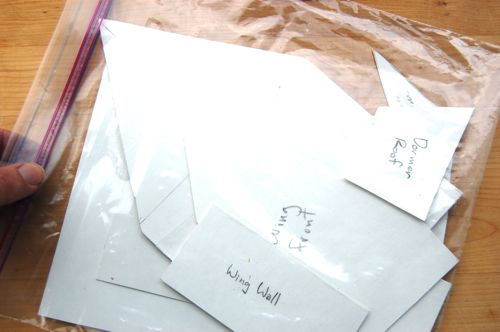
And when you’re finished improving, all you need to do is label your pieces, drop them in a Ziploc bag and store them away until next year! It’s like having a ready-made gingerbread house in a bag!
What could be simpler? And it’s all thanks to the magic of templates. So don’t be afraid to geek out a little bit when it comes to making your gingerbread house this year, friends. Your kids will thank you for it. Oh, and watch those small parts in the oven — they bake up fast, some of them in as little as five minutes.
Elements like chimneys should be assembled and allowed to dry before you glue them in place. Just use handy kitchen objects like salt shakers and small cans to keep the parts in place while they dry. When it comes to mounting them on the roof, I brace them with books until the icing sets (about an hour). And of course, when you’re finished, you want to let the whole structure dry overnight before you start to decorate.
Have fun — and happy Thanksgiving! See you Monday!