Making a Gingerbread House 2: The Basic Box
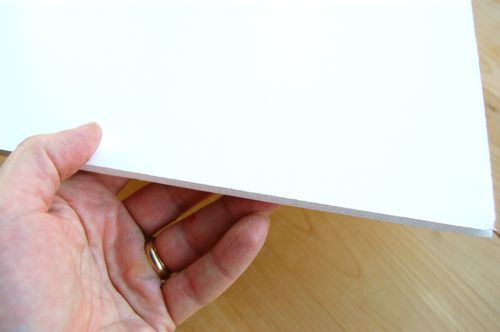
You can do an awful lot with a simple four-walls-and-a-roof gingerbread house. A couple of chairs and a few throw pillows and you’ve got yourself a cozy domicile: every gingerbread man’s dream starter home. You’ll need a solid base to get going. Here I have a piece of foam board that I found in the school supply section of the local supermarket.
Make sure you’ve got a pastry bag fully loaded with royal icing. Use a broad tip.
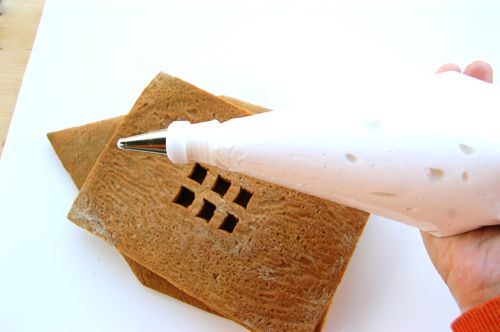
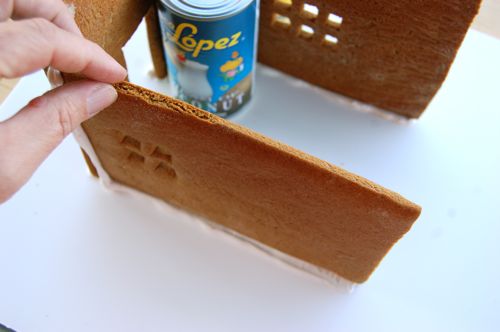
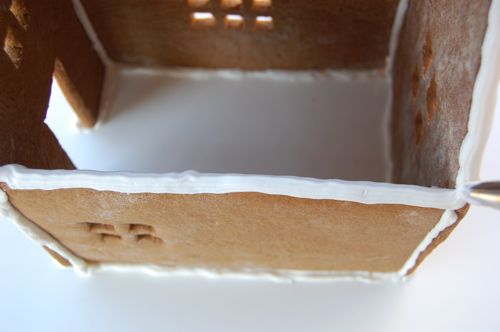
Apply a thick stripe of icing along the bottom and front edges. Do the same with an end piece.
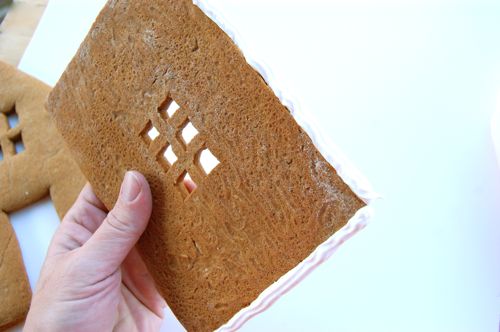
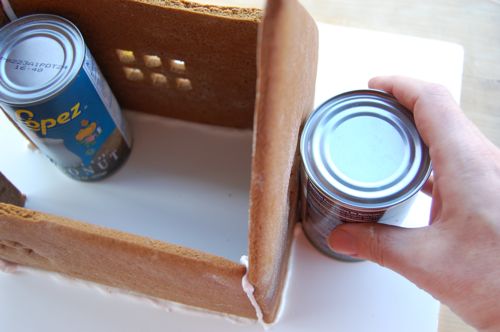
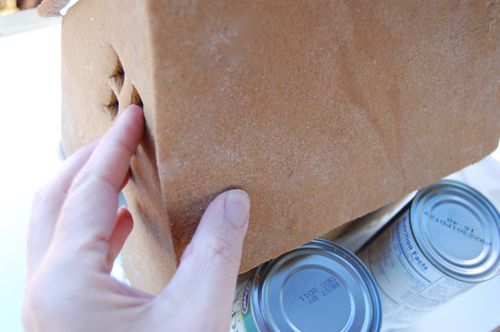
Stick the pieces down to the foam board and prop them up with some canned goods. Check your angles, make any necessary adjustments, and let the icing set up for about an hour. When the joints have hardened somewhat, do the other two sides.
Apply the canned goods where necessary and wait another hour or so. It’s a lot of waiting, I know, but Gingerbread Rome wasn’t built in a day, you know?
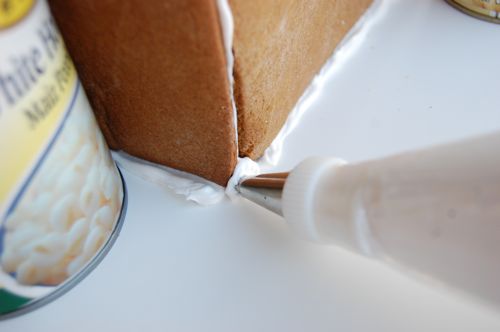
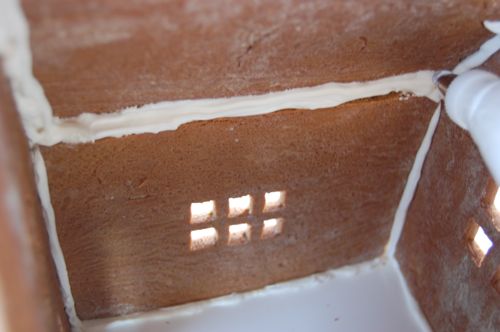
While the structure is hardening, go around and fill in any gaps with caulk, er, icing.
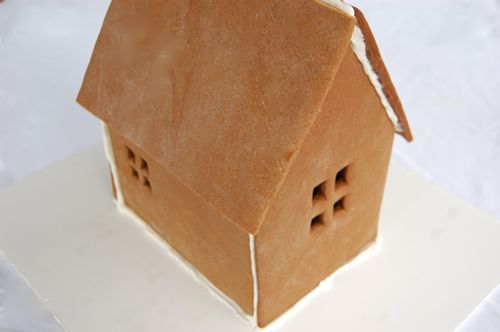
When you’re sure your walls are solid, it’s time to do the roof. Ice the edges of the structure liberally…
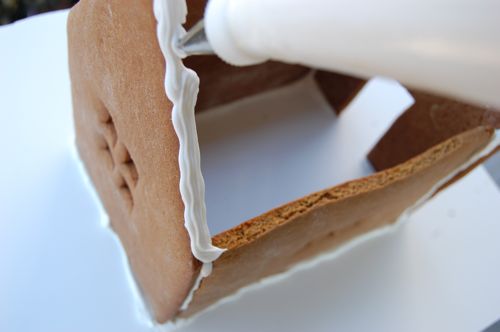
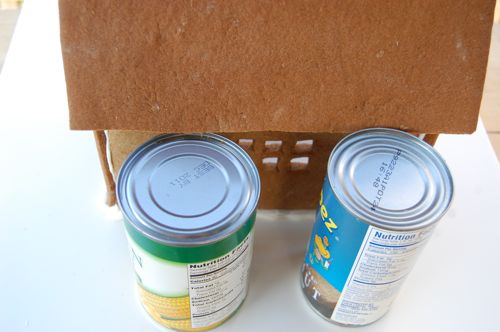
…and stick the first side of the roof down.
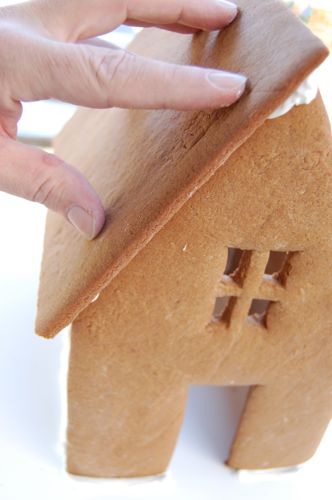
Prop it up with cans or other handy objects like books. I let this dry another hour, though you can move on to the other roof piece if you’re confident in your engineering.
Of course it never hurts to reach inside and caulk up those cracks. You’ll be happy you did when those winter utility bills start coming in.
Repeat the process on the other side…
…and your basic gingerbread home is complete.
Allow it to dry at least a few hours — preferably overnight — before you decorate it or apply, oh, other touches…