How to Temper Chocolate
The best way to learn how to temper chocolate is just to do it a few times. It doesn’t take very long, maybe twenty minutes including set-up, then maybe half an hour to an hour for the chocolate to harden, depending on how thinly you spread it. I suggest simply practicing on a parchment-lined baking sheet. Two or three times through the process and you’ll be a pro. All the temperatures I’ve listed assume you’ll be using bittersweet chocolate, which is the most common chocolate for pastry coatings.
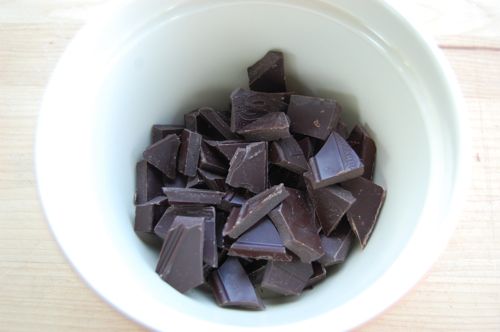
Start by breaking up some chocolate bars into small pieces and putting them in a bowl. I recommend bars for tempering as opposed to chips. Firstly, because I don’t completely trust that chips are made from the same quality chocolate that bars are. Second, because there aren’t terribly many varieties of bittersweet chips on the market and I like to pick my product. I have a four-ounce bar in here:
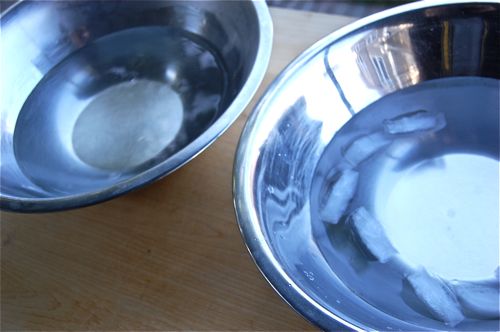
Next, set up two bowls of water that will hold the chocolate bowl easily. One hot, one cold. The hot should only be hot to the touch, not boiling. Good hot tap water is fine. The cold water should be cold, but not ice water. You don’t want the chocolate cooling down too fast or the desirable (known as Beta V form or “Form V”) crystals won’t have time to spread. Cold tap water with a few ice cubes thrown in, I find, is ideal.
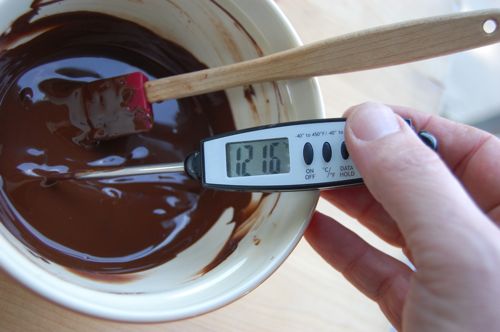
The microwave, in my opinion, was invented for melting chocolate. It’s a far better tool for the job than a double boiler. Zap the bowl on high for twenty seconds. Stir, and apply as many more ten-second bursts (and stirs) as necessary until the chocolate reaches 120 degrees Farhenheit. Try not to go over.

Oops, I did. Oh well, bittersweet chocolate can handle a little of that. No problem.
Immerse the chocolate bowl in the cold water and stir, being careful not to splash (you don’t want to get any water in the chocolate or it could “seize”). The chocolate will thicken as crystals begin to form.
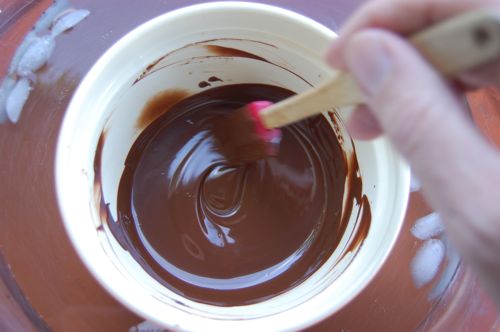
Keep stirring until the chocolate gets down under 84 degrees. It’ll take about five minutes. Is it a bit under temperature? Eh, that’s not the end of the world, either.
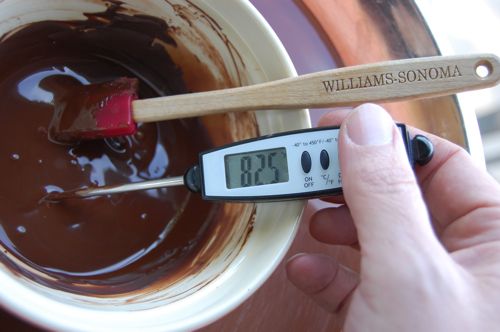
Now move the bowl to the hot water and guess what? Stir.
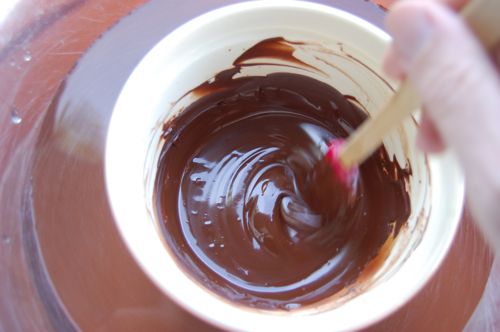
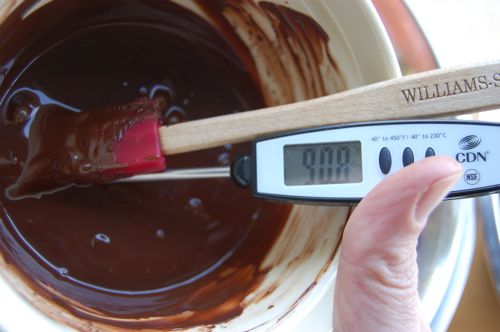
You’re shooting for a range between 89 and 91 degrees, and you need to be precise. I took mine out of the water bath when it was 89 and it carried over (which is to say it continued to increase in temperature) almost two degrees. You’ll want to be mindful of that.
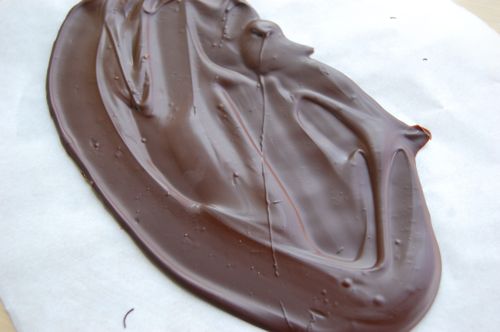
Now just spread your chocolate out on the surface of your choice and wait for it to cool down. Here I’m using a sheet pan as I suggested and you can see I didn’t do much more than pour it out. The chocolate appears a little dull here, but I was gratified to find that it had a very nice brittle snap when I broke (and ate) it an hour later. Sadly, I can’t think of a way to demonstrate that over the internet.
Something to avoid is putting tempered chocolate into the refrigerator before it’s hardened completely. As I said, gentle cooling is what gives the chocolate time to form a uniform crystal structure. You want to avoid spreading tempered chocolate on a refrigerated cake for the same reason.
I’m fairly sure I was the only engineering student in my materials science class a few years back listening to the professor discuss the effects of temperature and cooling rates on the crystal structure of steel and thinking, “it’s like chocolate!”
Ha! Maybe so, Jane, though there are more than a few former engineers now working in the pastry arts. Architects too!
Mrs. Pastry’s life likewise revolves almost entirely around chocolate.
Cheers,
– Joe