Blueberry Jam
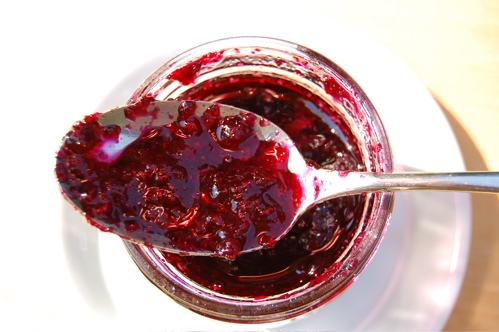
Blueberry-cinnamon jam to be precise, though these general instructions can be applied to just about any kind of jam. It all starts of course with fruit. Most people use fresh fruit, fresh picked especially, but I’ve known more than a few people to use frozen. Frozen? Yes, frozen. It doesn’t make terribly much sense from a cost standpoint, but if you live in an urban area, love homemade jam, but don’t have easy access to orchard-fresh fruit, it’ll do. It can even be superior depending on the fruit and the time of year.
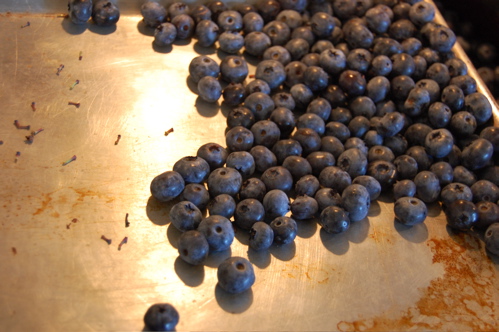
So then, it all starts with a good rinsing of your berries. Once they’re air-dried, I find it’s helpful to pour them out onto a sheet pan and roll them around a bit. Errant stems will usually pop off as you do this, plus it makes overripe or damaged fruit easy to spot.

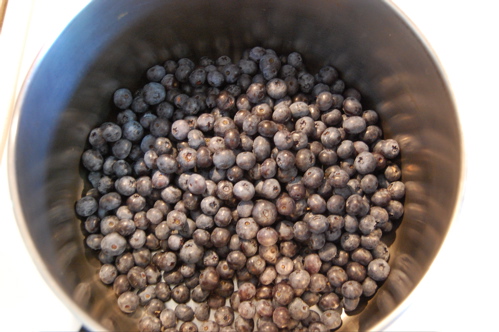
Here I’m pouring them off into my pot and you can see what’s left behind (I didn’t see half of these when I started):
You want to use a deep pot so there’s plenty of room for any froth to rise. Here I’m using a six-quart dutch oven which I find works just about perfectly.
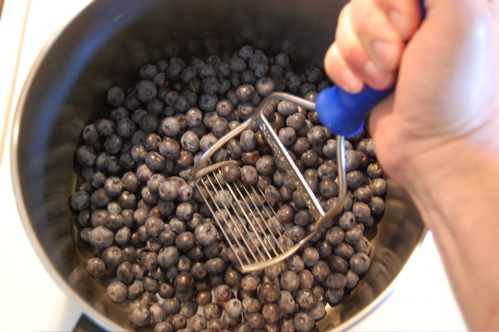
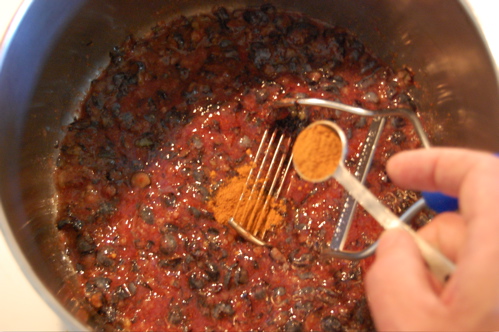
Now: mash. This step of course releases juice, but it’s also critical for exposing the interiors of the blueberry skins, which is where your pectin will mostly come from. A potato masher works great, this one is sort of a combo masher-cutter:
Now’s a good time to add any flavorings you might want. In this case, a half teaspoon of cinnamon. If the berries are very large or seem a little soft I’ll generally add a teaspoon of powdered pectin here to help the jam to gel.
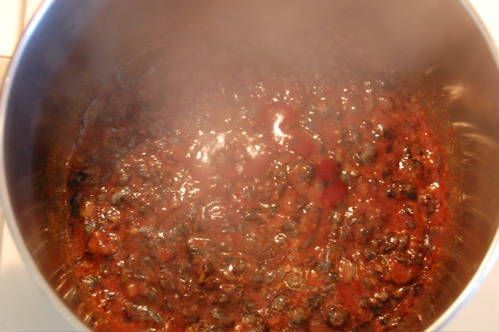
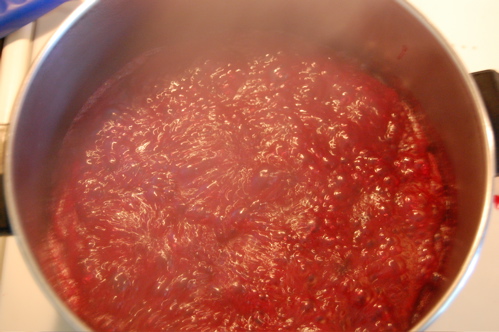
An important trick to getting a good gel is heating the fruit slowly at first (to tease out the pectins), then cranking the flame up at the very final stage. Start by bringing the mashed fruit to a gentle simmer over medium-low heat (forgive some of these photos, they’re a little dark and blurry and/or steamy, but YOU try taking perfect pictures in low light conditions over a pot of boiling jam!).
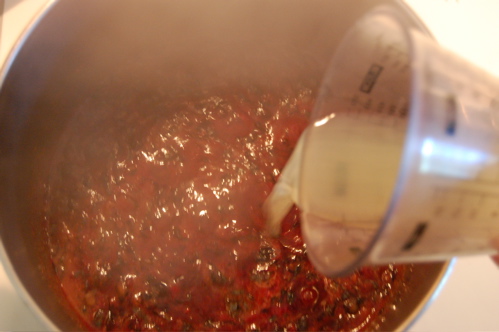
In goes the acid (lemon juice)…
…and the sugar…
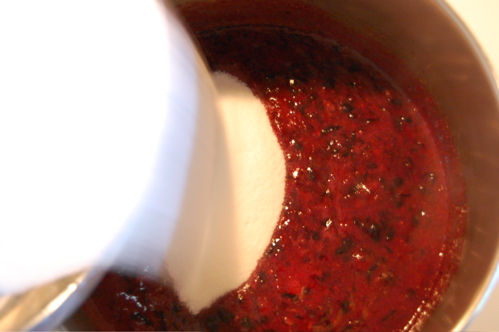
…then we turn up the heat to medium-high. What you’re after here is a short, hard boil for about three minutes or so. That’s the point at which you want to start checking for gelling.
Which, admittedly, is harder than it sounds. This is were most first (or second or third)-time jam makers tend to get confused, since a “gel” is by no means an obvious thing. The mixture doesn’t suddenly turn to thick syrup, in fact a “gelled” jam still looks quite thin to the untrained eye (this is because the jam is very, very hot). So what are you looking for then? The answer is a subtle change in viscosity from water-like to something a bit less that water-like. Also, a change in color to a slightly darker, richer hue.
I know that sounds maddeningly ambiguous, but that’s jam-making for you, and why most people nowadays use packaged pectin (if you were using packaged pectin, this would be the time to add it: stir it in, wait 30 seconds, then quickly kill the heat so as not to destroy its thickening ability). But then I’m a like-grandma-used-to-make kinda jam maker, so I does my best and takes my chances. Having tried several methods, I think the spoon-drop test is the most reliable. What you’re looking for is a bit of a subtlety, what some people refer to as “sheeting” of the hot jam…the slow-ish convergence of two drops into one large drop before it falls off the rim of the spoon (the larger the spoon the better for this). Two drops falling right next to each other is also a dead giveaway of a gel — and it frequently happens with blueberry jam after 2-4 minutes of hard boiling. An accumulation of jam near the bottom lip of the spoon is also a strong indicator. Look here:
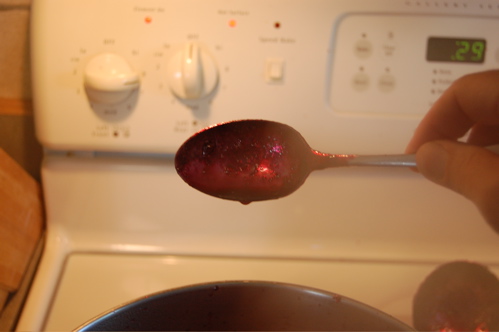
See that dark area at the very bottom of the spoon just above the drip? You won’t see that unless your jam is very near, or at, the gelling point. Prior to that point the hot jam just pours off the spoon like water, leaving virtually nothing behind. At the gelling point the jam still pours off easily, but has a somewhat higher viscosity. Drips fall off rather slowly leaving an accumulation on the rim. Anyway that’s the best I can describe it. If in doubt just quit the cooking after 5-8 minutes with a berry jam, or after 20 with stone fruit jams. Your jam may not be the ideal consistency — thought it just might — but at the very least the end product will be useful as a topping.
Pack this jar into 8-ounce jars apply the lids and rings and process for 10 minutes in a boiling water canner. Successfully canned, this jam will keep for up to two years.
Feel like giving it a try? Oh come on…don’t be a sissy. What would great grandma say?
Was wondering what quantities you used for your ingredients, other than the cinnamon you didn’t list any. Just want to avoid having too much cinnamon. Thanks.
OK Jason…recipe is up! Just look under “Blueberry Jam” under the components menu and it’s there!
Thanks, I modified my strawberry jam recipe and came up with this mix.
1 pint blueberries, mashed
1/6 C filtered water
1/3 C sugar
1/8 C meyer lemon juice (about half a lemon)
1/4 tsp cinnamon
Was a huge hit. Thanks for the idea.
I have also noticed that sometimes jam made with frozen fruit is better. Now that I have learned another good thing from you about the pectin, it makes sense because freezing breaks the cell walls of the fruit and that helps release the juice and pectin even before it is heated.
Indeed so, Dani! Thanks for the note!
– Joe