A Petits Fours How-To
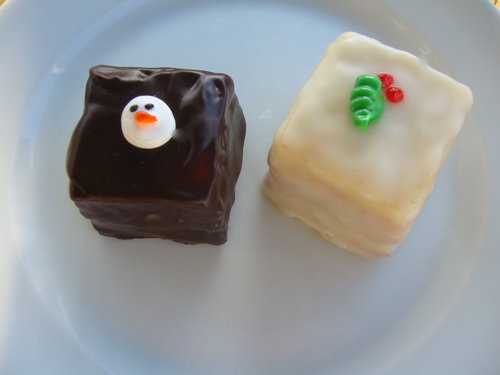
Those of you who are familiar with me know I love to do photo tutorials. In fact it can be argued that I do too many of them. But I figure, if the petits fours-making process doesn’t qualify for photography, what does? So here’s a step-by-step for all you petits fours makers-to-be.
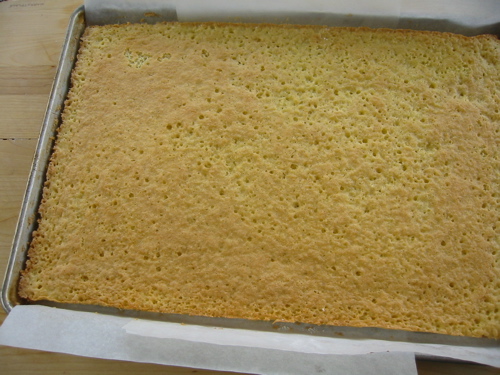
We begin with our sheet of génoise, baked on a jelly roll pan with layers of greased parchment placed sideways so the whole thing can be lifted out without breaking it. Since only a madman (or French pastry chef) would attempt to cross-slice an entire half-sheet of génoise at once, you first want to cut the génoise in four equal quarters, trimming off the hard, caramelly edges for a snack (since, you know, pastry making is hard work). Remember that when cutting any kind of cake-substance you want to use a serrated knife, executing very long, sawing strokes.
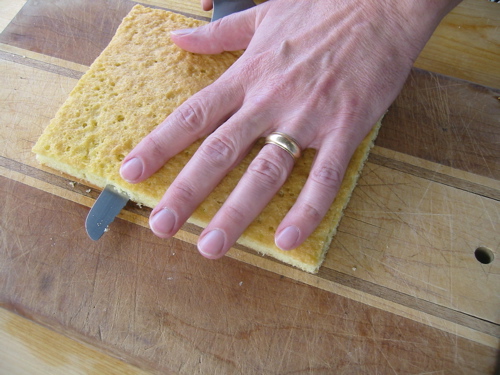
Next comes the hard part, cross-slicing the génoise, which as you can see is only about three-eigths of an inch think. You’ll want to do this on a thick cutting board to give the knife handle (and your hand) some room. Placing your free hand well on top of the cake to prevent splintering, angle your knife smack in the middle of the layer and begin to saw gently, again using long and gentle strokes. There will be some crumbling: carry on. No need to cut all the way through at one time, by the way. Saw a little, then peek over the far edge to make sure your knife isn’t heading either down toward the cutting board or up through the top of the layer. Saw saw saw, check check check. Take all the time you need. And if you do for some reason end up shaving off a piece before you get to the far edge, take heart. Nothing is ruined.
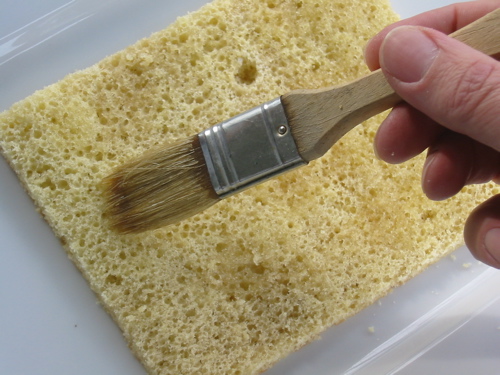
Whew! Now that that’s done you can start the fun part: assembly. Start by lightly brushing on your cognac syrup. Don’t soak it (unless you really want to…me, I detest syrup-logged anything).
Once that’s done apply your strained, slightly warmed raspberry jam, again in a very thin layer. You want to see cake through it easily. Just redden it.
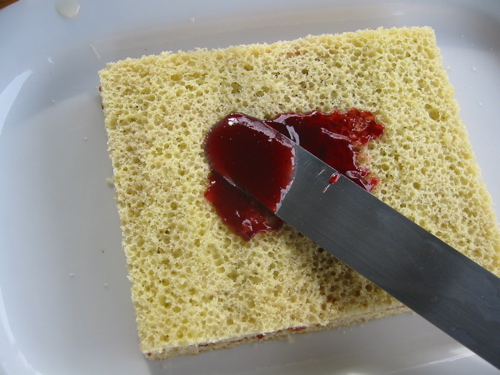
Then just put the top back on the layer and repeat the process with another split quarter. More syrup, more jam.
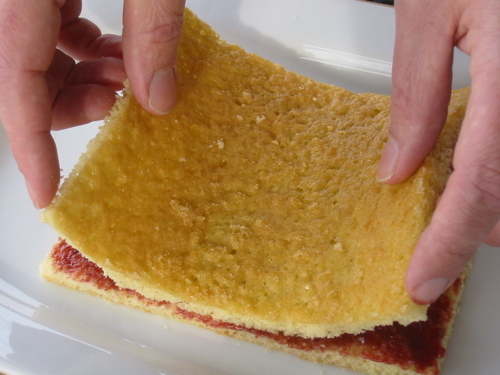
Keep going until you’ve piled on another full split piece of génoise. Brush on the syrup, but this time no jam. Take your knife and trim around the edges so the layers are roughly uniform. You should have something that looks like this:
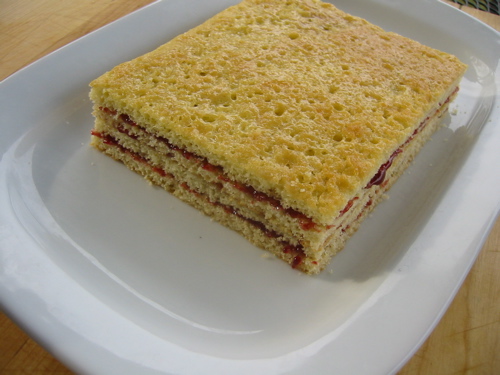
Now for the marzipan layer. Warm the marzipan in your hand and knead it a little until it’s pliable. Then, using powdered sugar for “flour”, roll it out into a piece that’s big enough to cover the top of the génoise stack.
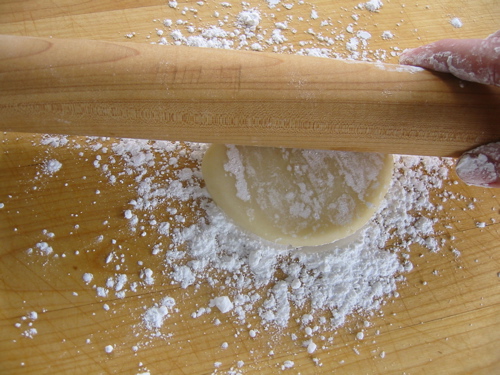
Brush the marzipan with syrup so it gets nice and tacky, and turn it over onto the stack, patting it lightly so it adheres. Trim it with sissors (dang! this picture came out blurry), and you’re done for now.
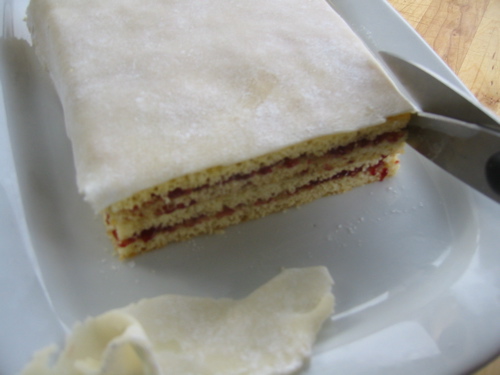
Cover the stack lightly with plastic wrap and put it in the fridge for several hours or overnight. You want the jam nice and firm for the next stage of cutting (and glazing).
Petits Fours How-To 2
So now the fun part: the glazing. Of course we start with the slighty dicey part of, er, dicing them, but having chilled your cake you should be in good shape for cutting. Start by measuring out your cake to multiples of 1 1/2″ (a very nice size for homemade petits fours). Trim off any excess (and eat).
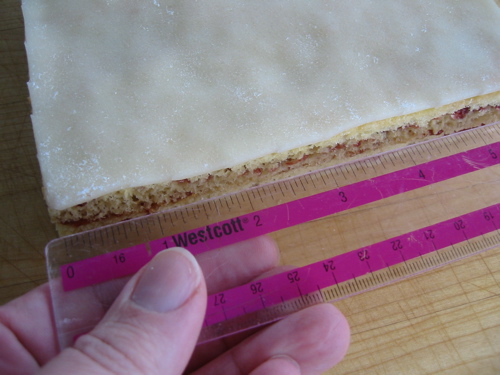
Next, help yourself out by scoring the marzipan layer with your knife.
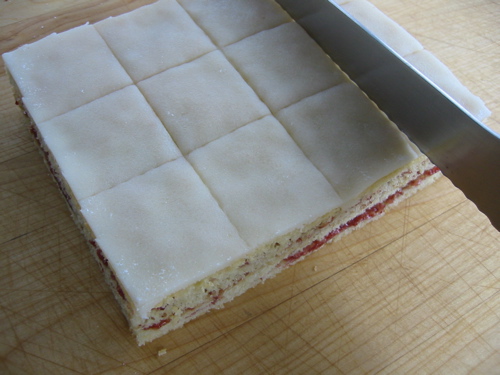
Once you’re measured out, go ahead and cut, keeping the separate slices close together so they can support each other. Remember again, long, smooth strokes.
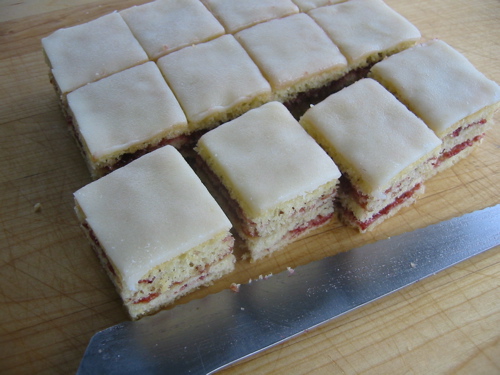
Once that’s done you can relax and start making a good ol’ mess. Starting here with the fondant, pick up a petit four…
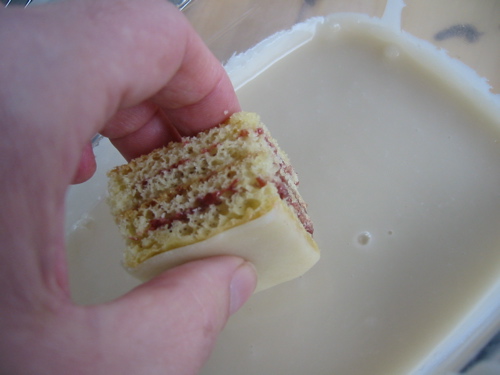
…and dip all four sides.
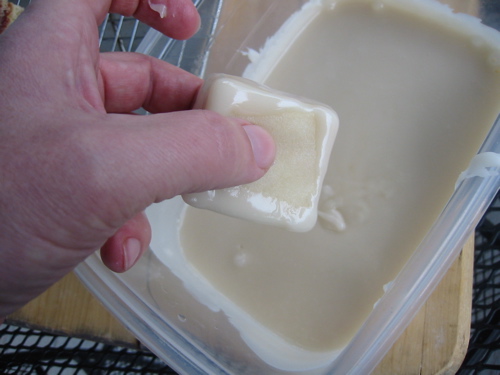
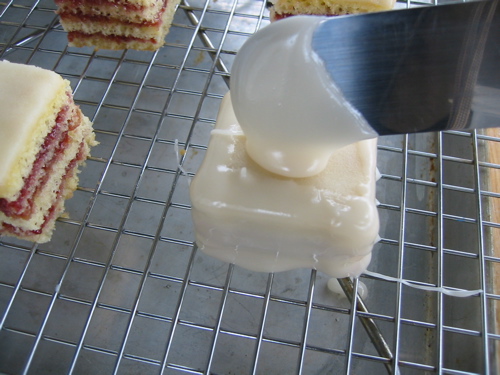
Then with your icing spatula, dab some fondant over the top, pushing it out over the edges so it drips down the sides. Keep your fondant good and warm so it stays as runny as possible.
Repeat with any chocolate petits fours you might be making…
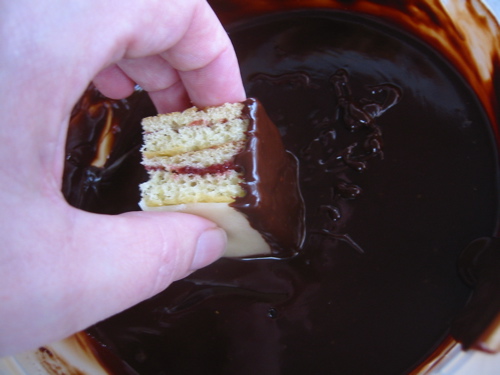
(Don’t forget to lick your fingers).
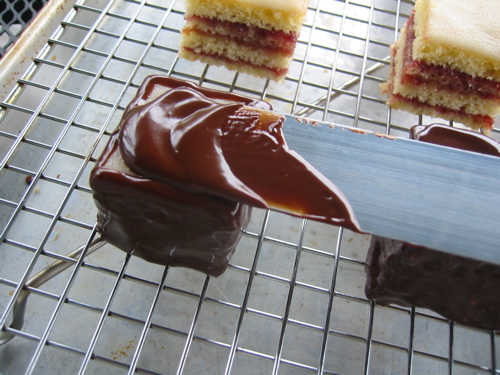
Then just leave them on a rack to cool and firm. Once the glazes have set you can decorate if you wish. I may just start eating now.
So far, so good…I’ve made the génoise; brushed with syrup and spread the thin jam; and have it stacked in my fridge. I’ve made the fondant and am ready to roll out the marzipan layer. I’d like to freeze the petits fours at some point (they are intended for a reception in one week). How far along in the process can I freeze the petits fours and what steps must really be left until before the event? Everything looks great thus far and the génoise looks wonderful for my first efforts. Thank you for teaching this old lady how to cook.
Sounds great, Sharon! I think the best thing would be to freeze the stacked pastry as it is, and wait to finish them the day before the event. The reason is because fondant glazes don’t always freeze well, they can wrinkle and crack. Well done on the petite fours! I’m sure they’ll be a big hit!
Two comments only?! When that was THE cutest tutorial I’ve ever read/seen? Maybe people just don’t Google for ‘petits fours’ these days, who knows. Me, I’ve always adored them and wanted to make them … and just might yet one of these days 🙂 although that cross-slicing of the genoise sure strikes fear into one’s heart.
Courage Anna! You can do it. If the cuts don’t come out perfectly you can always just stick everything back together with jam, glaze them and no one will be the wiser! You’ll love how homemade petits fours taste. Get in touch if you need any encouraging/goading/shaming to get the process going in earnest!
– Joe
wow im gonna try that
Let me know how they turn out, Julia!
– Joe
Hi Joe –
Thank you so much for this tutorial…..it is always helpful to see pictures. I have yet to give it a try but I will – I also bought a small petit four book with pictures -of course. My question, I have seen petit fours made without the marzipan – can I leave out the marzipan? I think the marzipan is the classic way? no? But for my first try, I think I would like to leave out the marzipan….what do you think?
Thanks again.!!!
Leo
Hi Leo!
You can indeed make petits fours without the marzipan layer if you wish. Depending on how the sponge turns out, the petits fours may not have very smooth tops without the marzipan, but that’s a cosmetic thing. Have fun with them and let me know what you think!
Cheers,
– Joe
This tutorial is wonderful. Thank you so much for putting it together! My uncle bought our family Swiss Colony petits fours every Christmas. This holiday season, I want to see about making them from scratch. Your guide is incredibly helpful. And I appreciate the make-ahead tip in the comments. Making & freezing the cakes before the holiday rush would make things much easier to accomplish.